


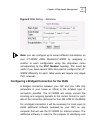

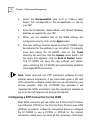

Chapter 4 Web-based Management
29
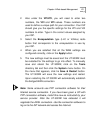
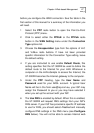
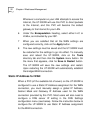
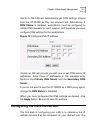
Figure 12
WAN Settings - Dynamic IP Address (DHCP)
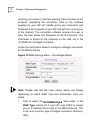
1 From the
WAN Setting
page, select the PVC you want to
configure from the seven available PVCs, using the drop-
down menu.
2 You can also specify the
VPI/VCI
numbers (assigned to
this PVC by your ISP) that will be used to uniquely identify
this PVC to your ISP. You can also enter of modify these
two numbers later during the configuration process.
3 Click the
Add
button, at the bottom of the page, to add the
new configuration to the list of active PVCs. This will open
the
WAN Setting
configuration screen, shown above.
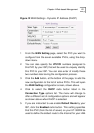
4 Click to select the
DHCP
radio button listed in the
Connection Type options list. The menu will change to
offer a different set of configuration options and will appear
as shown above when DHCP is selected.
5 If you are instructed to use enable
Default Route
by your
ISP, click the
Enabled
radio button. This setting specifies
that this PVC (from the list of seven) on your UT-300R2 be
used to define the default route to the Internet for your LAN.