DocuMate 150 Scanner User’s Guide 71
Maintenance
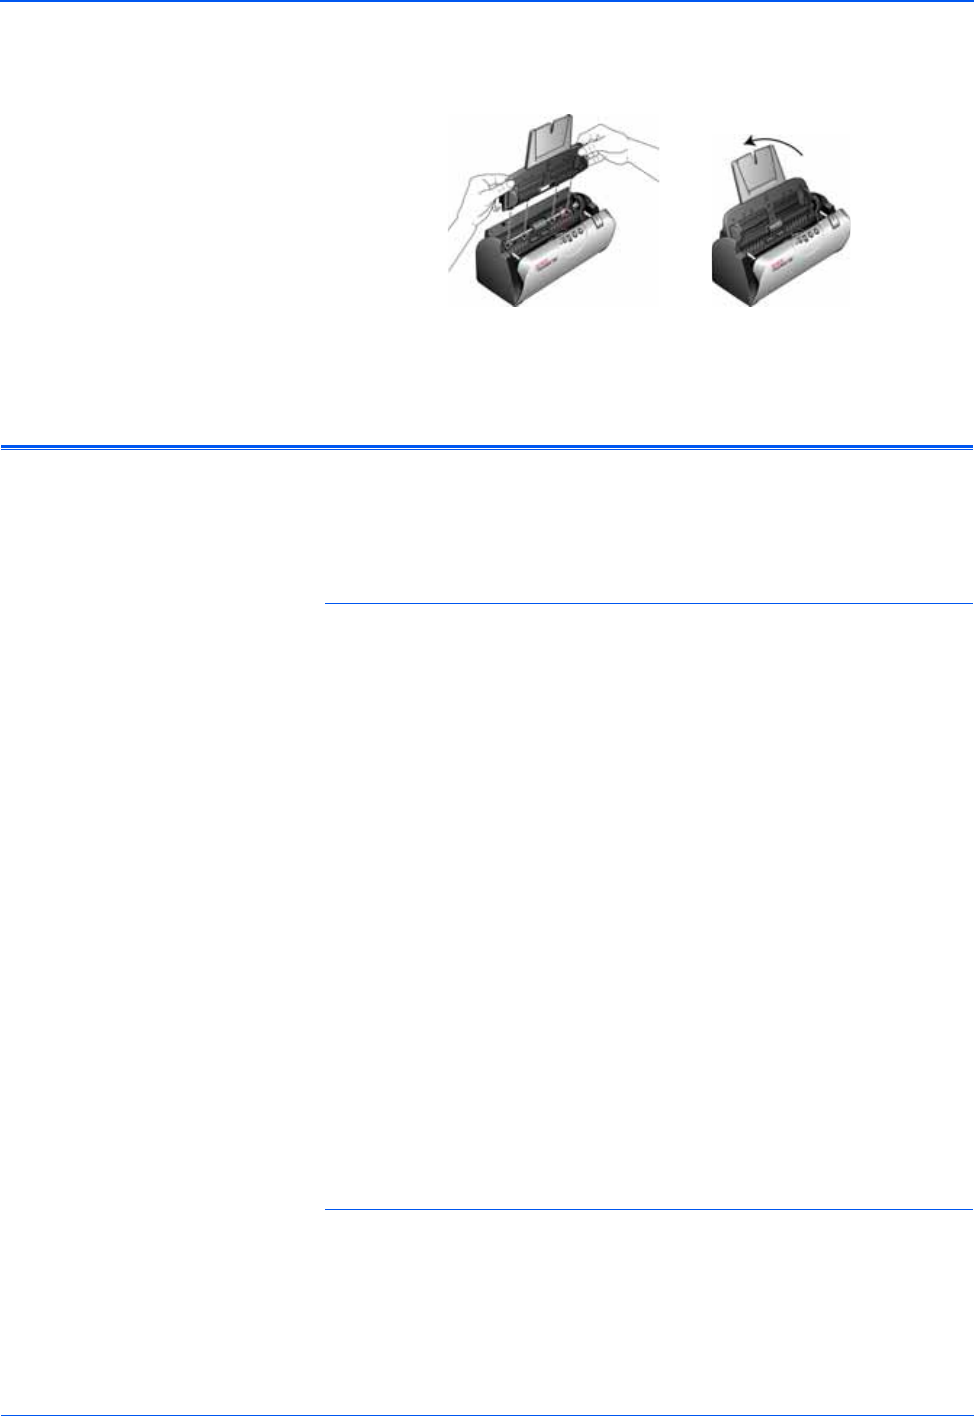
10. Insert the scanner’s input tray back into the slots in the scanner body.
Push the tray back until it is fully seated into position.
11. Close the cover when you’re finished.
Troubleshooting
In addition to the troubleshooting information contained in this section,
please see the Readme file on your installation CD. Also visit our web site
at www.xeroxscanners.com for additional technical information.
Problem: The scanner won’t scan. What’s wrong?
Check for one of these possible problems:
Check for one of these possible problems:
• Are the cables loose or not plugged in securely? Inspect the
cable connections. Make sure the cables are plugged in securely.
• Is the scanner’s status light on? Turn on the scanner’s power. If the
status light doesn’t come on, plug the power supply into another
electrical outlet.
• Did you restart the computer after installing the software? If you
didn’t restart the computer, it may not have loaded all of the software
files. Try restarting your computer.
• Did you plug the scanner into a USB hub? If you’re using a USB
hub to connect the scanner, the hub must have its own power supply.
If the hub does not have its own power supply, plug the scanner into a
USB port on the computer.
• Did you select another TWAIN source for acquiring images? If
you use multiple TWAIN devices with your computer, you may have
selected another source for images. Make sure Xerox DocuMate
150 is selected as the scanner.
Problem: With AutoCrop to Original selected, sometimes
I get blank pages, or pages with lines. What’s wrong?
The pages were probably scanned in crooked, or skewed. To use
AutoCrop to Original, the pages must be scanned in straight. Adjust the
paper guides on the scanner so pages feed in straight.


