Scanning from TWAIN DocuMate 742
3-2 User’s Guide
Accessing the TWAIN Interface
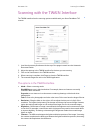
Open the TWAIN interface from One Touch:
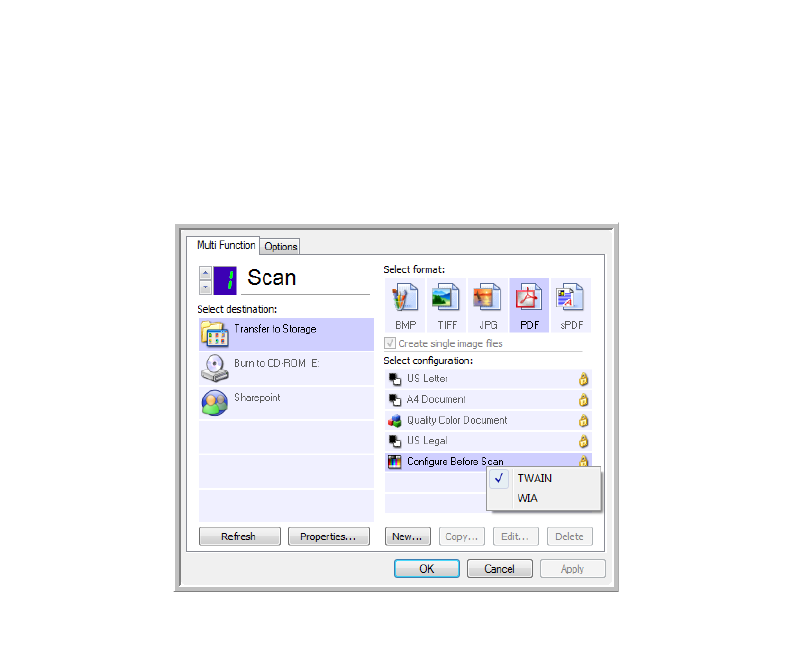
If the One Touch configuration you’re using to scan is set to Configure Before Scan, and the
selected option is TWAIN, the TWAIN interface opens right away without opening a TWAIN
application first.
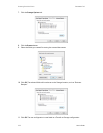
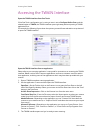
For example, the following figure shows the options you would have selected to set up button 1
to open the TWAIN interface.
Open the TWAIN interface from an application:
Please refer to your scanning application’s user guide for instructions on accessing the TWAIN
interface. Below is a brief list of common applications and how to initiate a scan from within
that application, including some of the applications which may have been provided with your
scanner.
1. Open a TWAIN-compliant scanning application.
2. Use the application’s command that opens the TWAIN interface.
PaperPort—On the Tool bar click on the Scanner icon to open the Scan Pane on the left
side of the PaperPort desktop. Select your scanner in the Scan Pane then click on the “Scan”
button in the Scan Pane.
ArcSoft PhotoImpression—Click on the Scanner icon from the main menu.
Corel Paint Shop Pro—From the File menu select the Import option to select your scanner
model, then from the file menu select the Import function and choose TWAIN Acquire.
Adobe Software—Depending on the application you can “Create a file” then select the
scanner as your creation source, or “Import a Picture” and select the scanner as your import
from source.
Microsoft Software—Depending on the application you can go to “Insert Picture... from
Scanner or Camera”, “File... Scanner or Camera”, or “Insert Picture to Clip Organizer from
Scanner or Camera”.
3. The TWAIN interface opens and you’re ready to start scanning.


