


SCSI Connection Set Up
26
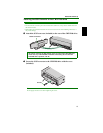
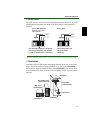
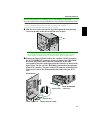
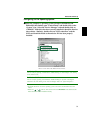
The following explains how to add the drive to the computer as illustrated.
If you are replacing the existing CD-ROM drive, the procedure is basically the same.
Note
The way of installing built-in devices may differ, depending on the computer.
Refer also to the documentation that came with your computer.
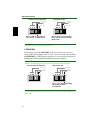
11
1111
11
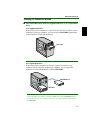
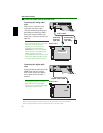
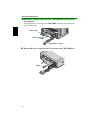
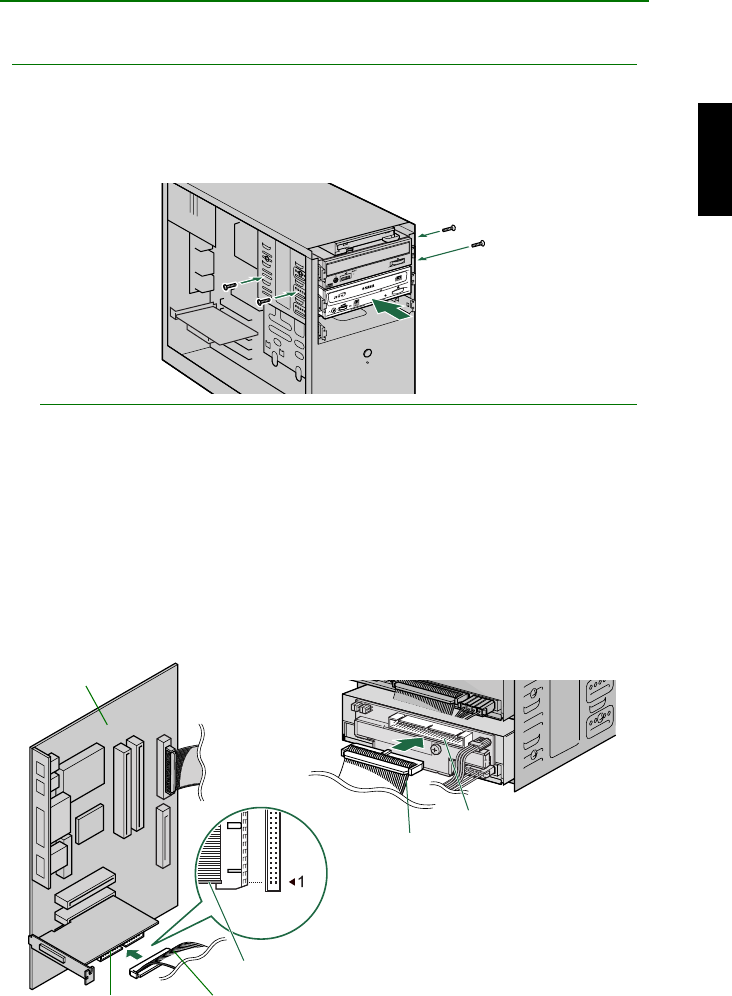
Slide the drive backwards into the slot, then tighten the four fastening
screws on the sides of the unit to hold the drive in place.
Notes
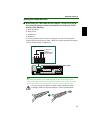
• Do not apply excessive force when sliding the drive backwards into the drive bay slot.
• Leave enough room behind the drive to connect the power, SCSI, and audio cables.
12
1212
12
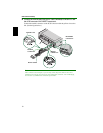
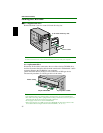
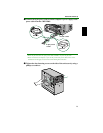
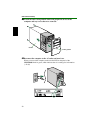
Connect the 50-pin SCSI flat cable to the computer’s SCSI card and to
the SCSI INTERFACE connector on the rear panel of the CRW2200S.
Be sure to plug in the cable so that the colored line on the cable
corresponds to the pin 1 on the right end of the connector as shown in the
figure below. The pin 1 of the CRW2200S is positioned in the right part
of the SCSI connector. The pin 1 of the SCSI connector is labeled on the
SCSI card, or refer to the documentation that came with your SCSI
card.
50-pin SCSI flat cable
Colored line
Motherboard
Colored line
SCSI INTERFACE
connector
SCSI connector