


12
Checking installation and connections
◆ Pre-operation check
Prior to projection, adjust settings to suit the location of the main unit and screen, and the input signal you are using.
However, there is usually no need to adjust any settings if you have not changed the installation location or components since the last time
you used this unit. Check settings and connections only when the unit does not appear to project images correctly.
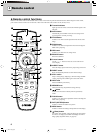
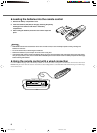
PHONO
DVR
STANDBY
/ON
PURE DIRECT
2CH/MULTI CH
SPEAKERS
VIDEO AUX
REC OUT/ZONE 2
INPUT MODE
SOURCE/REMOTE
DVDDTV/LD
MD/TAPE
CD-R
TUNER
CD
VIDEO AUX
VCR 2
VCR 1
SAT
CABLE
A B
STRAIGHT
EFFECT
MULTI CH
INPUT
DSP
PROGRAM
BALANCE
TONE
CONTROL
VOLUME
INPUT SELECTOR
MULTI JOG
SILENT OPTIMIZER
MIC
PHONES
OPTICAL
R
AUDIO
L
VIDEO
S VIDEO
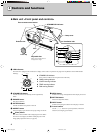
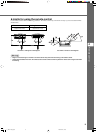
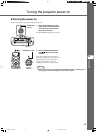
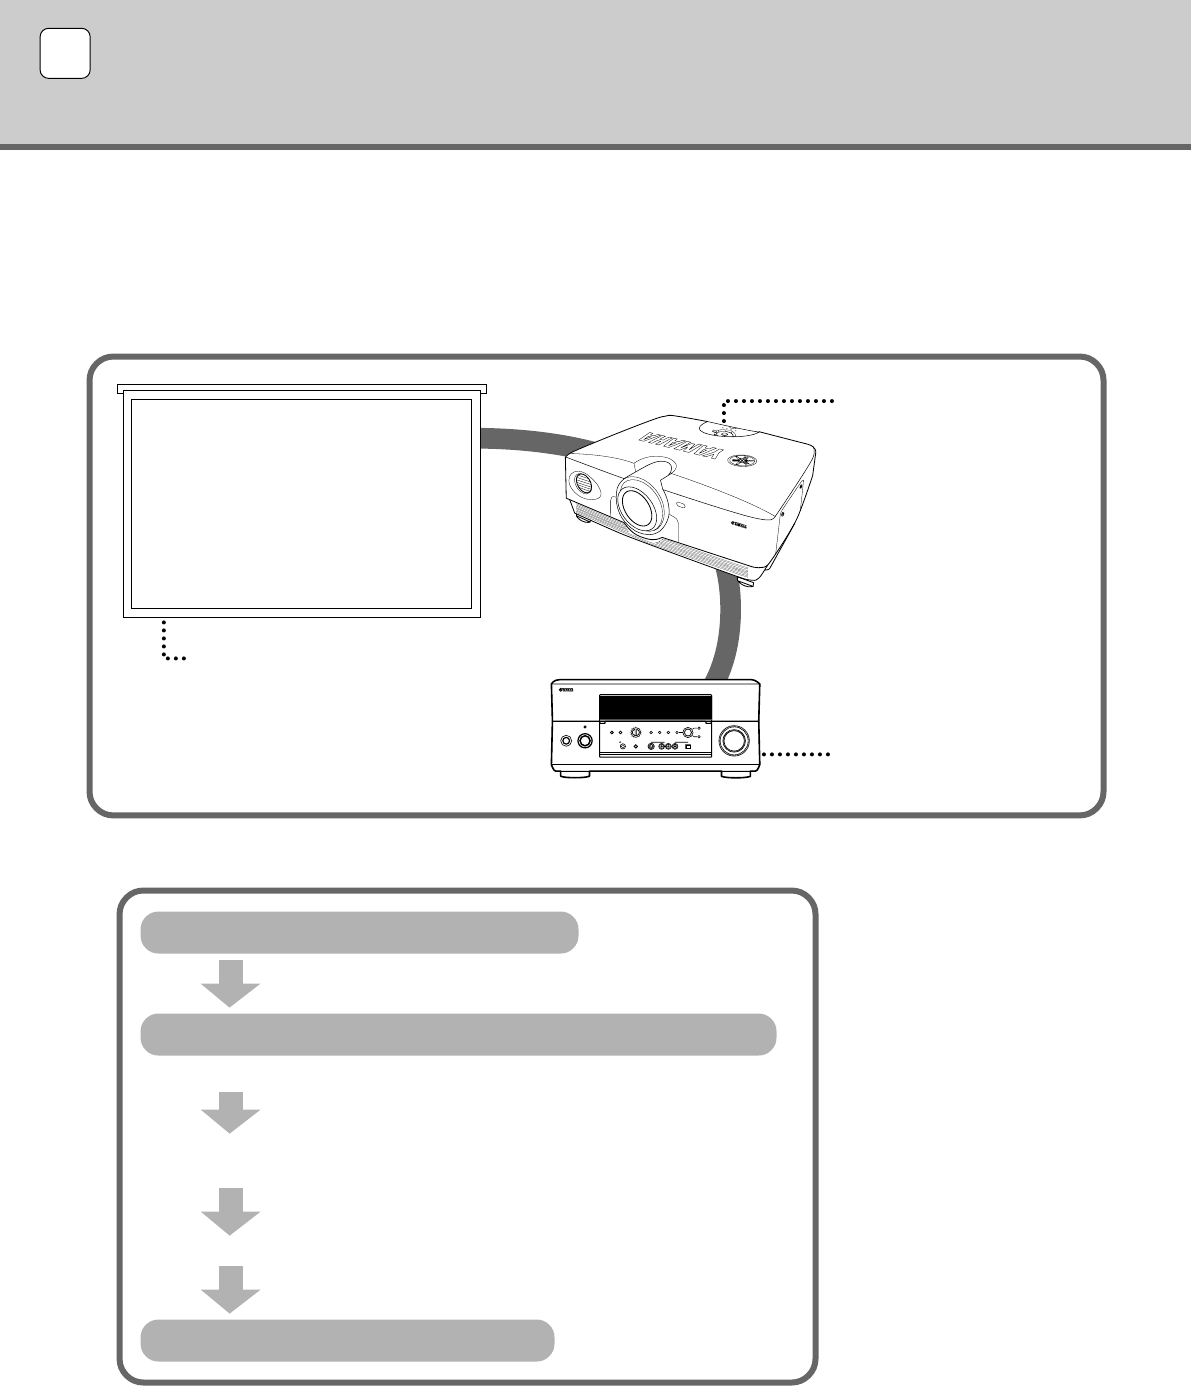
Is the main unit power
turned on?
Main unit
Are the components connected correctly?
“Connecting to AV components”
☞ page 46
Image source component
Is the source component power
turned on?
For an explanation of detailed settings, see “Menu”. ☞ page 22 - 40
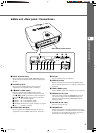
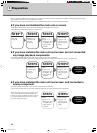
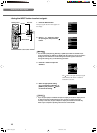
Check installation and connections
Select an image for projection and image adjustment
Projection preparations complete
Turn on the projector power.
Begin playback of the source image for adjustment.
Select a projection image.
(Select an input signal and projection image aspect.)
Adjust focus and vertical/ horizontal positioning.
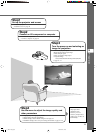
6 Projection
Prior to projection, check that the main unit and screen are correctly installed, and that source components are connected correctly.
To project images, carry out the following procedure.
Is the screen installed correctly?
“Setting up the projector and screen”
☞ page 48
12_DPX-1100_E.p65 2004.04.16, 12:5512