


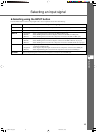
14
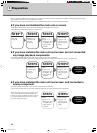
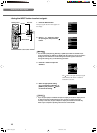
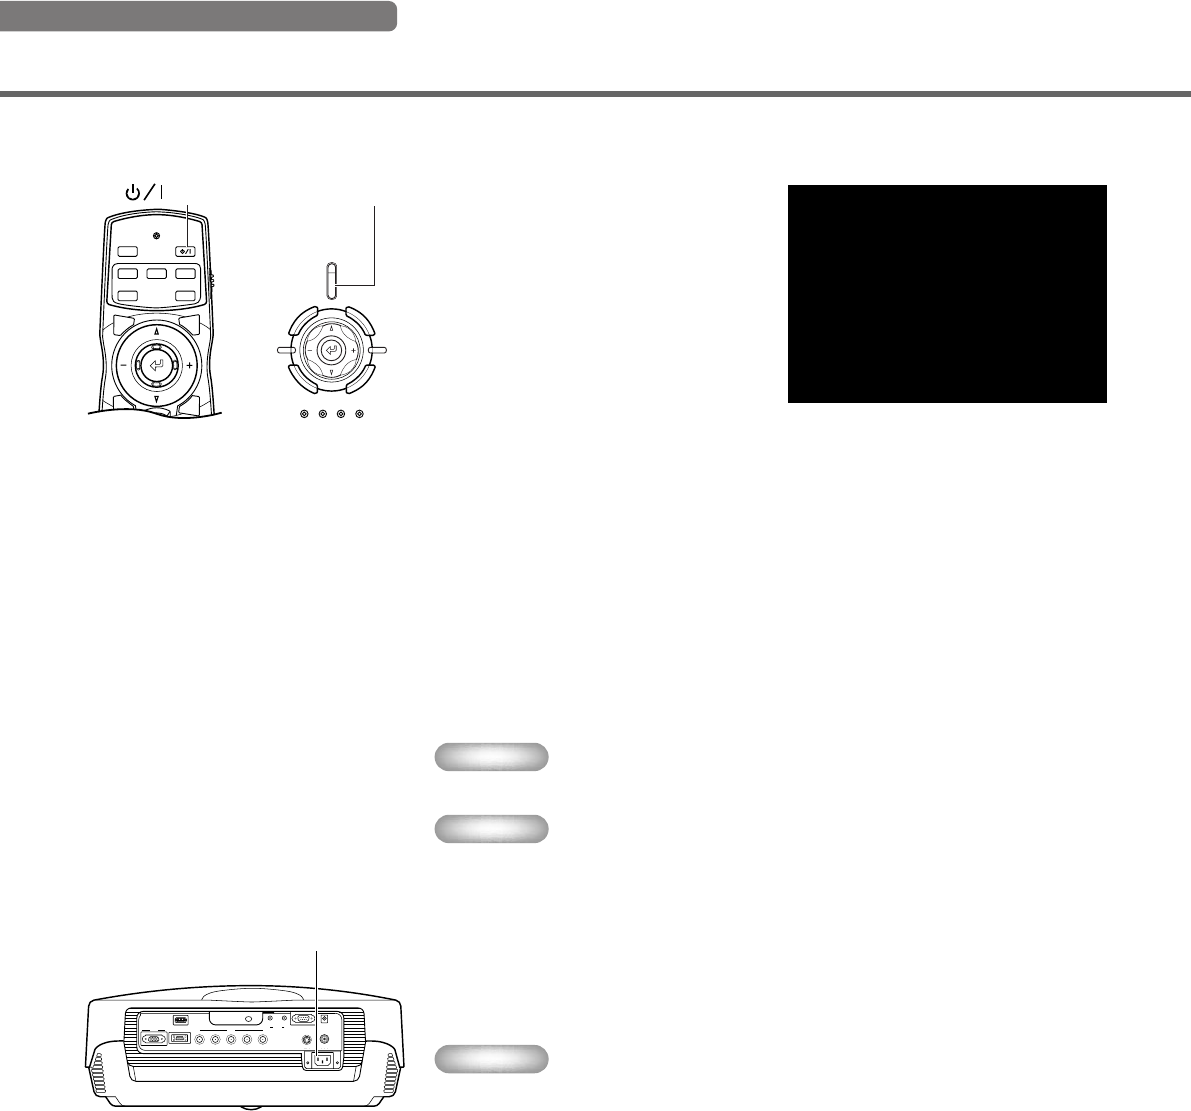
1. Press the STANDBY/ON button.
A confirmation message appears on the
screen.
◆ Placing the DPX-1100 in standby mode
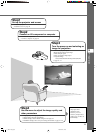
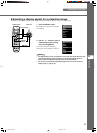
3. If you do not plan to use the main
unit for a long period of time,
attach the lens cap and remove
the plug from the AC outlet.
Warning
• Condensation may appear on the unit if the temperature of the surrounding
environment changes quickly. Condensation may also cause the projected image to
be cloudy. Place the unit in standby mode until the condensation disappears.
Switching the unit on when condensation is present may damage the unit.
2. If you wish to place the DPX-1100
in standby mode, press the
STANDBY/ON button again.
The lamp changes to a half lit state, and the
fan activates for 2 minutes to cool the lamp.
During this time, the STANDBY/ON
indicator blinks orange, and pressing
STANDBY/ON does not turn main unit
power on again. When the unit finishes
cooling, the fan stops, and the STANDBY/
ON indicator turns orange.
Memo
• The lamp may blink when half lit. This is not a defect.
Warning
• Do not remove the power cable while the STANDBY/ON indicator is blinking green
or when the fan is activated. This could damage the lamp or reduce lamp life.
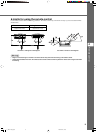
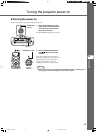
Turning the projector power on
AC inlet
Press again to enter standby.
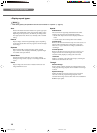
HDMI
G/Y B/P
B
/C
B
R/P
R
/C
R
INPUT A
HD/SYNC
VD
OUT IN
REMOTE
TRIGGER OUT
S-VIDEO VIDEO
INPUT B
RGB/YP
B
P
R
/YC
B
C
R
RS-232C
D4 VIDEO
INPUT
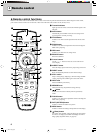
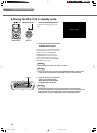
MENU
PATTIRIS
AUTO
SETTING
ASPECT
ZOOM FOCUSV. POS
ESCAPE
STANDBY
/
ON
SETTING
LAMP COVER TEMP FAN
PATTERN
ESCAPE
MENU
INPUT
ASPECT
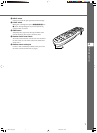
Remote Control Main unit
button STANDBY/ON button
12_DPX-1100_E.p65 2004.04.16, 12:5514