


34
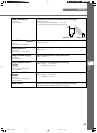
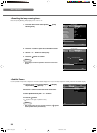
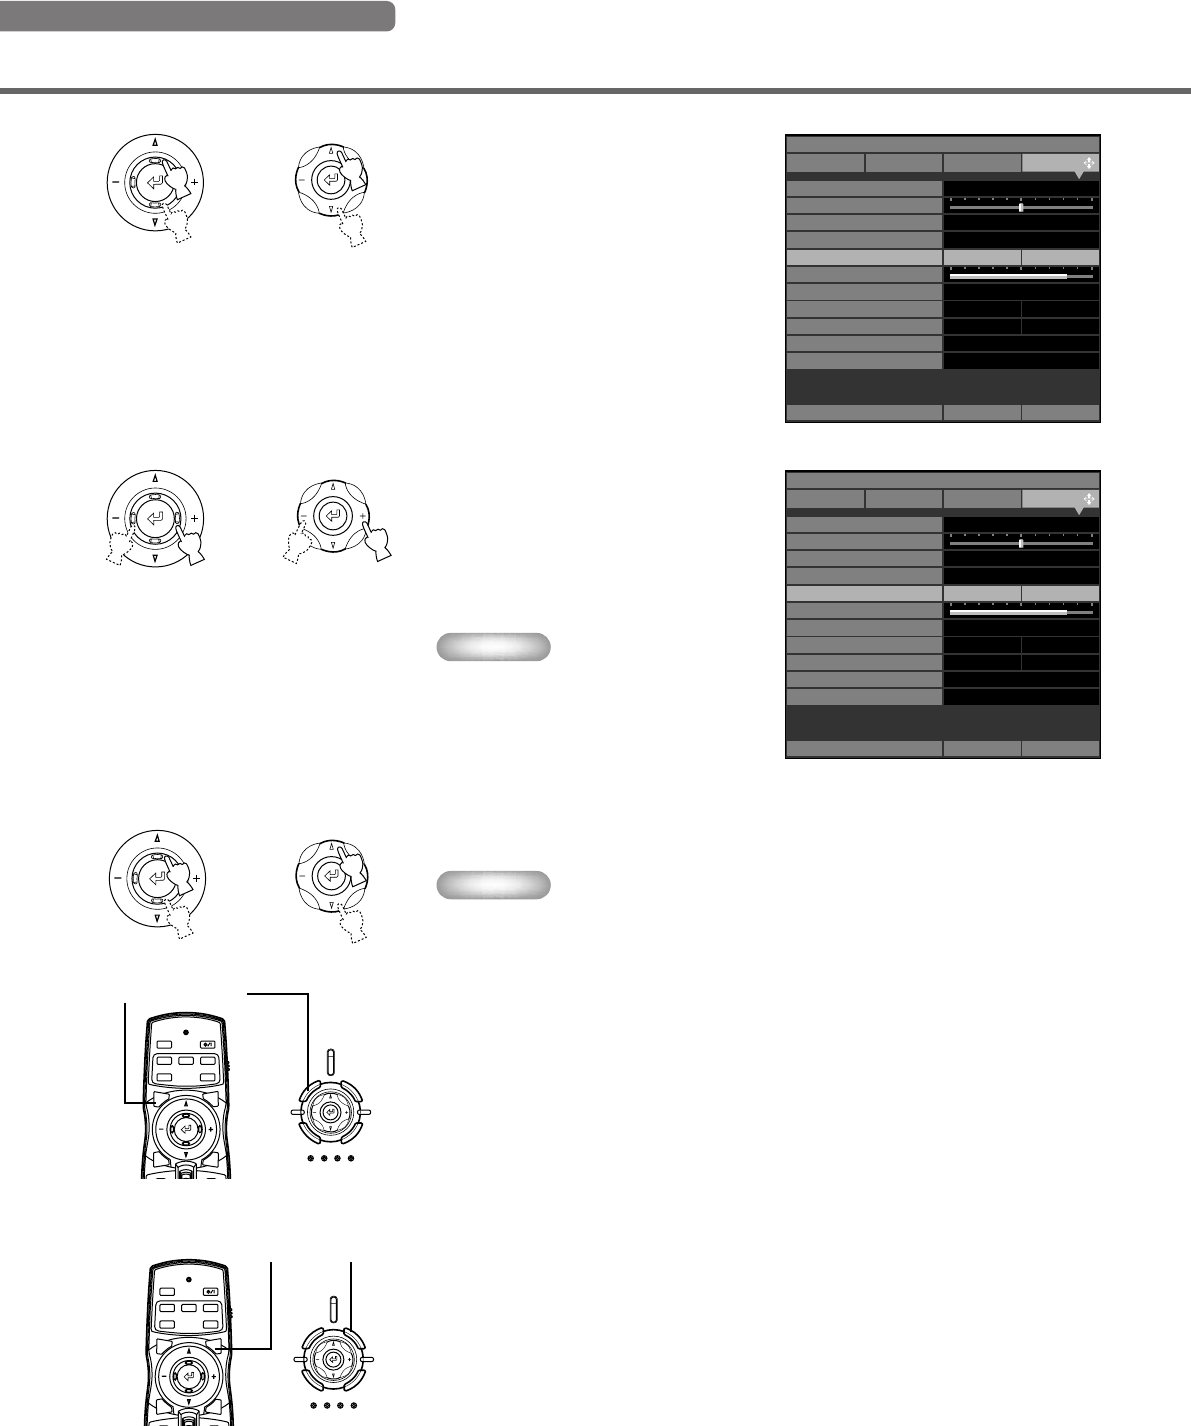
6. Close the menu screen.
When you have finished making
adjustments, press the MENU button to
close the menu screen.
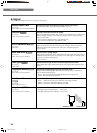
5. Move to another item or group.
Memo
• Use the h / g buttons to move the
cursor to another item in the same
group.
To move to an item in another menu
group, press ESCAPE or the h button
to return to the top of the menu group,
and repeat steps 2,3 and 4.
Remote Control Main Unit
or
Menu operations
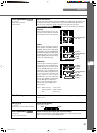
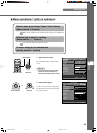
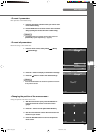
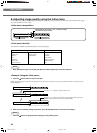
4. Choose a setting for the item.
Use the +/- buttons to select a suitable
setting.
The illustration at right depicts the [Lens
Adjustment Lock] mode set to [On].
Memo
• The setting method depends on the
item selected. In the example at right,
press +/- buttons to change On/Off
states of the menu item.
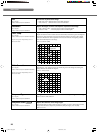
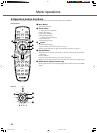
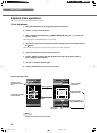
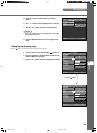
3. Select a menu item.
Use the h / g buttons to move the cursor to
the item you wish to adjust.
The illustration at right depicts [Lens
Adjustment Lock] being selected.
Remote Control Main Unit
or
Remote Control Main Unit
or
VIDEO
0
105
Location
Keystone Correction
Remote Control Sensor
Remote Control ID
Lens Adjustment Lock
Menu Color
Off On
Lamp Power
Basic Advance
Off OnMessage
Trigger Out
Baud Rate
Front / Table
Front & Rear
Color
Lamp
115200bps
ID 1
Menu Mode
Image
Memory 1
Signal Initial Setup
Move Menu Window
VIDEO
0
105
Location
Keystone Correction
Remote Control Sensor
Remote Control ID
Lens Adjustment Lock
Menu Color
Off On
Lamp Power
Basic Advance
Off OnMessage
Trigger Out
Baud Rate
Front / Table
Front & Rear
Monotone
Lamp
115200bps
ID 1
Menu Mode
Image
Memory 1
Signal Initial Setup
Move Menu Window
Remote Control Main Unit
STANDBY
/
ON
SETTING
LAMP COVER TEMP FAN
PATTERN
ESCAPE MENU
INPUT
ASPECT
PATTIRIS
AUTO
SETTING
ZOOM FOCUSV. POS
INPUT
MENU
ASPECT
ESCAPE
Remote Control Main Unit
ESCAPE Button
STANDBY
/
ON
SETTING
LAMP COVER TEMP FAN
PATTERN
ESCAPE MENU
INPUT
ASPECT
PATTIRIS
AUTO
SETTING
ZOOM FOCUSV. POS
INPUT
MENU
ASPECT
ESCAPE
MENU Button
13_DPX-1100_E.p65 2004.04.16, 12:5834