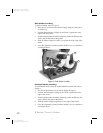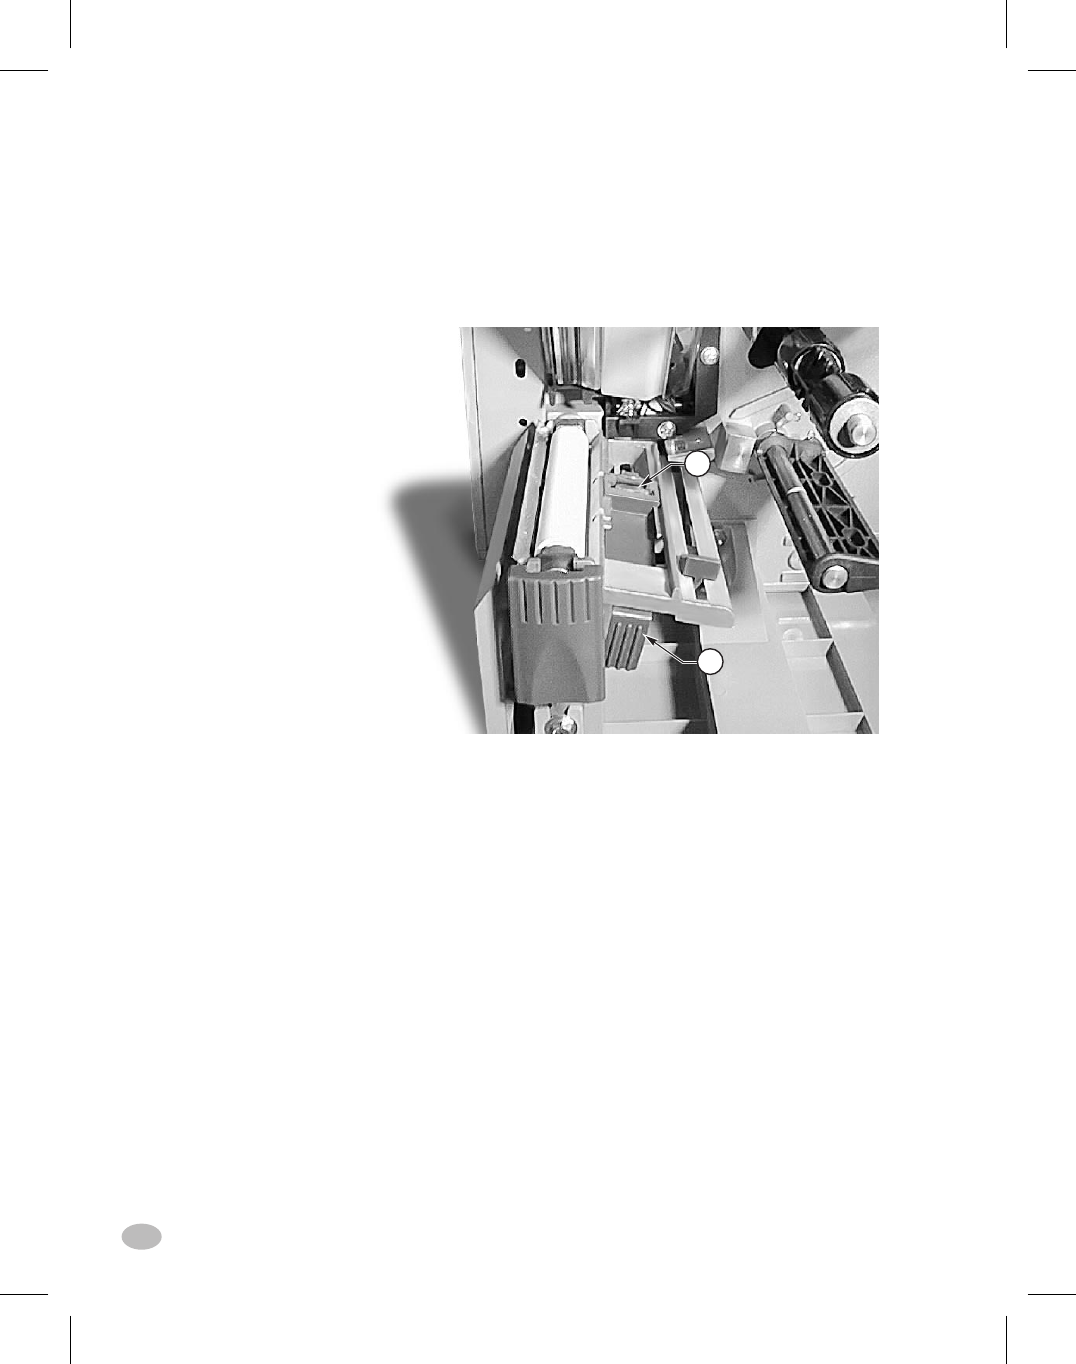
sensor anywhere under the media so that an “Out-of-Media” condi-
tion will still be sensed.
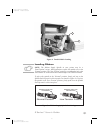
5. Insure the media and ribbon are properly positioned within the
print mechanism. then close the Printhead Assembly.
6. Close the printer’s media cover, then turn the printer power OFF.
Printer Operational Check
1. To insure proper setup and to check the initial printer configura-
tion, press and hold the CANCEL key while turning the printer
power ON. (Release the CANCEL key once the front panel indica-
tors begin to turn OFF.)
2. After an initial time period when the Power ON Self Test is per-
formed, the printer will feed out media while calibrating the label
length, then print a configuration label.
3. Check the current configuration printed on the label and note any
parameters which must be changed to insure the printer fits your
application. For information on changing the configuration for
your specific application, refer to Appendix A.
A visual check of the label also provides an indication of the print qual-
ity. Media width and media thickness vary from one application to the
10 Z Series™ User’s Guide
o
p
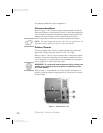
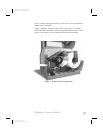
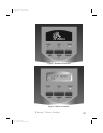
Figure 6. Sensor Positioning
18
H:...uspiran2.vp
Thu Jun 18 15:54:04 1998
Color profile: Disabled
Composite Default screen


