Prestige 645R-A Series User’s Guide
Firmware and Configuration File Maintenance 20-11
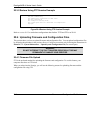
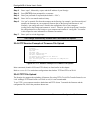
Step 1. Use telnet from your computer to connect to the Prestige and log in. Because TFTP does not
have any security checks, the Prestige records the IP address of the telnet client and accepts
TFTP requests only from this address.
Step 2. Put the SMT in command interpreter (CI) mode by entering 8 in Menu 24 – System
Maintenance.
Step 3. Enter the command “sys stdio 0” to disable the console timeout, so the TFTP transfer will not be
interrupted. Enter “command sys stdio 5” to restore the five-minute console timeout (default)
when the file transfer is complete.
Step 4. Launch the TFTP client on your computer and connect to the Prestige. Set the transfer mode to
binary before starting data transfer.
Step 5. Use the TFTP client (see the example below) to transfer files between the Prestige and the
computer. The file name for the firmware is “ras”.
Note that the telnet connection must be active and the Prestige in CI mode before and during the TFTP
transfer. For details on TFTP commands (see following example), please consult the documentation of your
TFTP client program. For UNIX, use “get” to transfer from the Prestige to the computer, “put” the other
way around, and “binary” to set binary transfer mode.
20.4.6 TFTP Upload Command Example
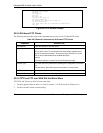
The following is an example TFTP command:
tftp [-i] host put firmware.bin ras
where “i” specifies binary image transfer mode (use this mode when transferring binary files), “host” is the
Prestige’s IP address and “put” transfers the file source on the computer (firmware.bin – name of the
firmware on the computer) to the file destination on the remote host (ras - name of the firmware on the
Prestige).
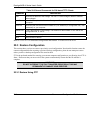
Commands that you may see in GUI-based TFTP clients are listed earlier in this chapter.


