Chapter 2 NAS Starter Utility for NSA221, NSA310, NSA320, and NSA325
Media Server User’s Guide
26
• JBOD: Use this if you want maximum storage capacity and/or you have other means of
protecting your data. This combines the two physical disks into a single virtual one, so they
appear as a single large disk.
• RAID 0: Use this if you want maximum speed for your disks, and/or you have other means of
protecting your data. RAID 0 has the fastest read and write performance but if one disk fails
you lose all your data from both disks.
7 This screen lists the shares the NAS Starter Utility creates on the NSA by default. Select the ones
you want to use as network drives in Windows Explorer.
8 Specify usernames and passwords for the individuals you want to be able to access the NSA and
click Next.
9 If the settings are OK, click Next. Otherwise click Back. If you want to change anything other than
the user accounts, keep clicking Back until you can change the wizard type to manual.
10 Wait while the NAS Starter Utility configures the NSA.
After the NAS Starter Utility finishes configuring the NSA, you can click Show the directory of the
NAS to see the NSA’s shares (see Section 2.5.3 on page 26) or click Finish to return to the main
NAS Starter Utility screen (see Section 2.4 on page 23).
2.5.3 Directory of the NAS
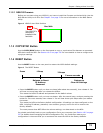
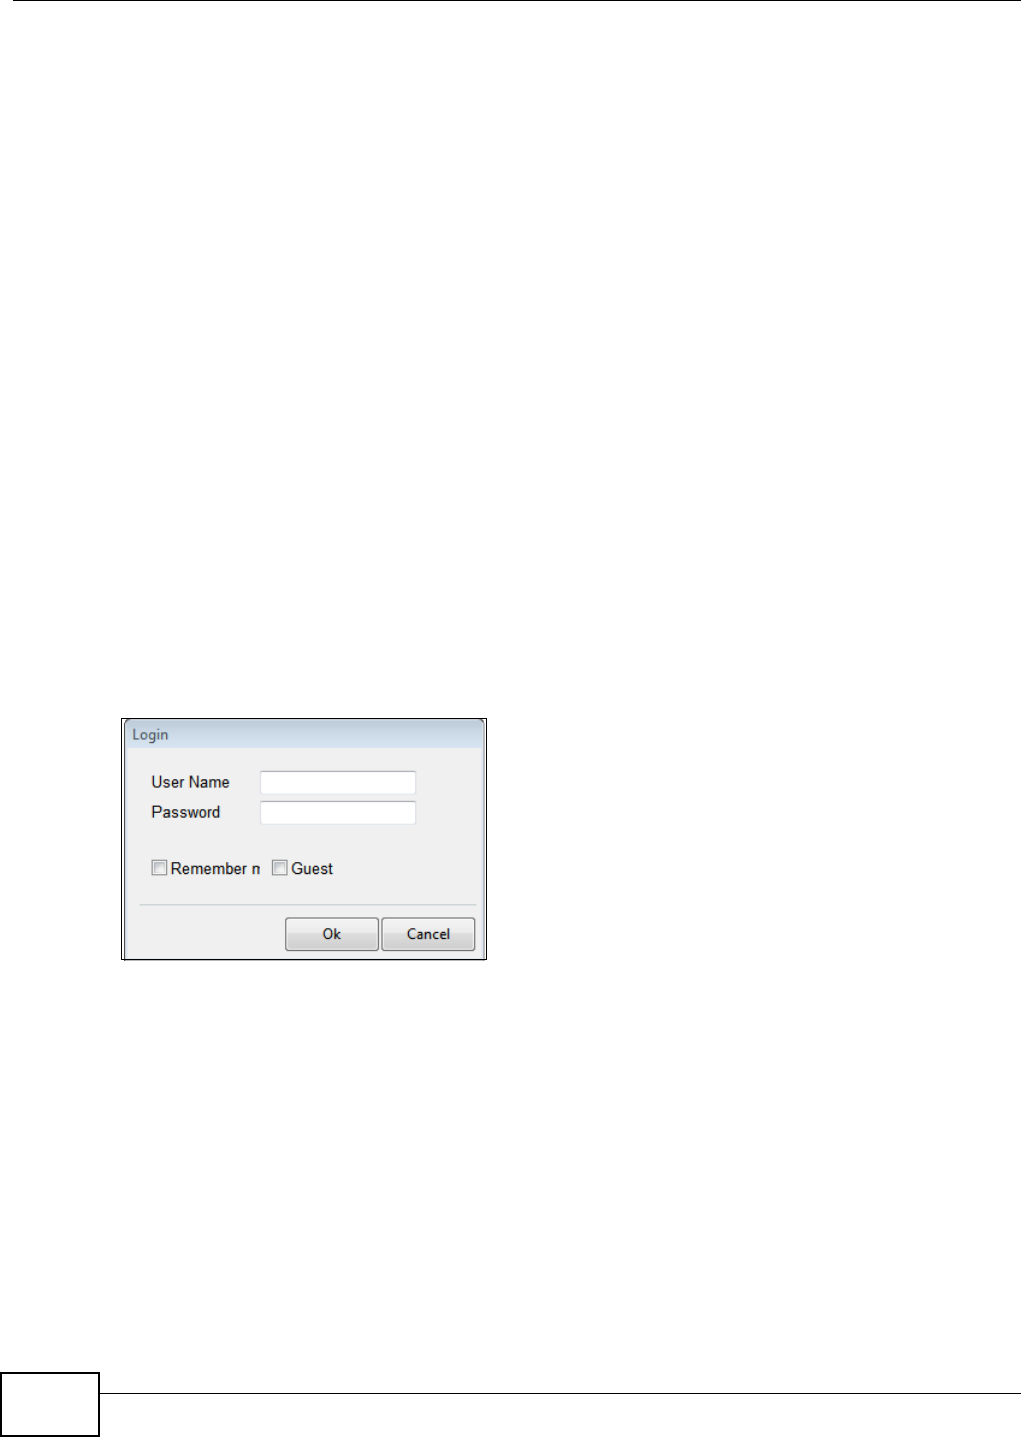
Click Shared Folder to log into the NSA’s file directory in Windows Explorer. Enter the
administrator user name and password and click Login.
Figure 6 Login


