Chapter 8 Storage
Media Server User’s Guide
163
volume again. After the NSA finishes the second repair, use the Expand icon to have the RAID1
volume use the rest of the hard disk capacity.
8.2.2 Storage Screen
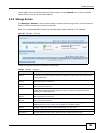
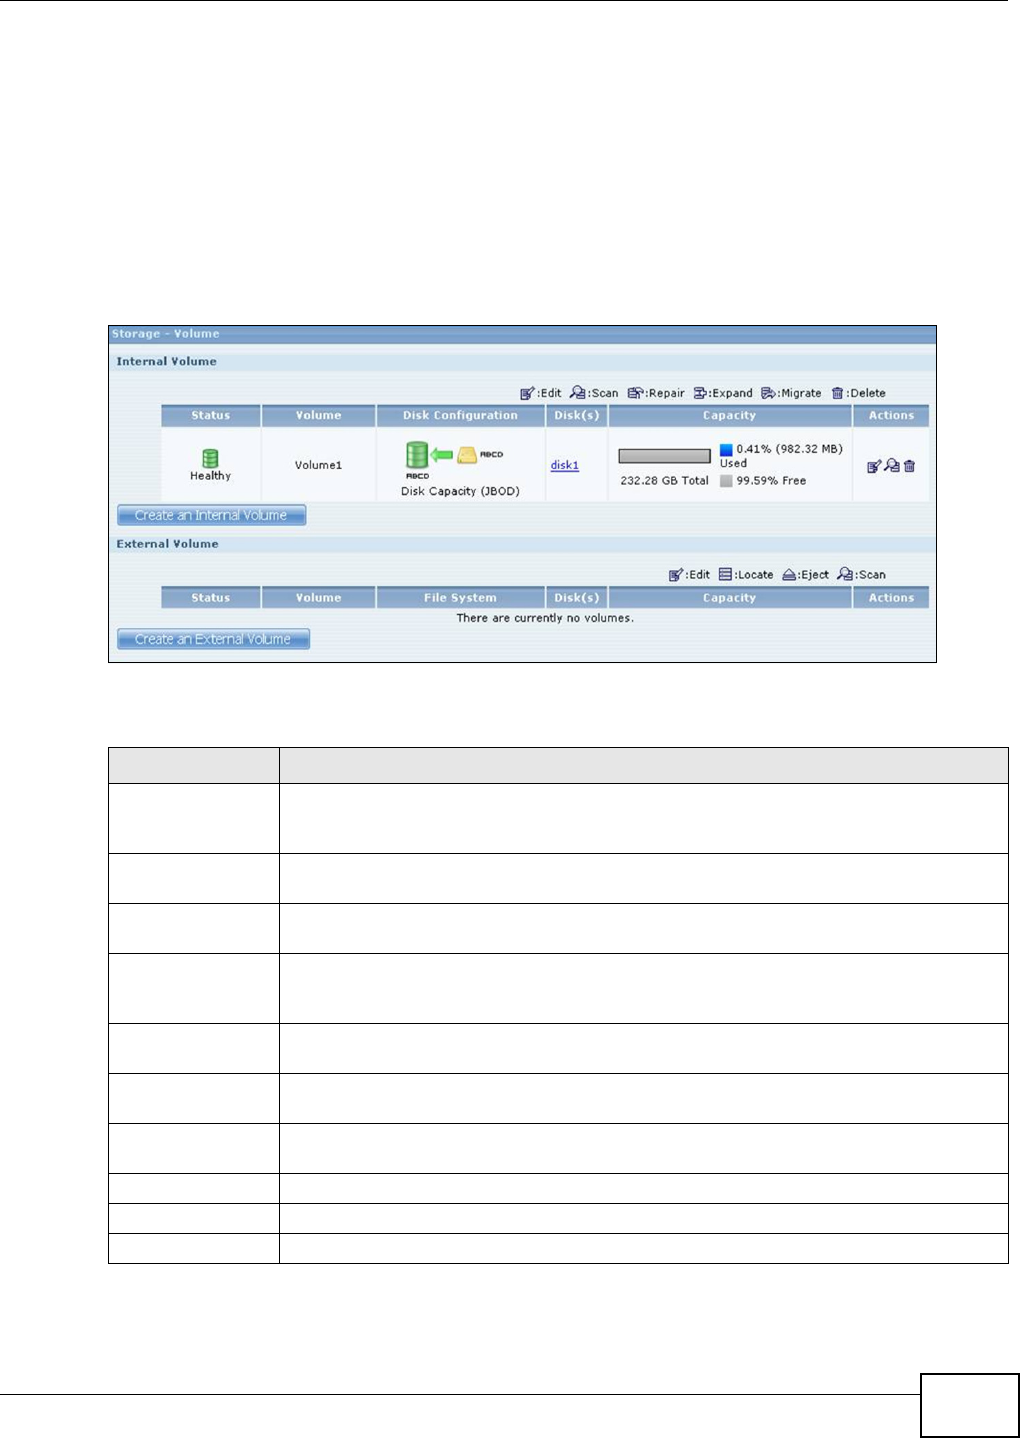
Click Storage > Volume in the navigation panel to display the following screen. Use this screen to
display internal and external volumes on the NSA.
Note: It is recommended to scan the volume every three months or 32 reboots.
Figure 87 Storage > Volume
The following table describes the labels in this screen.
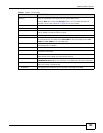
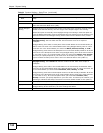
Table 24 Storage > Volume
LABEL DESCRIPTION
Internal/External
Volume
(2-bay models) These tables display information on all internal volumes (created on NSA
internal disk drives) and external volumes (created on external disk drives attached to
the NSA USB ports).
Create an Internal
Volume
(2-bay models) Click this to format internal hard drives and create a new volume. All
data on the disk(s) will be lost.
Create an External
Volume
(2-bay models) Click this to format an external hard drive and create a new volume. All
data on the disk will be lost.
SATA/USB Volume (1-bay models) These tables display information on all internal SATA volumes (created
on NSA internal disk drives) and external volumes (created on external disk drives
attached to the NSA USB ports).
Create a SATA
Volume
(1-bay models) Click this to format internal hard drives and create a new volume. All
data on the disk(s) will be lost.
Create a USB
Volume
(1-bay models) Click this to format an external hard drive and create a new volume. All
data on the disk will be lost.
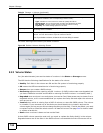
Status This field shows whether the volume is Healthy, Resync, Recovering, Degraded, or
Down. See Section 8.4 on page 167 for details on a volume’s status.
Volume The NSA creates the volume name automatically. You can edit it.
Disk Configuration This field shows which disks and data storage system the volume is using.
File System This field displays the file system that an external (USB) volume is using.


