


50 CHAPTER 6: HARDWARE MAINTENANCE
4 Turn on the power switch.
5 Check if the power status indicator ON the RPU is normal.
Fan Removal and
Installation
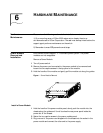
The fan is used for exhausting air to cool the cards. The fan is installed vertically to
the right side inside the integrated chassis.
Remove a Fan
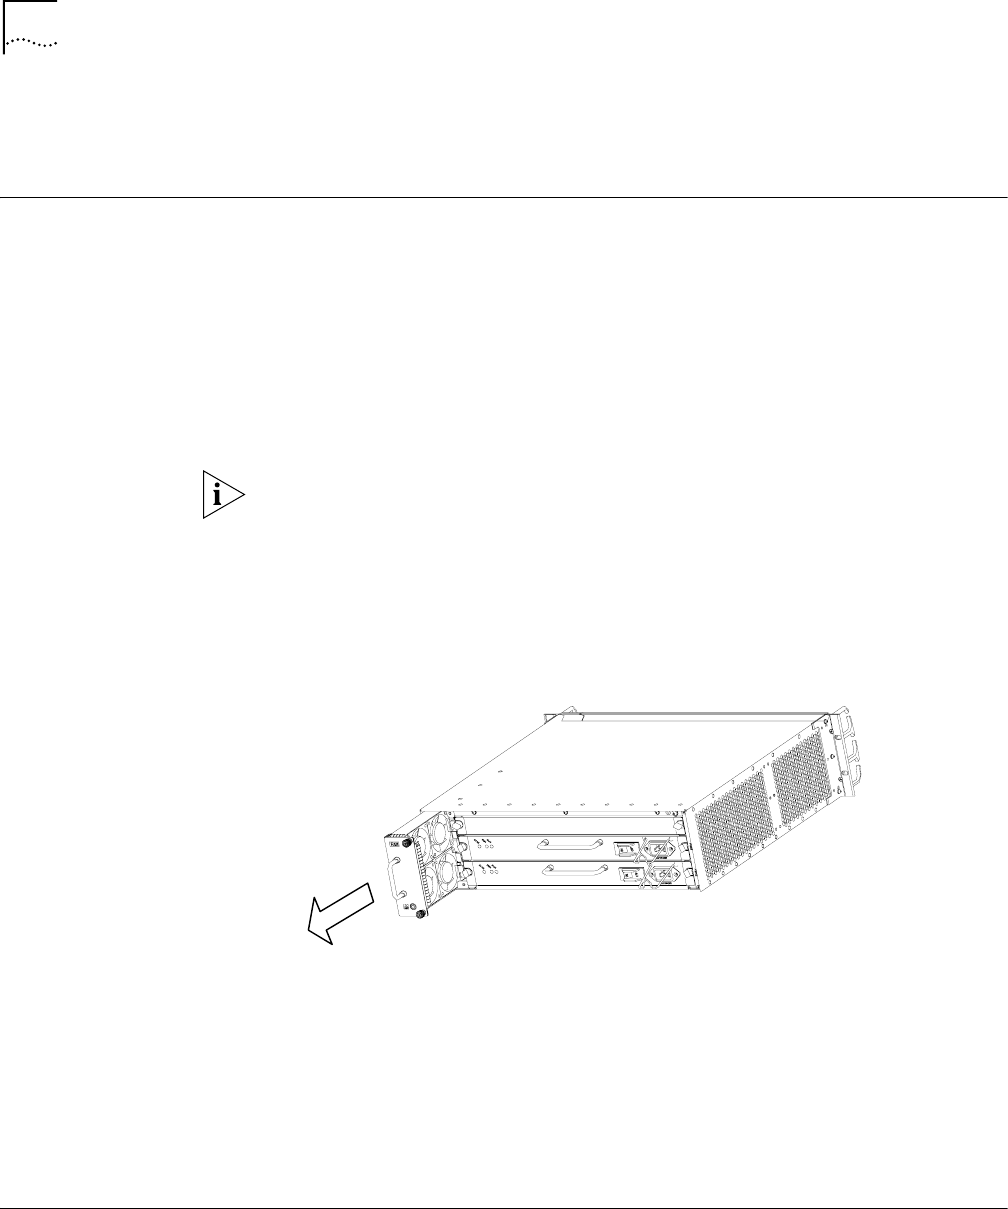
1 Loosen the two captive screws of a fan.
2 One hand holds the handle attached to the front of the fan and pull part of it out,
while the other hand holds the bottom of the fan.
3 Pull the whole fan out after it completely stops rotating.
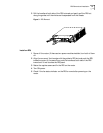
The fan is rather long, and therefore use one hand to hold the bottom of the fan
while the other hand holds the handle attached to the front of the fan and pull it
out slowly. Be careful and do not put your finger into the rotating fan.
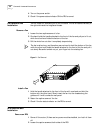
Figure 2 Fan Removal
Install a Fan
1 Hold the handle attached to the front of the fan with one hand and hold the
bottom with the other hand. Slowly insert the fan into the chassis along the
guides until it well touches the rear panel.
2 Fasten the captive screws of the fan.
3 Check if the fan status indicator on the RPU is normal.
RPU Removal and
Installation
Remove an RPU
1 Power off the router. (If there are two power modules installed, turn both of them
off.
2 Loosen the captive screws at both sides of the RPU.