


WAVE 2
-Way Wireless Accessories and Adapters for Touch Panels Installation 29
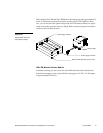
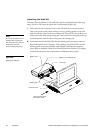
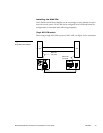
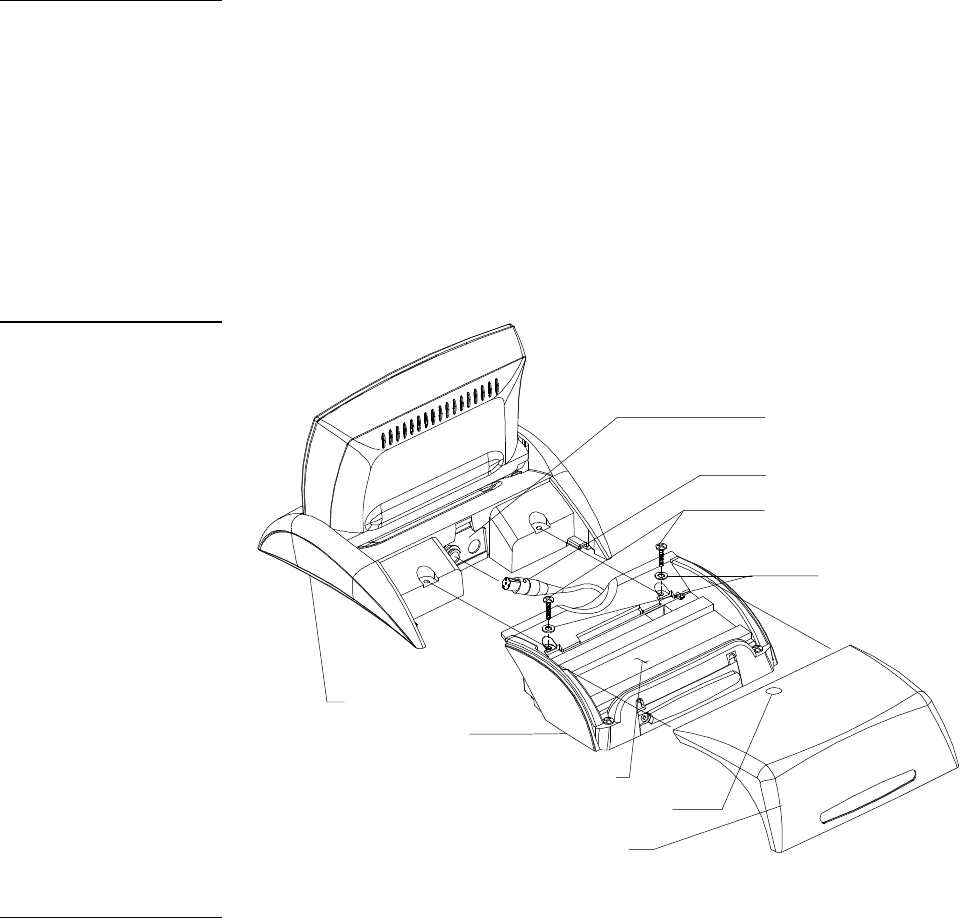
3. Insert the WAV-PKM connector cable into the connector on the rear of the mini-
touch panel.
4. Position the WAV-PKM onto the rear of the control panel, aligning the
WAV-PKMs screw holes with the mini-touch panel's screw holes. Then, using a
Phillips screwdriver, secure the WAV-PKM to the control panel with two screws
and two flat washers (Figure 32).
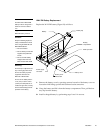
5. Position the WAV-PKM top cover on the unit and slide it toward the mini-touch
panel until you hear a click, indicating that the cover is latched by the mini-
touch panel catch (Figure 32).
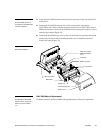
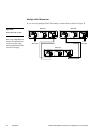
Mini-touch panel
Connector
Retaining screws
Battery cover
WAV
-
PKM
Flat washers
Catch for retaining
WAV-PKM battery
cover
Catch release point
Battery tray
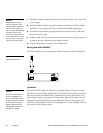
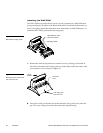
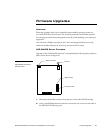
WAV-PKM Battery Replacement
To install or remove the WAV-PKM rechargeable battery, follow the steps below.
Note
The WAV-PKM top cover is
not attached to the WAV-PKM
until after installation.
Figure 32
WAV-
PKM installation
Note
The WAV-BP or WAV-BPM
battery must be charged for a
minimum of 4-hours before
use.