ASUS A8N-SLI PremiumASUS A8N-SLI Premium
ASUS A8N-SLI PremiumASUS A8N-SLI Premium
ASUS A8N-SLI Premium
5-335-33
5-335-33
5-33
2. Select
RAID 1RAID 1
RAID 1RAID 1
RAID 1 then
press <Enter> to
display the following.
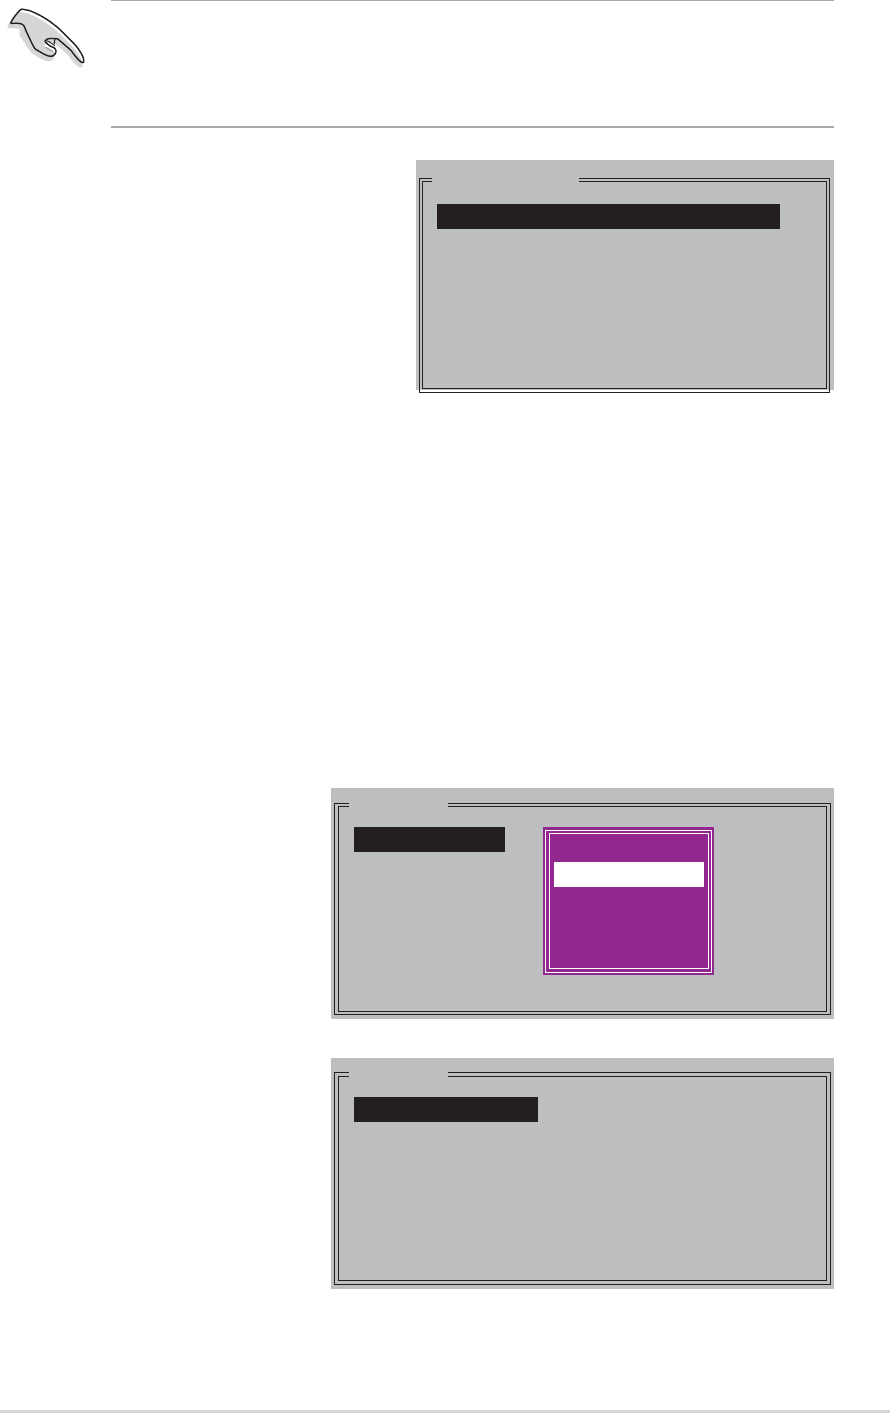
MAIN MENU
Auto configuration
Manual configuration
c. The selection bar moves to
the Physical Drive menu.
Using the up or down arrow
keys, select a drive then
press <Enter> to set the
first drive of the RAID set.
d. Repeat step c to set the second, third, and fourth drive. The
number of available drives depend on the installed and enabled
physical drives in the system.
e. The utility prompts a message to input the RAID size, use the up
or down arrow keys to set the RAID size then press <Enter>.
f. Press <Y> to confirm or <N> to return to the Main Menu.
TIP: TIP:
TIP: TIP:
TIP: For server systems, we recommend using a lower array block size.
For multimedia computer systems used mainly for audio and video
editing, we recommend a higher array block size for optimum
performance.
PHYSICAL DRIVE
0 XXXXXXXXXXX XXXXXXMB
1 XXXXXXXXXXX XXXXXXMB
2 XXXXXXXXXXX XXXXXXMB
3 XXXXXXXXXXX XXXXXXMB
Creating a RAID 1 set (Mirrored)Creating a RAID 1 set (Mirrored)
Creating a RAID 1 set (Mirrored)Creating a RAID 1 set (Mirrored)
Creating a RAID 1 set (Mirrored)
To create a RAID 1 set:
1. From the Silicon Image
configuration utility
main menu, select
Create RAID setCreate RAID set
Create RAID setCreate RAID set
Create RAID set
then press <Enter>. The
following sub-menu
appears.
MAIN MENU
Create RAID set
Delete RAID set
Rebuild Raid1 set
Resolve Conflicts
Low Level Format
Logical Drive Info
RAID0
RAID1
RAID10
SPARE DRIVE
RAID0
RAID1
RAID5
RAID10
SPARE DRIVE
JBOD (Single)
