


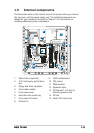


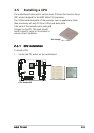
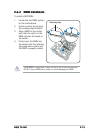
2-72-7
2-72-7
2-7
ASUS T2-AH1ASUS T2-AH1
ASUS T2-AH1ASUS T2-AH1
ASUS T2-AH1
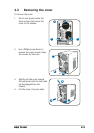
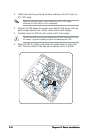
2.5.22.5.2
2.5.22.5.2
2.5.2
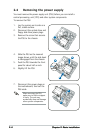
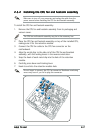
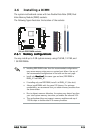
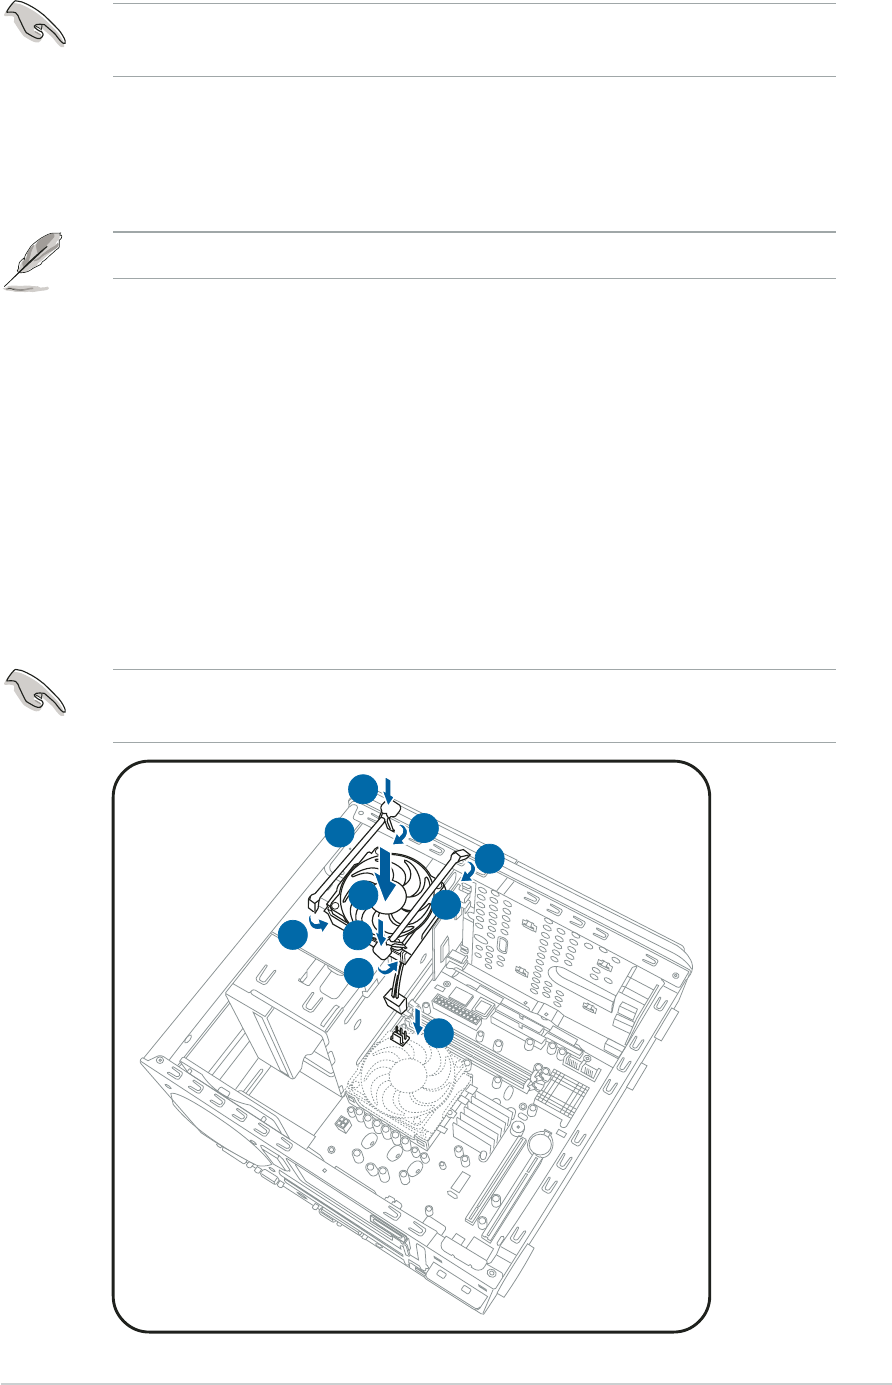
Installing the CPU fan and heatsink assemblyInstalling the CPU fan and heatsink assembly
Installing the CPU fan and heatsink assemblyInstalling the CPU fan and heatsink assembly
Installing the CPU fan and heatsink assembly
Make sure to turn off your computer and unplug the cable from the
power source before installing the CPU fan and heatsink assembly.
To install the CPU fan and heatsink assembly:
1. Remove the CPU fan and heatsink assembly from its packaging and
vacuum cover.
The CPU fan and heatsink assembly may be in the accessory box.
2. Place the CPU fan and heatsink assembly on top of the installed CPU,
making sure it fits the retention module.
3. Connect the CPU fan cable to the CPU fan connector on the
motherboard.
4. Align the metal clips to the side rail of the CPU fan and heatsink
assembly, with the locking levers in the reverse orientation.
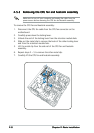
5. Snap the hook of each metal clip into the hole of the retention
module.
6. Carefully press down each locking lever.
7. Hook its end into the retention module hole.
Do not forget to connect the CPU fan connector! Hardware monitoring
errors may occur if you fail to plug this connector.
22
22
2
33
33
3
44
44
4
44
44
4
55
55
5
55
55
5
66
66
6
66
66
6
77
77
7
77
77
7