13. Display Setup
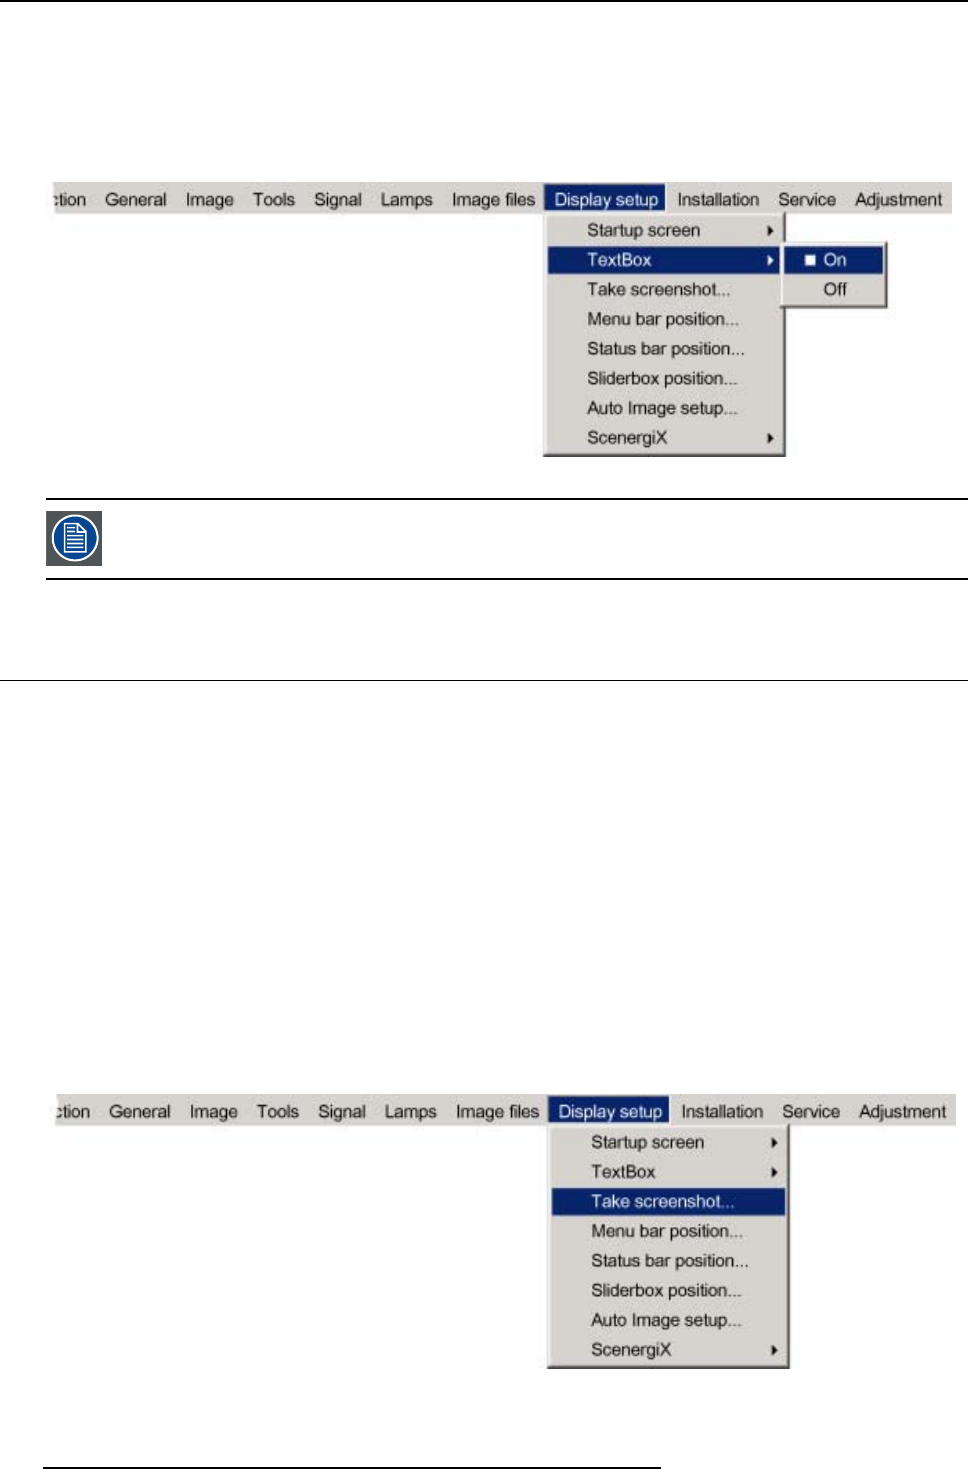
3. Press ↓ to pull down the Display setup menu.
4. Use ↑ or ↓ to select Textbox.
5. Press → to pull down the menu.
6. Use ↓ or ↑ to enable/disable the textbox.
7. Press ENTER.
Image 13-2
To enable the menus and dialog boxes again, press the TEXT button on the RCU.
13.3 Take screenshot
What can be done ?
A screen-shot can be taken from the active projected image. This screen-shot is then saved in a 4 MB RAM and can be used as
background (logo).
Each new screenshot erases the previous one, therefore a warning message is displayed asking the user to confirm.
How to take a screenshot ?
1. Press MENU to activate the menu bar.
2. Press → to select the Display setup item. (image 13-3)
3. Press ↓ to pull down the Display setup menu.
4. Use ↑ or ↓ to select Take screenshot.
5. Press ENTER.
A dialog box is displayed. (image 13-4)
6. Press yes to confirm.
A text box shows the evolution of the operation. (image 13-5, i
mage 13-6)
Image 13-3
116 R5976629 BARCORLM G5 02/06/2006


