


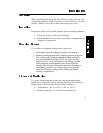
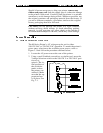
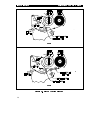


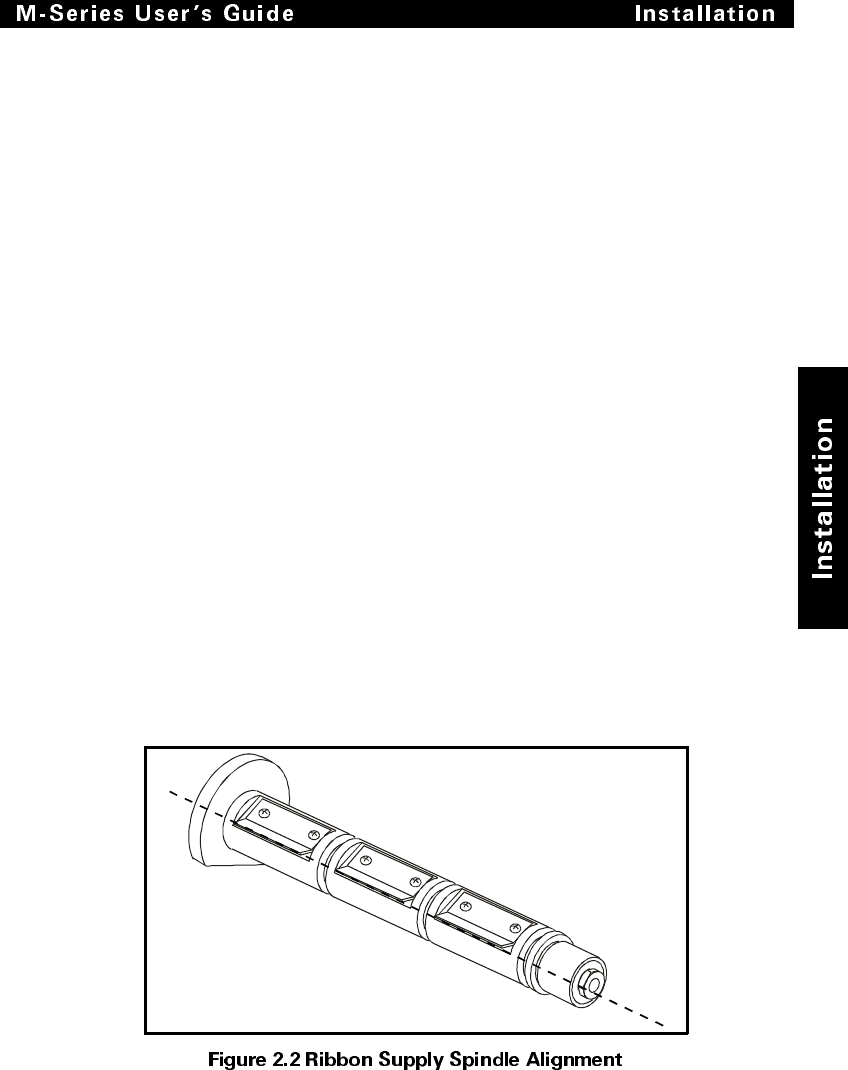
1. Align the segments of the Ribbon Supply Spindle. See Fig-
ure 2.2. The Ribbon Supply Spindle is actually made up of
either two or three segments that rotate independently. Each
segment has a Spring Plate on it. It is important that these
Spring Plates be in alignment prior to installing the ribbon
roll on the spindle.
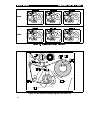
2. Place the Ribbon Roll on the Ribbon Supply Spindle.
3. Open the printhead by moving the handle to the OPEN posi-
tion.
4. Important..... To make ribbon loading and unloading easier,
make a leader for your ribbon roll if it doesn’t already have
one:
Tear off a strip of media (labels and backing) about 6 to 12 inches long
from the roll. Peel off a label from this strip. Remove the remaining la-
bels. Apply half of this label to the end of the strip and the other half to
the end of the ribbon. This acts as a ribbon leader.
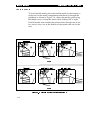
5. Thread the leader and attached ribbon as shown in the illustra-
tion. Be careful not to crease or wrinkle the ribbon.
6. Remove the Hook from the Ribbon Take-Up Spindle.
7. Place the leader under the long leg of the Hook and wind several
turns.
8. Close the printhead by moving the lever to the CLOSED posi-
tion.
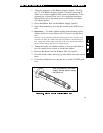
Align the blades on the Ribbon
Supply Spindle before loading
the ribbon roll.
2-5