


46
MAKING A STAMP
Assembling the stamp
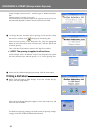
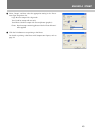
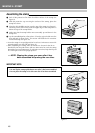
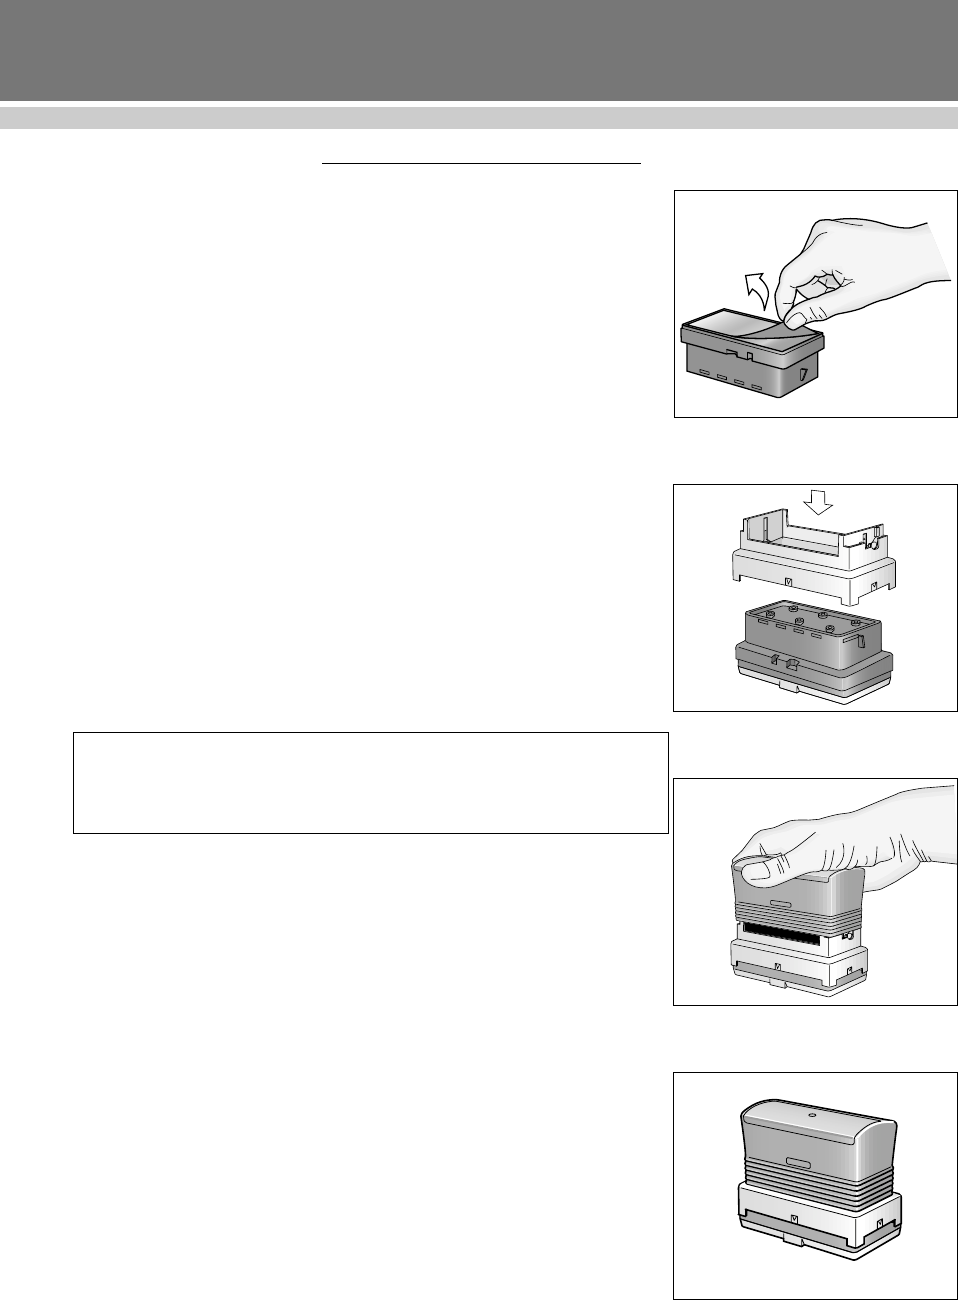
1 Peel off the protective film from the rubber surface of the stamp (see
figure 8).
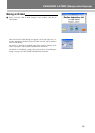
2 With the protective cap covering the surface of the stamp, place the
stamp face down.
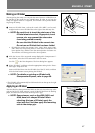
3 Place the skirt (middle section) over the top of the stamp (see figure 9),
and then push it down firmly until the upper edge of the stamp skirt is
below the top of the stamp holder.
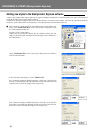
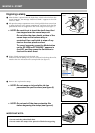
4 Make sure that the stamp holder moves smoothly up and down in the
stamp skirt.
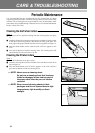
5 Lay the assembled pad on a flat surface. Place the grip or holder over the
skirt and push it down firmly. This action will break the ink container
inside the stamp (see figure 10).
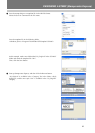
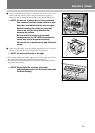
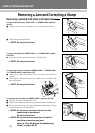
• Leave the stamp in an upright position for at least 3 minutes to ensure ink
spreads equally over the pad (see figure 11).
• After assembling the stamp, allow 30 minutes to 4 hours for the ink to
absorb fully into the pad surface. Ink cure time varies for each size stamp
depending on room temperature. To minimize cure time, keep the ink pad
in a warm place and in an upright position.
☞ NOTE: Flipping the stamp over soon after it has
been assembled will prolong the cure time.
IMPORTANT NOTE:
figure 8
figure 9
figure 10
figure 11
• Do not flip the stamp upside down soon after it has been assembled.
• Do not place the stamp on its side soon after it has been assembled.