


DESIGINING A STAMP
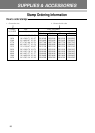
51
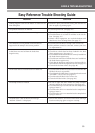
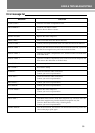
CARE & TROUBLESHOOTING
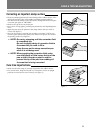
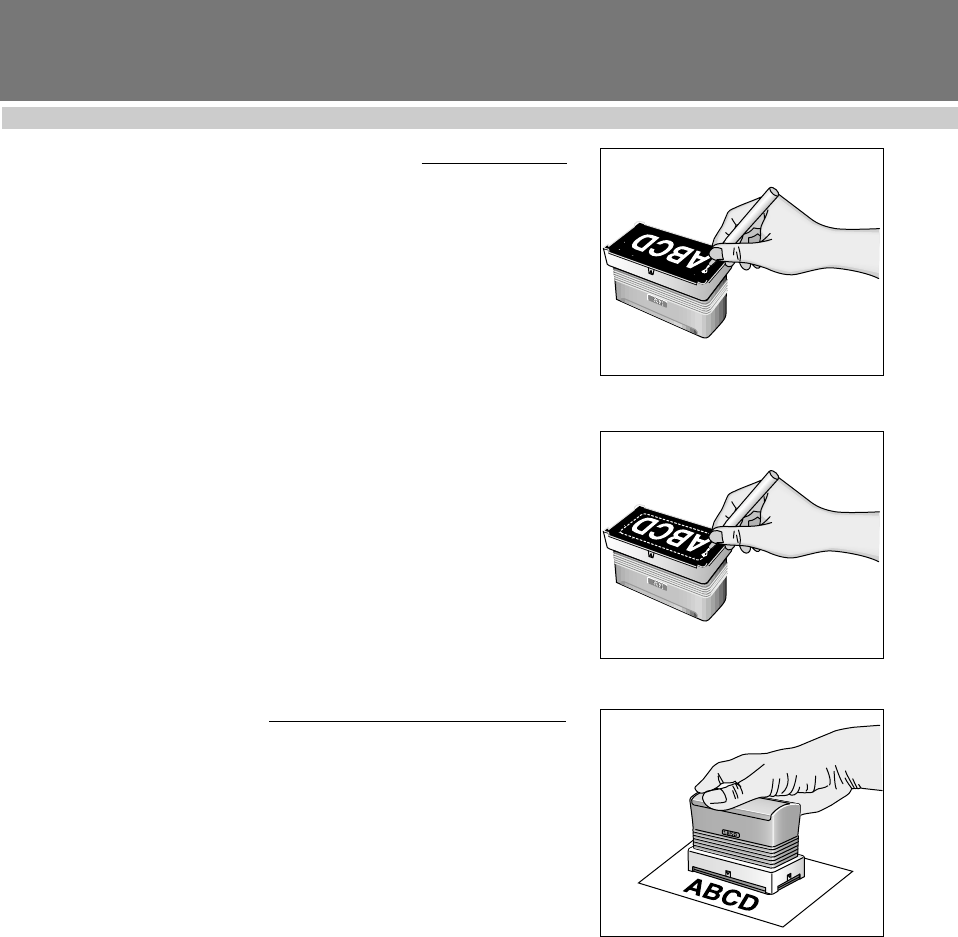
Correcting an imperfect stamp surface
• Dust accumulating between the xenon lamp and the rubber surface of the
stamp will prevent holes in the rubber from being properly filled in.
• The surface of the stamp can be corrected by filling in the holes using the
correction pen (part no. PRCORRT).
• Remove the cap of the correction pen.
• On a piece of scrap paper, push the pen point down until liquid begins to
flow.
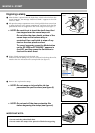
• Apply the pen tip to the portion of the stamp surface that you wish to
correct (see figure 1).
• You can also use the correction pen to make corrections if ink has run
from the space between the glossy area and the non-glossy area around
the printing surface (see figure 2).
☞ NOTE: Do not try stamping until the correction fluid
is completely dry.
Be sure to apply plenty of correction fluid to
the areas that you wish to fill in.
Keep the cap on the stamp correction pen
when it is not being used.
☞ NOTE: When applying the correction fluid, make
sure that plenty of fluid covers the tip of the
pen so that it creates a point in order to
prevent the tip of the pen from rubbing off
the area that is being corrected.
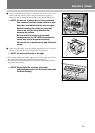
Cure time imperfections
• Make sure that the image is correctly engraved in the rubber surface.
• For several hours, keep the ink pad in a warm place and in an upright
position to ensure that it cures correctly (see figure 3).
figure 1
figure 2
figure 3