


INSTALLATION
3-3
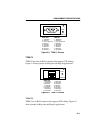
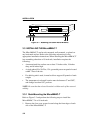
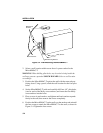
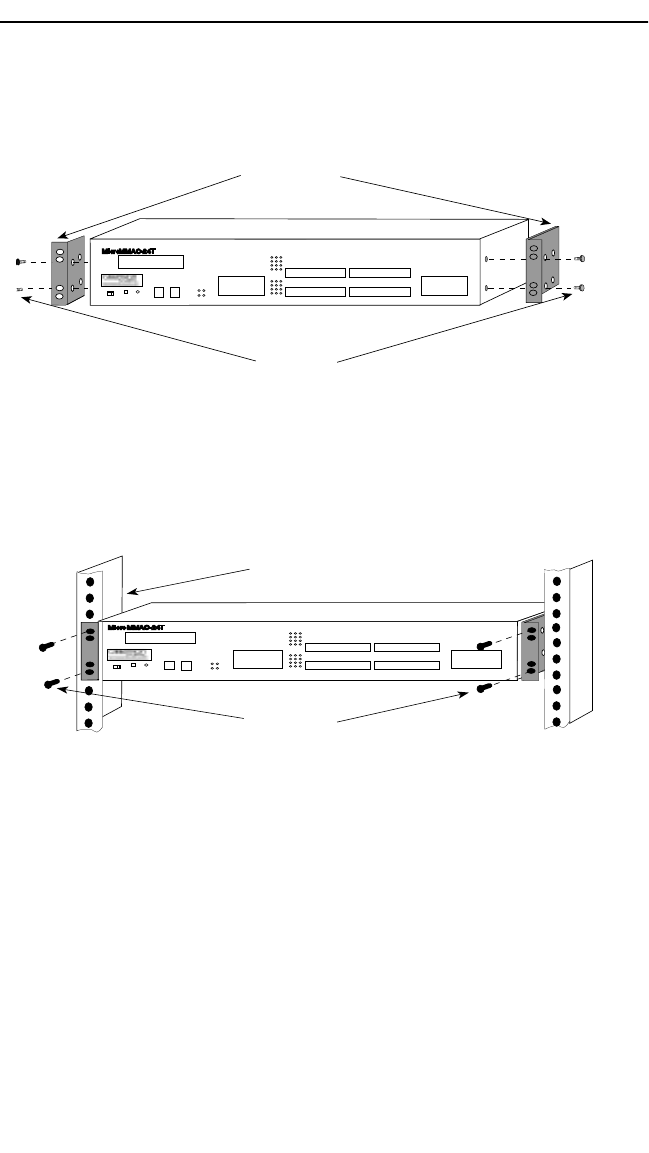
2. Using the four cover screws removed in step 1, attach the
rack-mounting brackets to each end of the MicroMMAC-T.
Figure 3-2. Installing of Rack-Mount Brackets
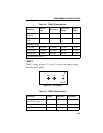
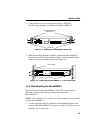
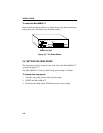
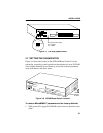
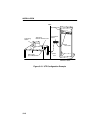
3. With the mounting brackets installed, position the MicroMMAC-T
between the vertical frame members of the 19-inch rack and fasten it
securely with the mounting screws (see Figure 3-3).
Figure 3-3. Installing the MicroMMAC-T in a 19-inch Rack
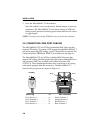
3.3.2 Wall-Mounting the MicroMMAC-T
When wall-mounting the MicroMMAC-T, the TCU ports must face
downward. Perform the following steps to wall-mount the
MicroMMAC-T:
NOTE: 1/4-inch Molly screw anchors for wall-mounting are not included
with the MicroMMAC-T.
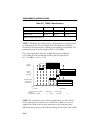
1. Use the supplied screws to attach the wall-mounting brackets to the
bottom of the MicroMMAC-T as shown in Figure 3-4. There are two
brackets, one for each side.
Screws (4)
Wall/Rack Mounting
Brackets (2)
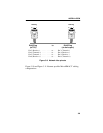
TOKEN RING HUB
WITH
LANVIEW®
SUPPORTING 100 OHM STP CABLE
MicroMMAC-24T
TOKEN RING HUB
WITH
LANVIEW®
SUPPORTING 100 OHM STP CABLE
MicroMMAC-24T
Screws (4)
19-Inch Rack