


Fax (D1180/D1170/D1150)
6-19
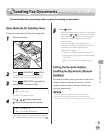
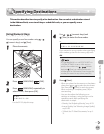
Specifying Destinations
Specifying Destinations
This section describes how to specify a fax destination. You can select a destination stored
in the Address Book, a one-touch key or coded dial code, or you can specify a new
destination.
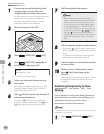
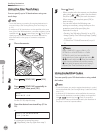
Using Numeric Keys
You can specify a new fax number using – ,
[numeric keys] and [Tone].
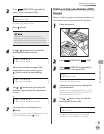
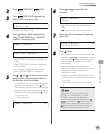
1
Place documents.
2
Press [SEND/FAX]/ [FAX].
3
Press [SEND/FAX] repeatedly to
select <FAX>, then press [OK].
S E L E C T : O K
F A X
For the D1150, skip this step.
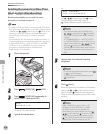
4
Use
– , [numeric keys] and
[Tone] to enter the fax number.
T E L = 0 1 2 X X X X X X X
F A X N U M B E R
Ex.
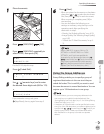
If you entered a wrong number when specifying
a fax number, go back to the wrong digit with
.
If <CONFIRM FAX NO.> in <ACCESS TO DEST.> in
<SYSTEM SETTINGS> is set to <ON> and you
specify a fax number using
–
, [numeric
keys] and [Tone], you need to enter the fax
number again for confirmation. Enter the same fax
number you entered in step 4, then press [OK].
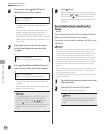
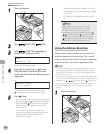
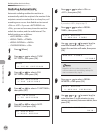
5
Press [Start].
When you place the documents on the platen
glass, press
or to select the document
size, then press
[Start] for each document.
When scanning is complete, press [OK] to
start sending.
You can also adjust the following scan
settings as necessary, using the keys on the
operation panel, after specifying the
destination in step 4.
D
ensity: See “Adjusting Density,
” on p. 6-29.
Image Quality: See “Selecting Image Quality,”
on p
. 6-30.
2-Sided: S
ee “2-Sided Documents,
” on p. 6-
31.
–
–
•
•
•