44
10
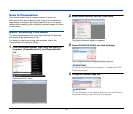
Place the documents into the scanner, and click [Save] to
start scanning.
IMPORTANT
Depending on the [Feeder/Flatbed] and [Feeding Option]
settings, place your documents as follows:
• If [Feeding Option] is set to [Standard Feeding], place your
documents before starting the scan procedure. When the entire
document has been scanned, the [Continue Scanning] dialog
box appears.
• If [Feeding Option] is set to [Automatic Feeding] or [Panel-
Feeding], documents placed in the feeder tray are scanned. If
there are no documents in the feeder, the scanner enters the
standby state.
• If the [Feeding Option] is set to [Automatic Feeding],
documents are scanned whenever the feeder tray sensor
detects documents. When you press the STOP button, the
[Continue Scanning] dialog box appears.
• If [Feeding Option] is set to [Panel-Feeding], the START button
lamp lights. Scanning begins when a document is placed in the
feeder and you press the START button. The [Continue
Scanning] dialog box appears when you press the STOP
button.
• If [Feeder/Flatbed] is set to [Auto] and [Feeding Option] is set
to [Automatic Feeding], scanning is performed as follows:
– Documents are automatically detected and scanned when
placed in the feeder.
– The START button lamp lights, and the flatbed enters a
standby state. If you place a document on the flatbed and
press the START button, the document on the flatbed is
scanned.
11
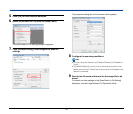
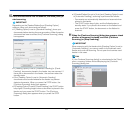
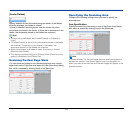
When the [Continue Scanning] dialog box appears, check
whether a document is placed, and click [Continue
Scanning] or [Stop Scanning].
IMPORTANT
When scanning with the feeder while [Feeding Option] is set to
[Automatic Feeding], you cannot switch to the business card
feeder and continue scanning. Do not open the business card
feeder in this case.
Hint
If [Use Continue Scanning dialog] is not selected in the [Scan]
menu, scanning finishes without displaying the [Continue
Scanning] dialog box.


