


Chapter 9 Practical Examples
9-6
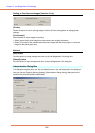
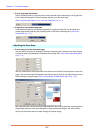
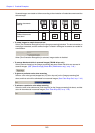
• To skip or enhance a custom color
Select [Drop-out color Custom] or [Custom color Enhance] in the [Color drop-out] list on the
[Image processing] tab sheet to open the [Color Settings] dialog box. Here you can specify the
range of colors to be dropped out or enhanced. (See “Color Drop-Out,” on p. 7-18.)
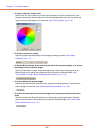
• To enhance contours in images
Adjust the [Edge Emphasis] setting on the [Image processing] tab sheet. (See “[Edge
Emphasis],” on p. 7-17.)
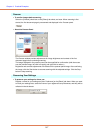
• To Prevent Bleed Through of text from the back side of thin document pages, or to remove
the background from scanned images
Select [Prevent Bleed Through / Remove Background] on the [Image processing] tab sheet.
Bleed-through on thin paper and backgrounds are removed from scanned images. (See
“[Prevent Bleed Through / Remove Background] Check Box,” on p. 7-18.)
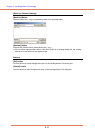
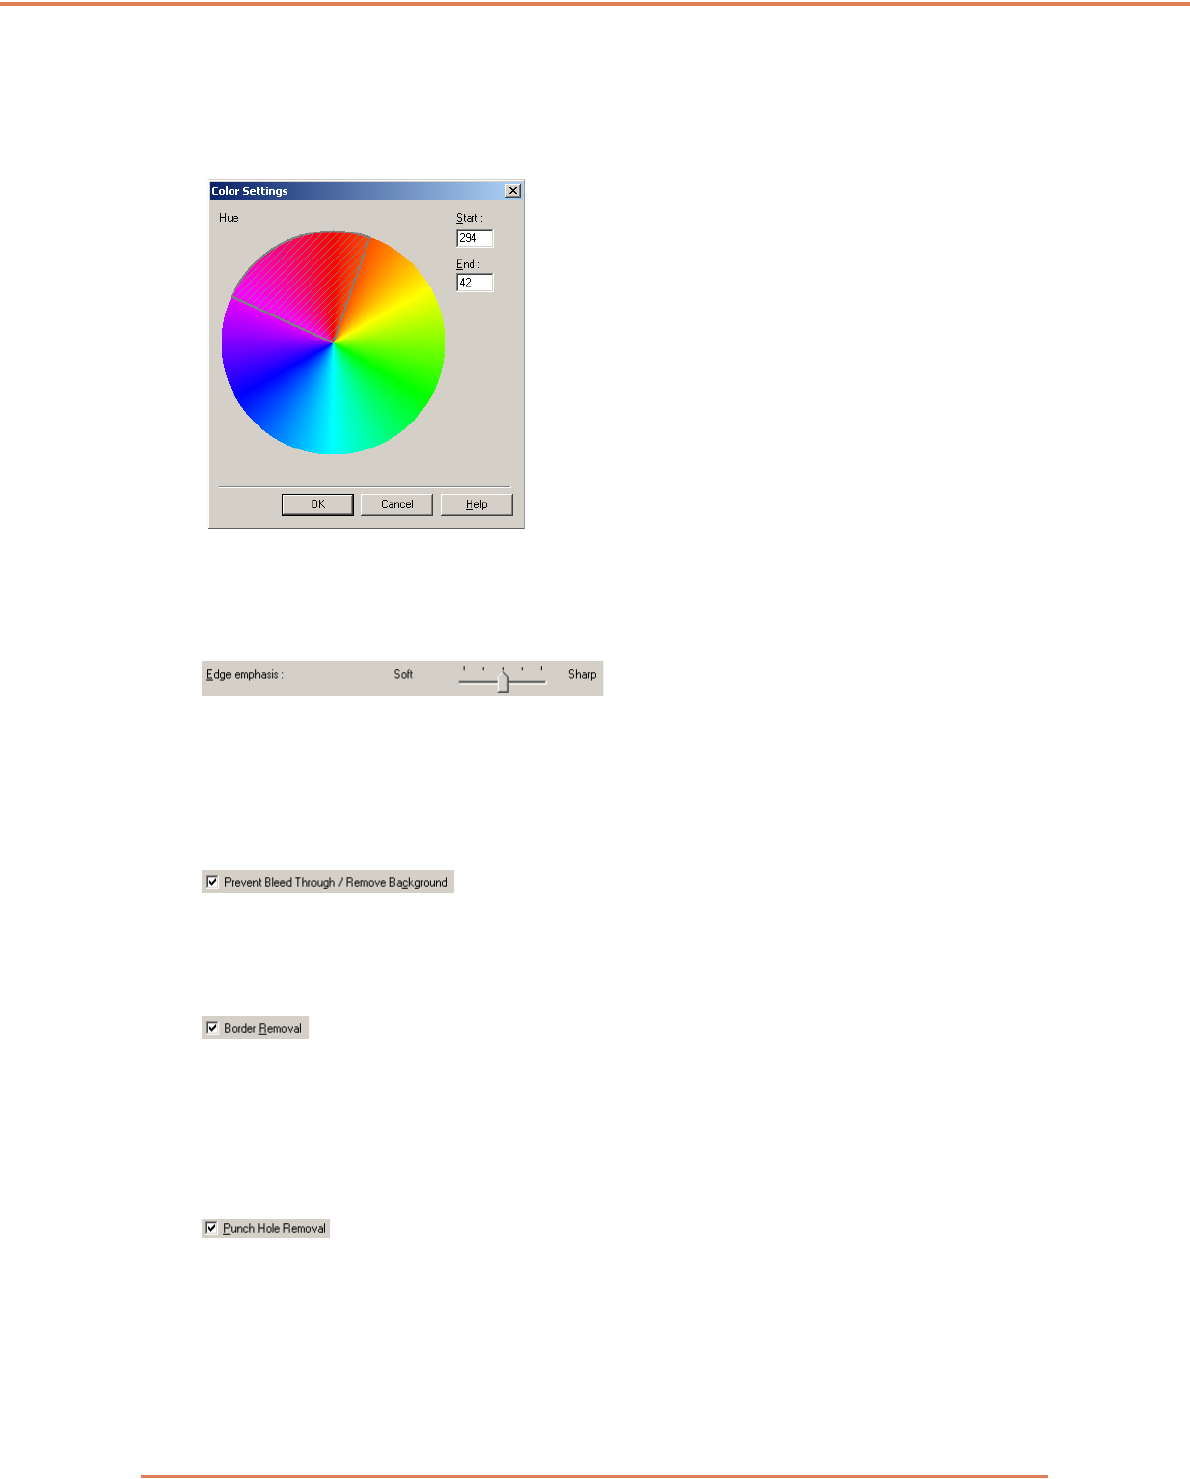
• To remove black areas around images
Select the [Border Removal] check box on the [Image processing] tab sheet. The black areas
around images are removed. (See “[Border Removal] Check Box,” on p. 7-18.)
• To remove the black spots from scanned images when scanning documents with punch
holes
Select the [Punch Hole Removal] check box on the [Image processing] tab sheet. The black
spots from punch holes in documents are removed from scanned images. (See “[Punch Hole
Removal] Check Box,” on p. 7-18.)