35
4
Double-click [ONTOUCHL.exe].
CaptureOnTouch Lite starts, and the main screen appears.
IMPORTANT
Do not close the feed tray before the main screen of
CaptureOnTouch Lite appears.
Hint
• The auto play screen may not appear in some operating
environments. In such cases, open the [ONTOUCHLITE] drive
in Windows Explorer, for example, and start the application
directly by double-clicking ONTOUCHL.exe.
Depending on your operating system, the drive name may not
be [ONTOUCHLITE]. Open the drive on which ONTOUCHL.exe
is located, and start the application directly.
• Depending on your operating system, [CaptureOnTouch Lite]
may appear in the auto play screen. In such cases, double-click
[CaptureOnTouch Lite] to start CaptureOnTouch Lite.
5
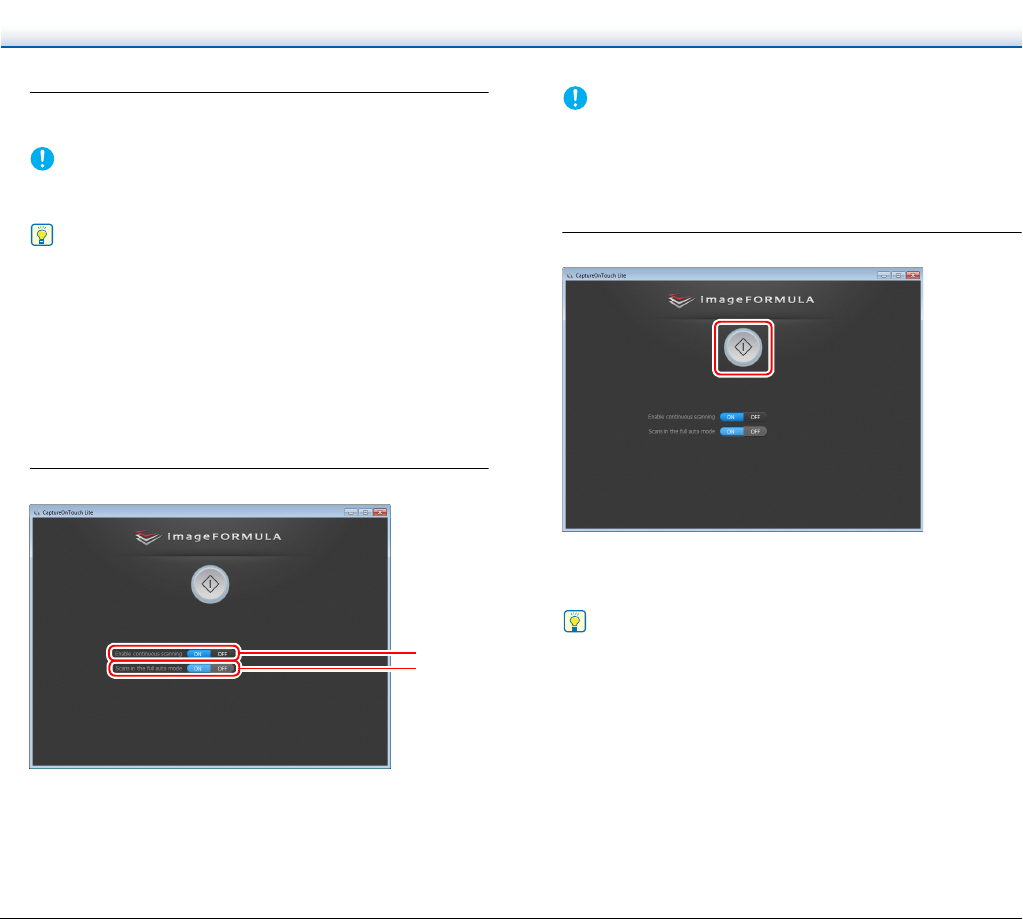
Set the scanning method.
A Specify whether to enable continuous scanning. When
previewing the scanned image or splitting up a large document
to scan in parts, select [ON] to enable continuous scanning.
B Specify whether to scan the document in full auto mode. When
you want to specify arbitrary scanning conditions, select [OFF]
and configure the scanner settings. (See p. 37)
IMPORTANT
If you configure scanning conditions that require a large amount
of the computer’s memory, scanning may be disabled. If an error
message appears due to insufficient memory while scanning is in
progress, exit the application and try scanning again using
different scanning condition settings.
6
Click the Start button.
Scanning of the document starts.
When scanning of the whole document is completed, the output
settings screen appears.
Hint
If a document is scanned when [Enable continuous scanning] is
set to [ON], the continuous scanning screen (see p. 40) appears
when scanning of the document is finished.
A
B
