


3-5
PA-2FE-TX and PA-2FE-FX Two-Port Fast Ethernet Port Adapter Installation and Configuration
OL-3474-07
Chapter 3 Removing and Installing Port Adapters
Port Adapter Removal and Installation
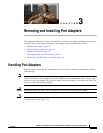
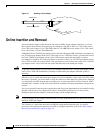
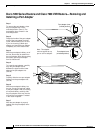
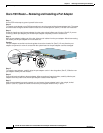
Cisco 7100 Series—Removing and Installing a Port Adapter
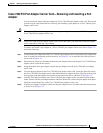
SLOT 0 SLOT 1
0
2
FE 0 / 0 FE
AUX
7120 - AE3
RXTX
E3
RX
EN
CEL CARALM
5
I
CONS
ACT
0 / 1
ACT
LNK
0
LNK
1
PWR
SYS
RDY
Unlocked
Slot 3ESD plug
Locked
26522
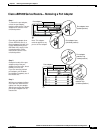
5
I
FE
0 /
XMTR
RCVR
EN
RCLK
FERF
RL
AIS
OOF
LL
Guides
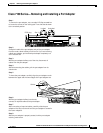
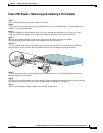
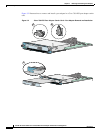
Step 1
To remove the port adapter, use a number 2 Phillips screwdriver
to loosen the screws on the locking tab. Then slide the tab down
to the unlocked position.
Step 2
Grasp the handle of the port adapter and pull the port adapter
from the router, about halfway out of its slot. If you are removing
a blank port adapter, pull the blank port adapter completely out
of the chassis slot.
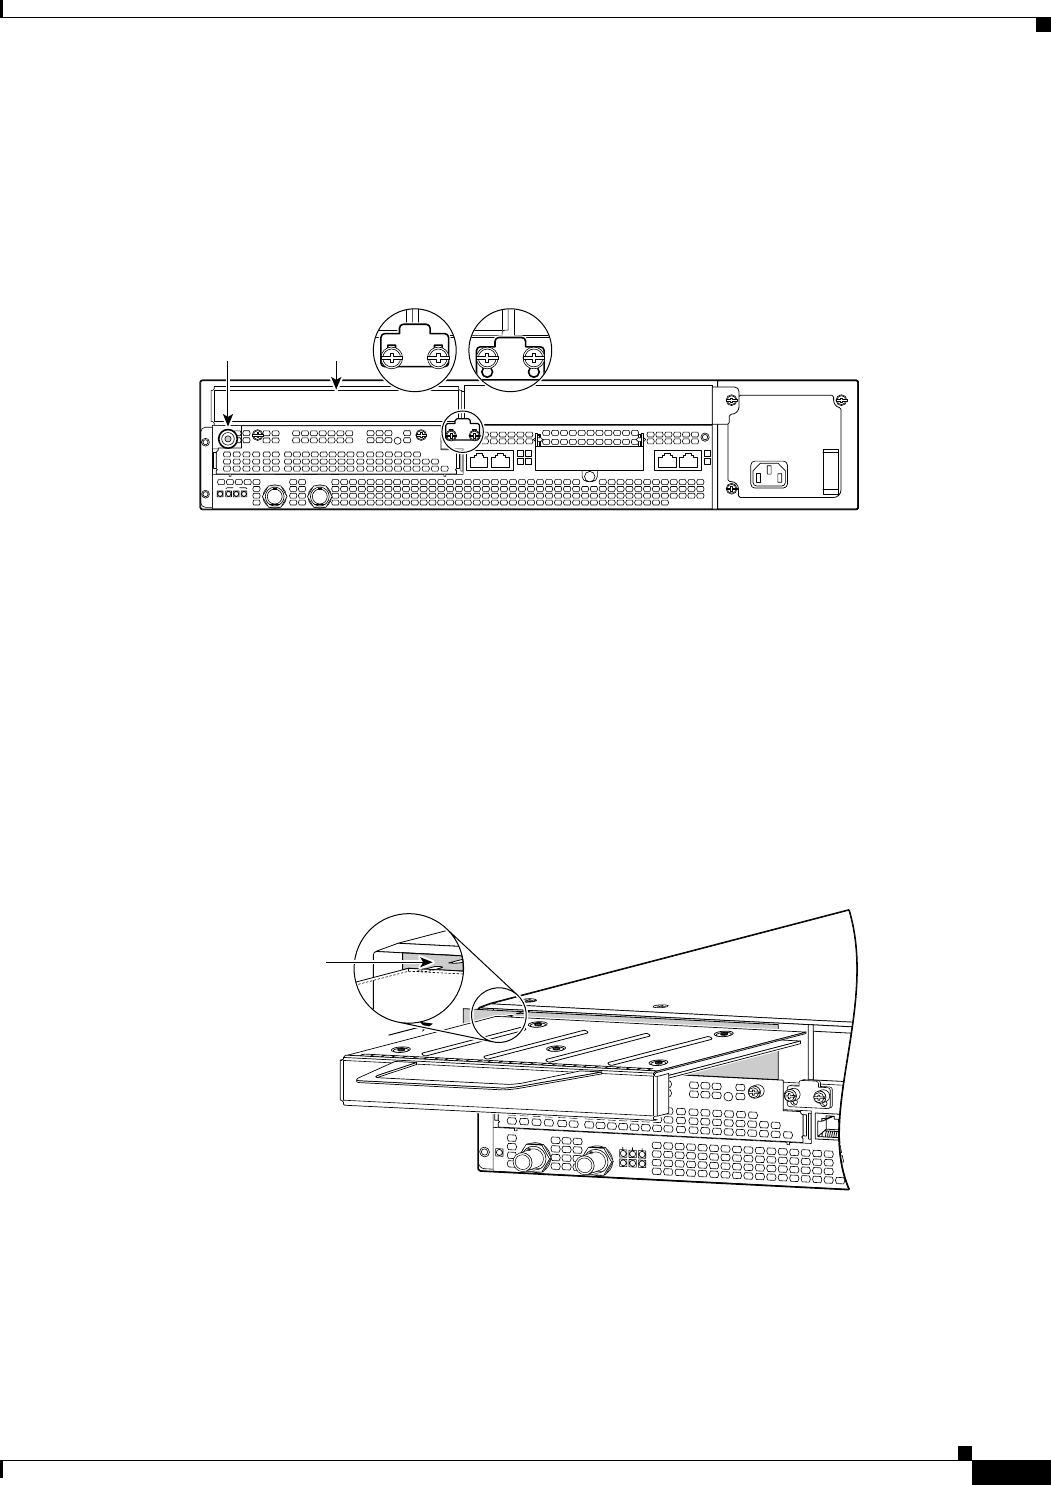
Step 3
With the port adapter halfway out of the slot, disconnect all
cables from the port adapter.
Step 4
After disconnecting the cables, pull the port adapter from its
chassis slot.
Step 5
To insert the port adapter, carefully align the port adapter carrier
between the upper and the lower edges of the port adapter slot.
Step 6
With the port adapter halfway into the slot,
connect all required cables to the port adapter.
Step 7
After connecting all required cables, carefully slide the port
adapter all the way into the slot until the port adapter is seated in
the router midplane.
Step 8
After the port adapter is properly seated, lock the port adapter
retaining mechanism.