Dell PowerConnect 28xx Systems User Guide 31
Installing on a Wall
To mount the device on a wall:
1
Ensure that the mounting location meets the following requirements:
• The surface of the wall must be capable of supporting the device.
• Allow at least 2 inches (5.1 cm) space on the sides for proper ventilation and 5 inches (12.7 cm) at
the back for power cable clearance.
• The location must not be exposed to direct sunlight.
• The location must be at least 2 feet (61 cm) away from any heating vents, and no area-heating
vent should point towards the device.
• The location must be ventilated to prevent heat buildup.
• Do not locate the device near any data or electrical cabling.
• The power cable must be able to reach an outlet.
2
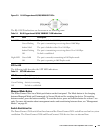
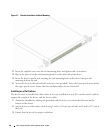
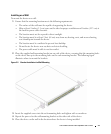
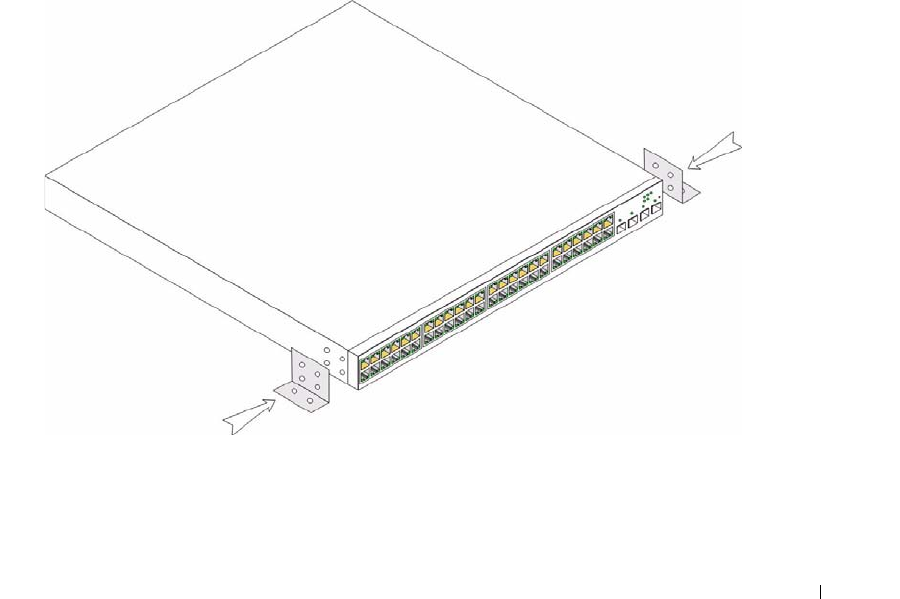
Place the supplied wall-mounting bracket on one side of the device, ensuring that the mounting holes
on the device line up to the mounting holes on the rack-mounting bracket. The following figure
illustrates where to mount the brackets.
Figure 3-2. Bracket Installation for Wall Mounting
3
Insert the supplied screws into the rack-mounting holes and tighten with a screwdriver.
4
Repeat the process for the wall-mounting bracket on the other side of the device.
5
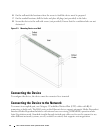
Place the device on the wall in the location where the device is being installed.


