


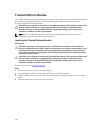


Steps
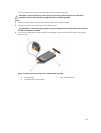
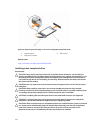
1. Insert the hard drive into the hard drive carrier with the connector end of the hard drive toward the
back of the carrier.
2. Align the screw holes on the hard drive with the screws holes on the hard drive carrier.
When aligned correctly, the back of the hard drive is flush with the back of the hard drive carrier.
3. Attach the screws to secure the hard drive to the hard drive carrier.
Removing a 1.8 inch hard drive blank
Prerequisites
1. Ensure that you read the Safety instructions.
2. If installed, remove the front bezel.
CAUTION: To maintain proper system cooling, all empty hard drive slots must have hard drive
blanks installed.
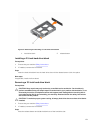
Steps
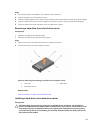
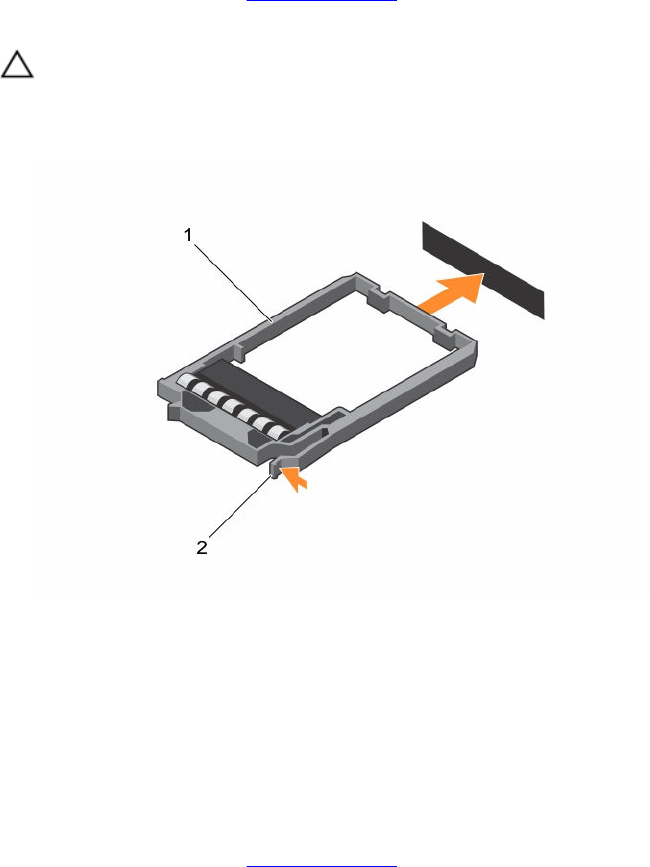
Press the release button and slide the hard drive blank out of the hard drive slot.
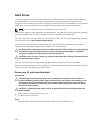
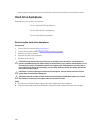
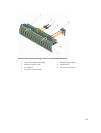
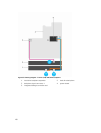
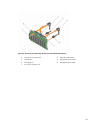
Figure 57. Removing and installing a 1.8 inch hard drive blank
1. hard drive blank 2. release button
Next steps
If applicable, install the front bezel.
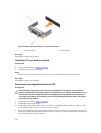
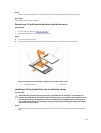
Installing a 1.8 inch hard drive blank
Prerequisites
1. Ensure that you read the Safety instructions.
2. If installed, remove the front bezel.
126