


82 Installing System Components
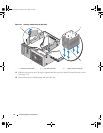
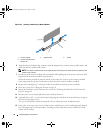
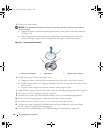
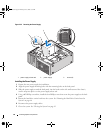
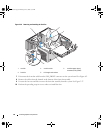
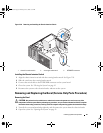
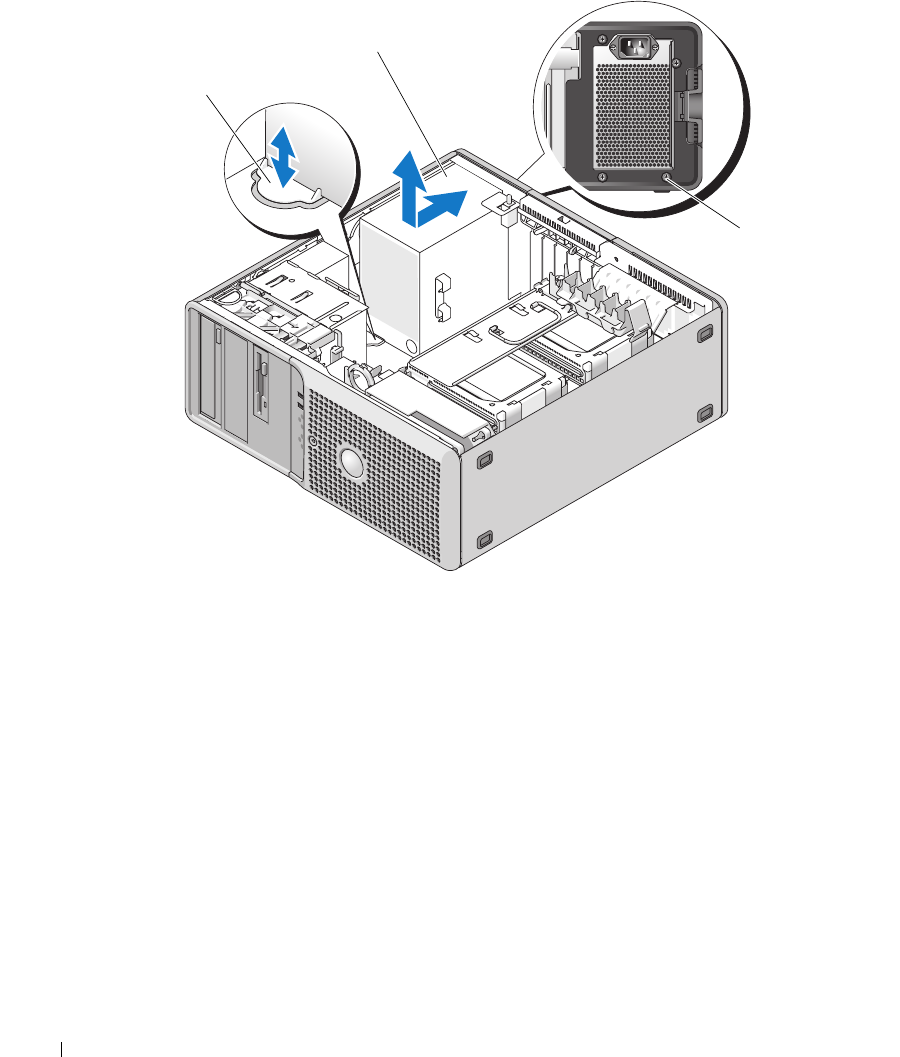
Figure 3-25. Removing the Power Supply
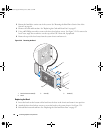
Installing the Power Supply
1
Prepare the new power supply for installation.
2
Align the power supply mounting holes with the mounting holes on the back panel.
3
Slide the power supply toward the back panel, into the hooks on the side and bottom of the chassis,
until it snaps into place over the power-supply release tab.
4
Using a #2 Phillips screwdriver, install the four Phillips screws that secure the power supply to the back
panel.
5 Rotate the hard-drive carrier back into the system. See
"Rotating the Hard-Drive Carrier Into the
System" on page 46
.
6
Reconnect the power-supply cables.
7
Close the system. See "Closing the System" on page 43.
1 power supply release tab 2 power supply 3 screws (4)
3
1
2
book.book Page 82 Monday, June 5, 2006 1:51 PM