


Installing System Components 85
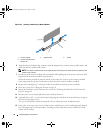
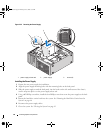
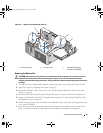
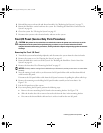
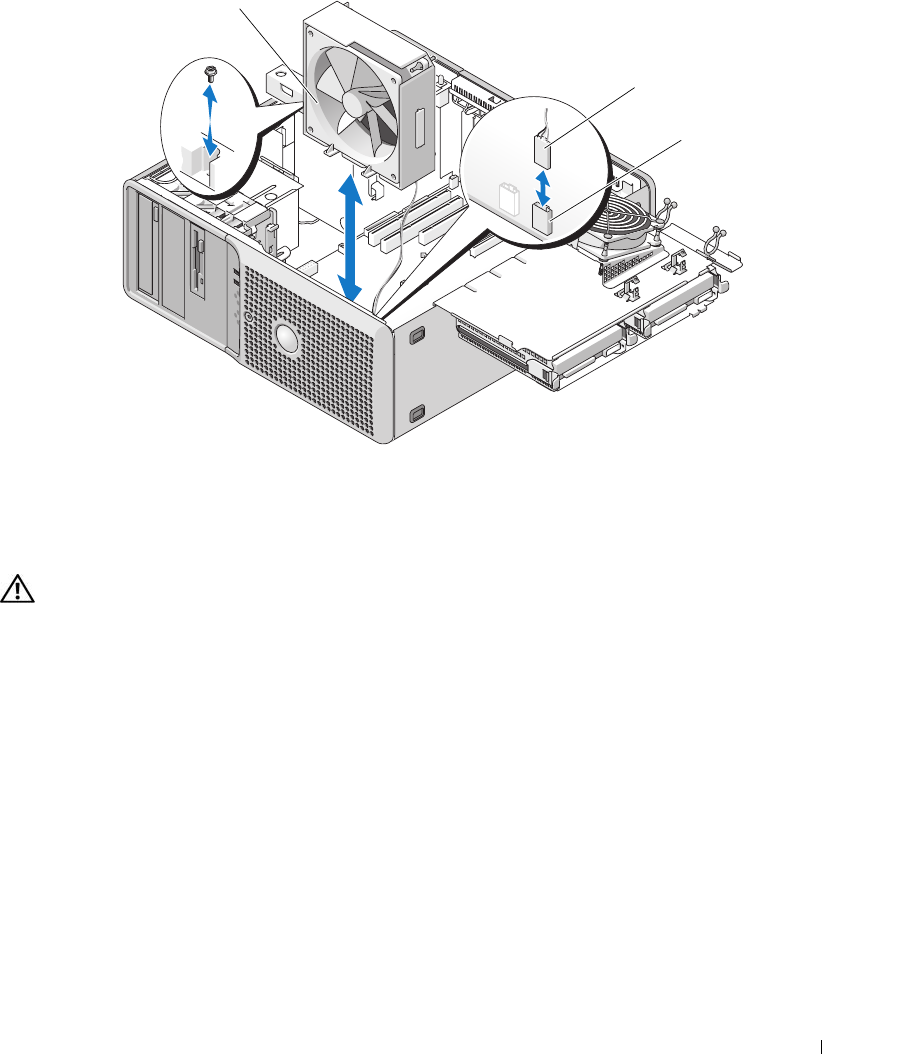
Figure 3-27. Removing and Installing the Front Fan
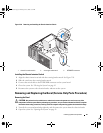
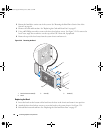
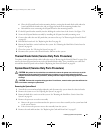
Replacing the Memory Fan
CAUTION: Only trained service technicians are authorized to remove the system cover and access any of the
components inside the system. Before performing any procedure, see your Product Information Guide for
complete information about safety precautions, working inside the computer and protecting against electrostatic
discharge.
1
Turn off the system and attached peripherals, and disconnect the system from the electrical outlet.
2
Open the system. See "Opening the System" on page 43.
3 Rotate the hard-drive carrier out of the system. See
"Rotating the Hard-Drive Carrier Out of the
System" on page 44
.
4
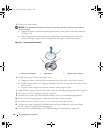
Disconnect the card fan cable from the FAN_MEM connector on the system board. See
Figure 6-2
.
5
Remove the hard-drive from the bay beneath to the memory fan. See "Removing a Hard Drive from
the Rotatable Carrier" on page 49.
6
Pull the four fan grommets out of the holes in the hard-drive carrier. Optionally, cut the grommets with
a wire cutter if available.
7
Place the new fan with the grommets aligned with the holes in the hard-drive carrier and press into
place. Use needle-nose pliers to pull the grommets completely through the mounting holes.
1 front fan assembly 2 front fan cable 3 front fan system-board
connector (FAN_FRONT)
3
2
1
book.book Page 85 Monday, June 5, 2006 1:51 PM