System and Control Options
37
7.3.1 Change Label (Name of Input)
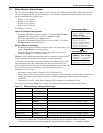
Each input has a default label (Device_1, Device_2, etc.) that you may
change to a more descriptive name for ease in recognizing alarms and
events associated with the input. The label may consist of up to eight
characters (see Table 14 for valid characters).
The device name assigned through this menu is also displayed for the
corresponding output.
If the input label is changed, the output will change also.
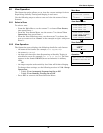
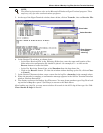
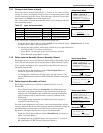
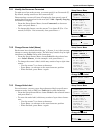
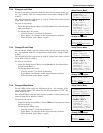
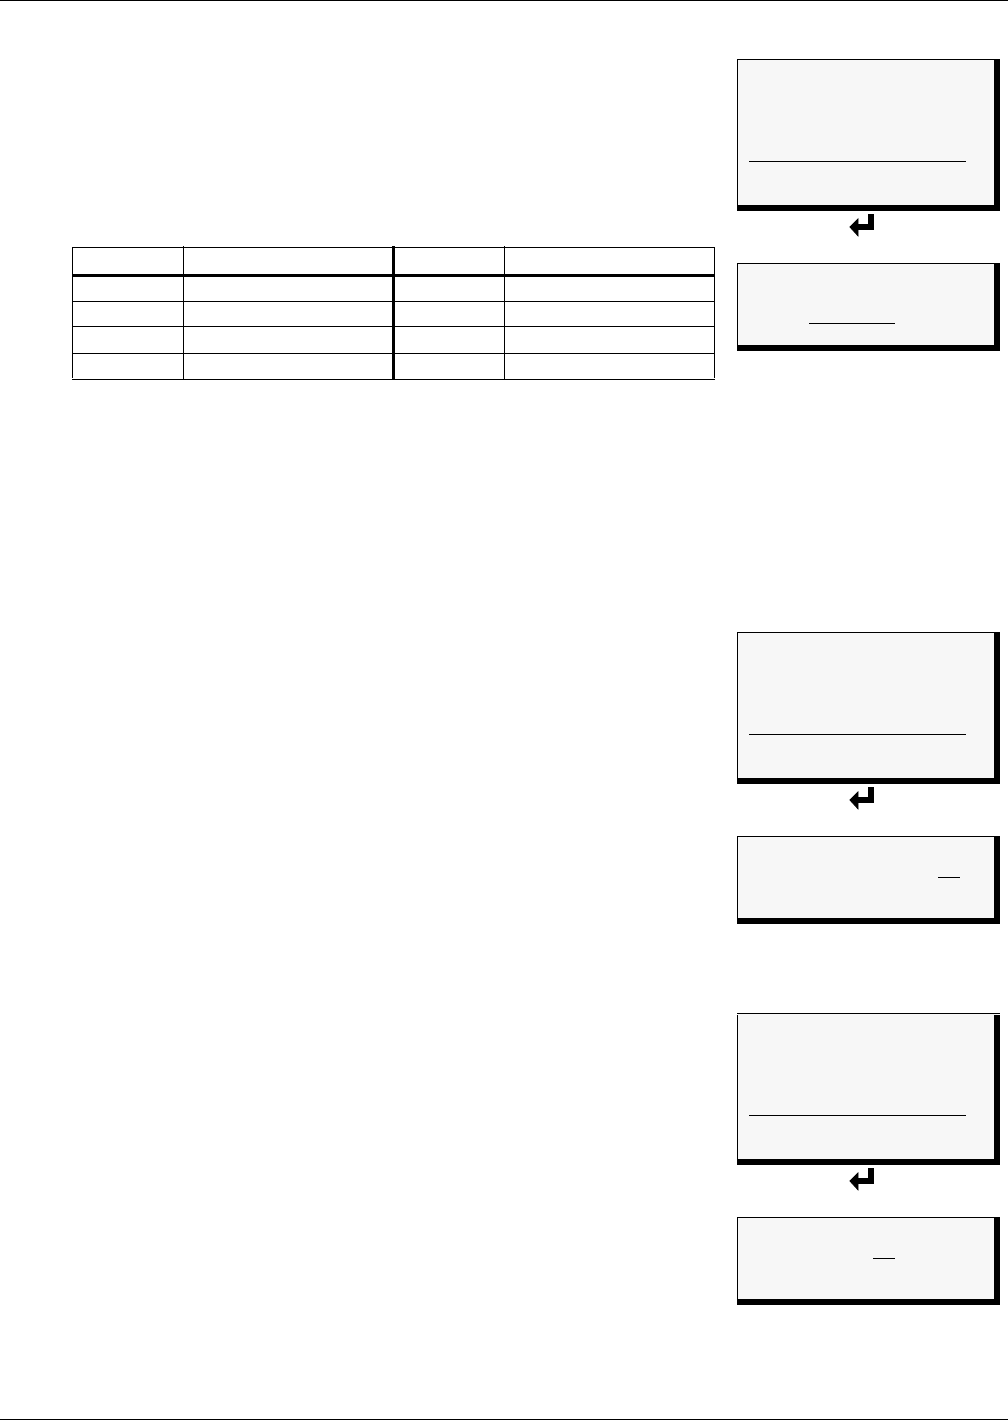
• From the Setup Inputs Menu, choose Label for the selected input—Label: Device_1 in the
example above right—and press Enter ↵.
• To change the input’s label, which may consist of up to eight characters:
• Use the arrows
↑↓ to choose a character.
• Press Enter ↵ to advance to the next character position.
• When finished, press Enter ↵ again.
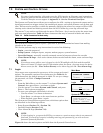
7.3.2 Define Input as Normally Open or Normally Closed
Each input may be set up as Normally Open (NO) or Normally Closed
(NC). The default setting for all input points is NO (Normally Open).
If you require an input to be a supervised point, define the input as
Normally Closed (NC).
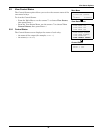
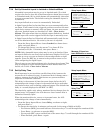
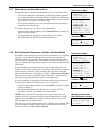
• From the Setup Inputs Menu, choose Norm Open/Close, as
shown at right, and press Enter ↵.
• To change the normal state for this input, use the arrows
↑↓ to
choose NO (Normally Open) or NC (Normally Closed), then press
Enter ↵.
7.3.3 Define Input as Alarmable or Event
Each digital input may be defined as Alarmable (AL) or as an
Event (EV).
• For a digital input defined as alarmable, the following alarm
reactions occur when the status of the monitored input device
changes: the LCD flashes, the audible horn sounds, configured
pager numbers will be notified and a record is entered in the
Alarm Log.
• For a digital input defined as an event, the status change is
recorded in the Event Log.
For both types (alarmable and event), user setup determines output
control—whether the device that changed status is disabled or kept in
operating mode and whether a standby device is set to operate.
By default, all digital inputs are set up as AL (Alarmable).
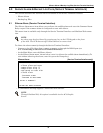
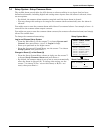
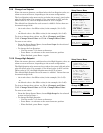
• From the Setup Inputs Menu, choose Alarm/Event, as shown at
right, and press Enter ↵.
• To change the type of digital input, use the arrows
↑↓ to choose
AL (Alarmable) or EV (Event), then press Enter ↵.
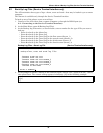
Table 16 Input and output labels
Label Applies to: Label Applies to:
Device_1 Input 1 and Output 1 Device_5 Input 5 and Output 5
Device_2 Input 2 and Output 2 Device_6 Input 6 and Output 6
Device_3 Input 3 and Output 3 Device_7 Input 7 and Output 7
Device_4 Input 4 and Output 4 Device_8 Input 8 and Output 8
Setup Inputs Menu
SETUP DEVICE_1
> LABEL: DEVICE_1
NORM OPEN/CLOSE: NO
ALARM/EVENT: AL
↑↓=NEXT ↵=SELECT
LATCHED: Y
DELAY: 00:01
Change Label
CHANGE LABEL
DEVICE_1
↑↓=SELECT ↵=NEXT/END
Setup Inputs Menu
SETUP DEVICE_1
LABEL: DEVICE_1
> NORM OPEN/CLOSE: NO
ALARM/EVENT: AL
↑↓=NEXT ↵=SELECT
LATCHED: Y
DELAY: 00:01
Normally Open / Closed
IS INPUT NORMALLY
OPEN OR CLOSED? NO
↑↓=NO/NC ↵=END
Setup Inputs Menu
SETUP DEVICE_1
LABEL: DEVICE_1
NORM OPEN/CLOSE: NO
> ALARM/EVENT: AL
↑↓=NEXT ↵=SELECT
LATCHED: Y
DELAY: 00:01
Alarmable / Event
IS INPUT AN ALARM
OR EVENT? AL
↑↓=AL/EV ↵=END


