


Printing with Special Layout Options 61
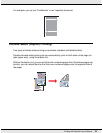
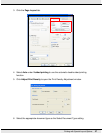
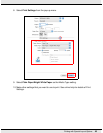
10.Specify the edge of the paper where the binding will be placed. You can choose Left,
Top, or Right.
11.Choose cm or inch as the Unit setting. Then specify the width of the binding margin.
You can enter any width from 0.12 to 1.18 inches, or from 0.3 to 3.0 cm.
Note:
The actual binding margin may be different from the specified settings depending on your
application. Experiment with a few sheets to examine actual results before printing the entire
job.
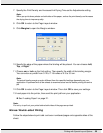
12.Click OK to return to the Page Layout window. Then click OK to save your settings.
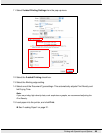
13.Load paper into the rear sheet feeder, then send the print job from your application.
Instructions for generating the even-numbered pages will be displayed while the
odd-numbered pages are printed.
& See “Loading Paper” on page 21.
14.Follow the on-screen instructions to reload the paper.
Note:
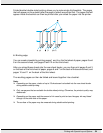
❏ The paper may curl during printing due to the amount of ink used. Should this occur, slightly
curl the sheets in the opposite direction before reloading them.
❏ Align the sheet stack by tapping its edges against a hard, flat surface before reloading the
stack.
❏ Follow the on-screen instructions when reloading the printouts. Otherwise, paper may jam
or the binding margins may be incorrect.
❏ If a paper jam occurs, refer to the following.
& See “The Paper Jams” on page 148.
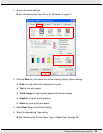
15.Once the paper is reloaded, click Resume to print the even-numbered pages.
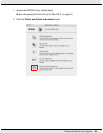
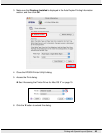
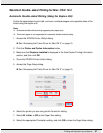
Standard Double-sided Printing for Mac OS X 10.5 and 10.6
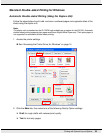
Automatic Double-sided Printing (Using the Duplex Unit)
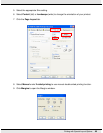
Follow the steps below to print odd- and even-numbered pages onto opposite sides of the
sheet using the duplex unit.
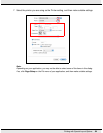
Note:
❏ Automatic double-sided printing supports plain paper only.
❏ Thick plain paper is not supported for automatic double-sided printing.