12 Setting Up the Printer
c
Caution:
There are several models of the printer designed for different voltages, and
it is not possible to adjust the printer for use with another voltage. If the
label on the back of the printer does not show the correct voltage for your
country, contact your dealer.
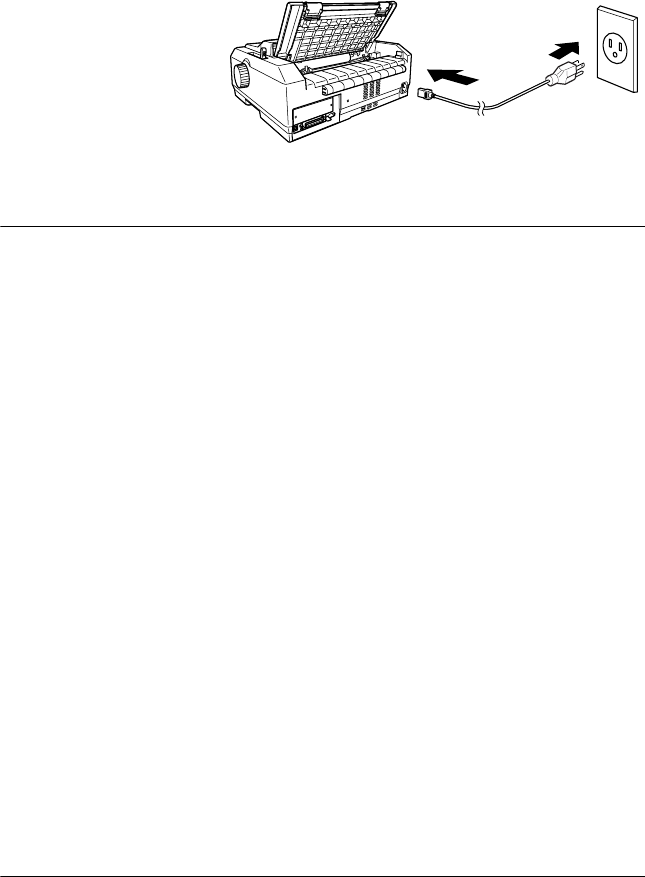
3. Plug the power
cord into the AC
inlet on the back
of the printer and
plug the other end
into a properly
grounded
electrical outlet.
Installing the Printer Software
After you connect the printer to your computer, you need to install the
Epson printer software on the CD-ROM shipped with your printer. The
printer driver is the software that runs, or “drives,” your printer. With it,
you can select printer settings such as print quality, resolution, and paper
size.
The printer software supports Windows
®
95, 98, Me, 2000, XP, or NT 4.0,
and includes Epson Status Monitor 3 (which displays printer status
information and notifies you of printer errors). See the Reference Guide for
more information.
Note:
❏ Installing the printer software for Windows 2000, XP, or NT may require
administrator privileges. If you have problems, ask your administrator for
more information.
❏ If the New Hardware Found screen or any other wizard appears when you
turn on your computer, click
Cancel.
❏ If the Digital Signature Not Found screen appears, click
Yes. If you click
No, you must reinstall the printer driver.
The printer software CD-ROM also includes the Epson Remote
Configuration Manager, which lets you change the printer’s default
settings. See “Installing the Remote Configuration Manager” on page 15.


