3.3 fi-5000N's Settings and Connecting to the Network
fi-5000N Operator’s Guide 17
Installing the fi-5000N
3
12. Press the [K] or [L] key to select one from among "Auto Negotiation", "100BASE-TX
Full", "100BASE-TX Half", "10BASE-TX Full" and "10BASE-TX Half", and press the
[ENT] key.
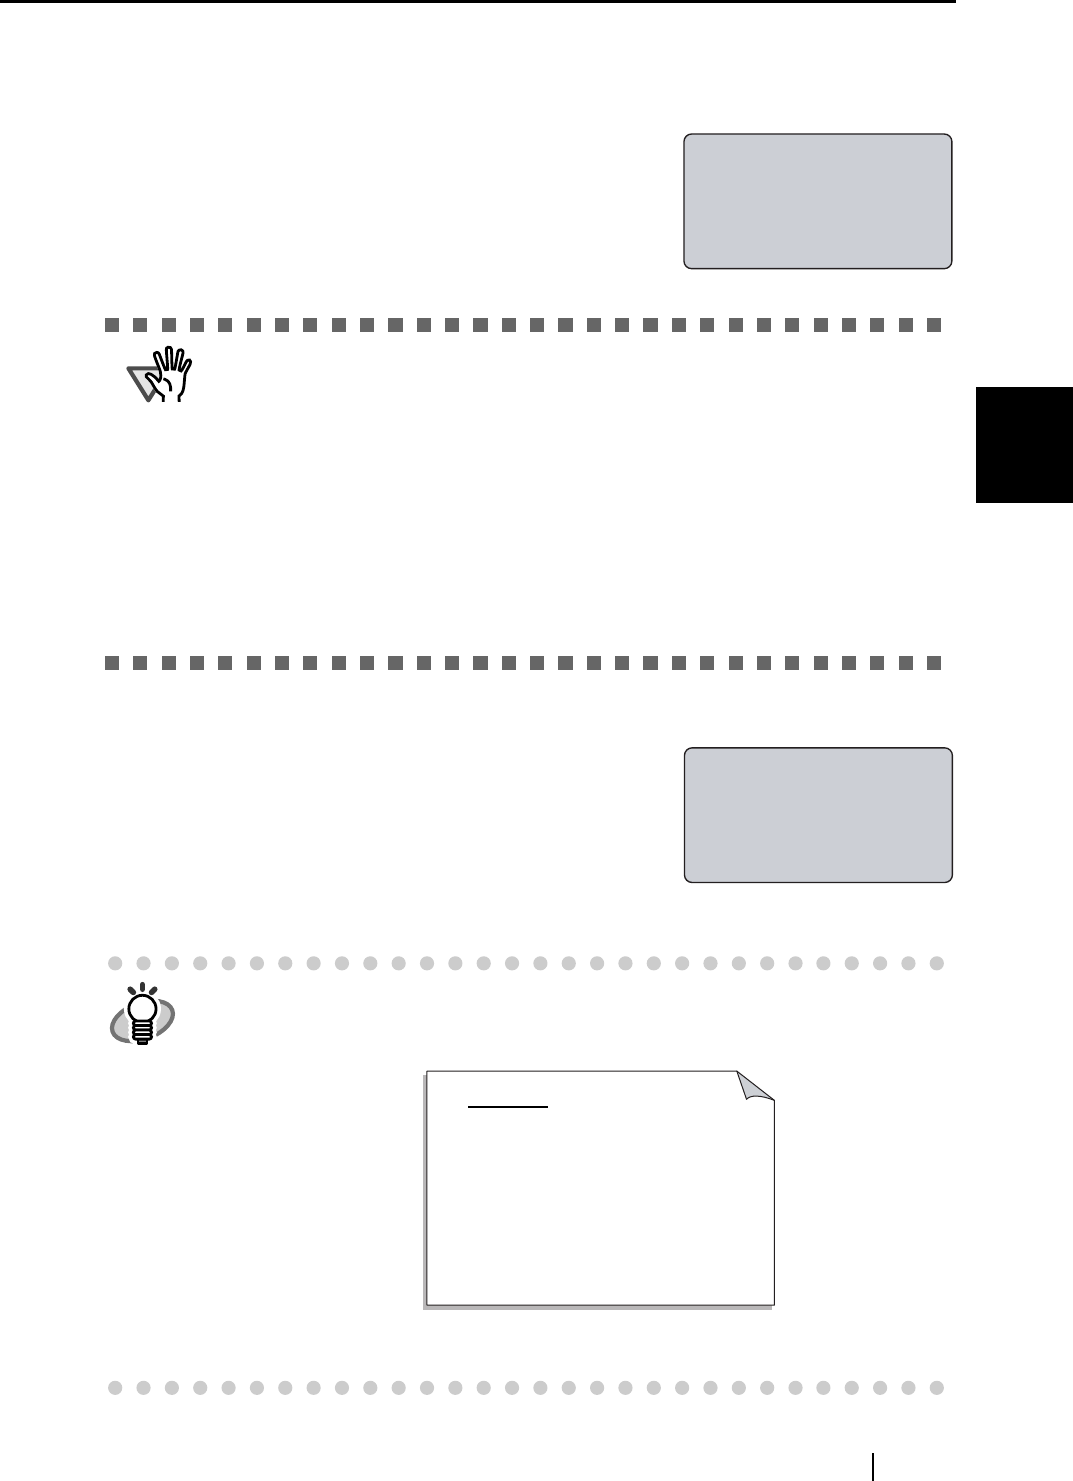
Usually "Auto Negotiation" is selected. The following
network settings confirmation screen appears when you
press the [ENT] key.
If the hub to connect fi-5000N does not support Auto nego-
tiation, select the supported Speed/Duplex setting.
13. Confirm the contents of the settings.
To change the settings, press the [ESC] key until it returns
to the setting screen of the item to change, and configure
again.
If the contents are correct, press the [ENT] key. The follow-
ing screen appears.
With this, the network settings are completed.
ATTENTION
Select "Auto Negotiation" if the hub supports auto negotiation function. If
auto negotiation function is not supported, select the Speed/Duplex that is
supported by the hub. The network communication may fail if the following
settings are done:
• When "100Base-TX Full" or "Base-TX Full" is selected for a hub that only
supports auto negotiation.
• When "Auto Negotiation" is selected for a hub that does not support auto
negotiation.
• When the selected Speed/Duplex is not supported by the hub.
For a correct connection and conditions, refer to the manual of the Ethernet
hub.
HINT
If the fi-5000N is initialized, the settings done in this section will return to their
default values. In order not to forget the settings done in this section, make a
note of them.
When "Use DHCP" is selected in step 7, it is not necessary to note down for IP
address, Subnet mask and Default gateway.
IP :XXX.XXX.XXX
MASK:XXX.XXX.XXX
GW :XXX.XXX.XXX
OK:[ENT]/NG:[ESC]
Initializing
network...
MEMO
IP address: ................................
Subnet mask: .............................
Default gateway ..........................
DNS 1: .......................................
DNS 2: .......................................


