CHAPTER 2: Setting Up Your Server
16
Starting your server
Before you start your server for the first time:
• Make sure that the server and monitor are plugged into a power outlet or surge protector
and that the surge protector (if you are using one) is turned on.
• Make sure that all cables are connected securely to the correct ports and jacks on the back
of the server.
To start the server:
1 Turn on any peripheral devices connected to the server.
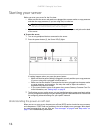
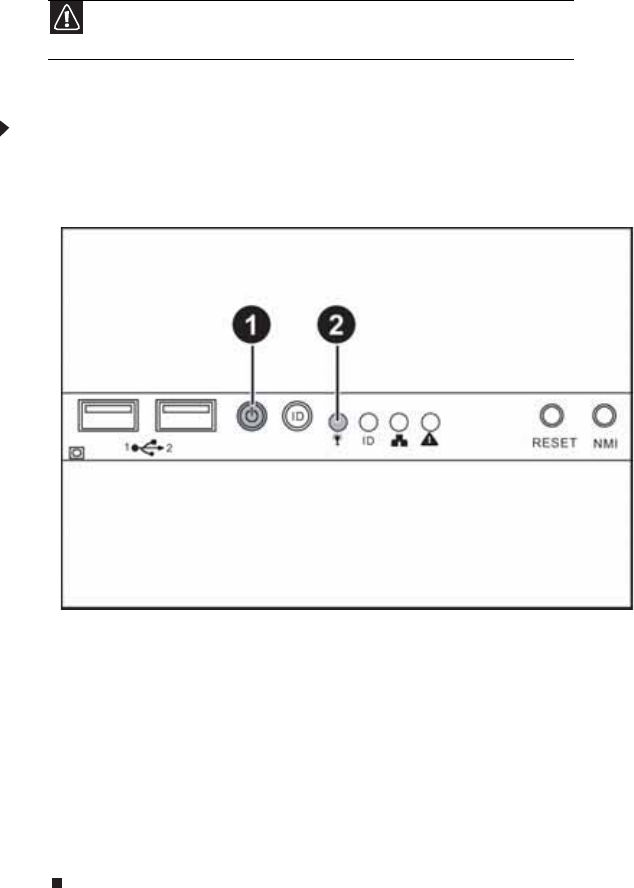
2 Press the power button (1), the Power LED (2) lights.
If nothing happens when you press the power button:
• Make sure that the power cable(s) is plugged in securely and that your surge protector
(if you are using one) is plugged in and turned on.
• Make sure that the monitor is connected to the server, plugged into the power outlet
or surge protector, and turned on. You may also need to adjust the monitor’s
brightness and contrast controls.
• If you cannot find the cause of the power loss, contact Gateway Customer Care. For
more information, see “Getting Help” on page 8.
3 The first time you turn on the server, any pre-installed operating system may begin asking
you for configuration settings. See your operating system’s documentation for instructions
on configuring advanced settings for your specific network.
Understanding the power-on self-test
When you turn on your server, the power-on self-test (POST) routine checks the server memory
and components. If POST finds any problems, the server displays error messages. Write down
any error messages that you see, then see “Error messages” on page 67 and “Beep codes” on
page 72 for troubleshooting information.
Caution
When you connect peripheral devices to the server, make sure that your
server and devices are turned off and the power cords are unplugged.


