CHAPTER 4: Installing Components
34
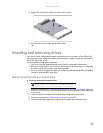
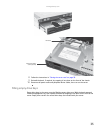
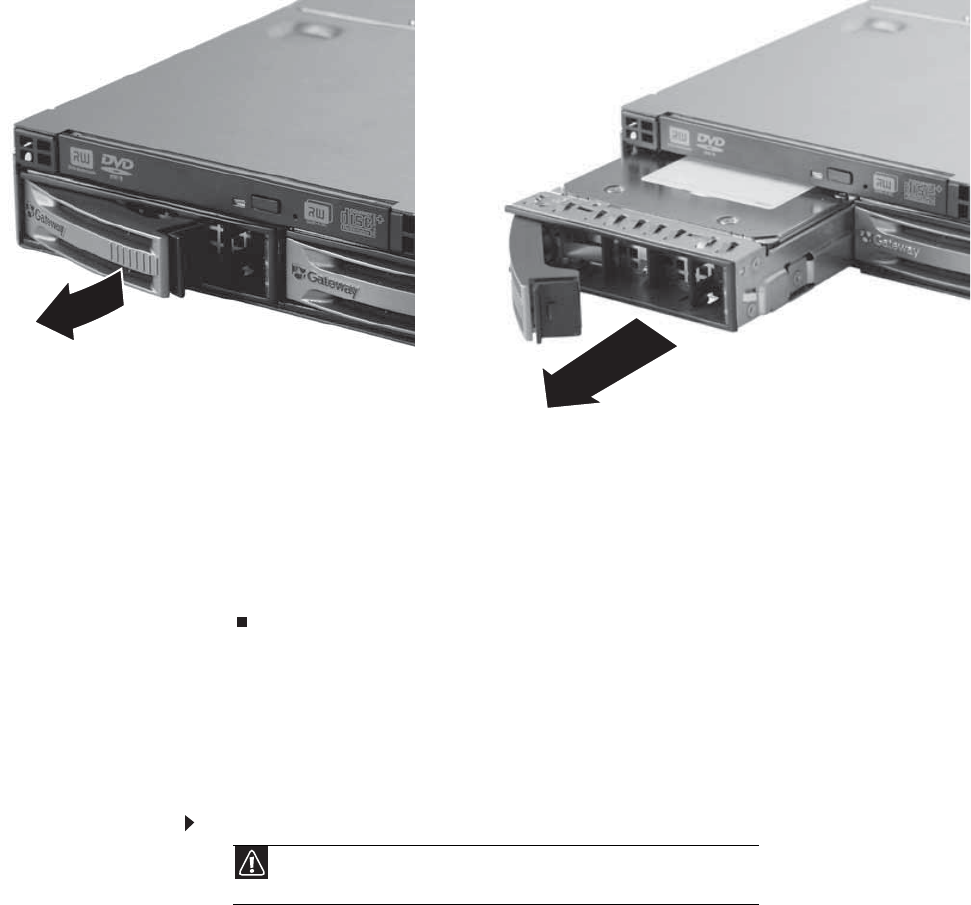
3 Pull the drive carrier straight out of the server.
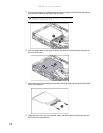
4 If you are replacing a hard drive, remove the four screws from the bottom of the drive
tray that secure the old hard drive to the tray, then remove the drive from the tray.
5 Using the four screws you removed, install the new hard drive into the drive tray.
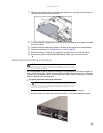
6 Make sure that the tray’s release lever is open, then slide the new drive fully into the empty
hot-swap drive bay.
7 Push the lever back into place until it latches.
8 Reinstall the bezel, if required, by snapping it into place on the front of the chassis.
Installing an optional diskette drive
The optional diskette drive kit includes a slimline diskette drive, a 3.5" mounting adapter bracket,
4 screws, and a thumbscrew. The 3.5" adapter bracket fits in the left most 3.5" hard drive bay.
There is a thumbscrew to secure the bracket to the chassis. Installation of the optional diskette
drive uses one of the hard drive bays, so your server can only hold as many as three hard drives
after the installation.
To install an optional diskette drive:
1 Follow the instructions in “Preventing static electricity discharge” on page 28. Make sure
that you turn off the server, then unplug the power cord(s) and all other cables connected
to the server.
2 Unlock the bezel (if necessary) and remove it by pulling it from the chassis.
3 Follow the instructions in “Opening the server case” on page 29.
4 Remove the hard drive from the left-hand hard drive bay by following the instructions in
“Removing and installing a hard drive” on page 33.
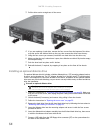
5 Insert the diskette drive into the mounting adapter and secure it with the four screws
provided in the kit.
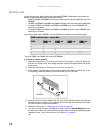
6 Insert the diskette drive/adapter assembly into the left-hand hard drive bay, then secure
it with the thumbscrew that came with the kit.
7 Connect a USB cable from the USB floppy drive connector (J27) on the system board to
the back of the diskette drive.
Caution
The diskette drive is not hot-swappable. Before installing or removing the
drive, make sure that power is turned off and the power cord is unplugged.


