www.gateway.com
51
3 If you are installing a new drive, go to Step 6.
- OR -
If you are replacing an existing drive, disconnect the
cables from the drive, noting their locations and
orientation. You will reconnect the cables after you
install the new drive.
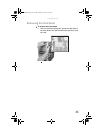
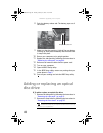
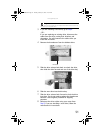
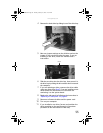
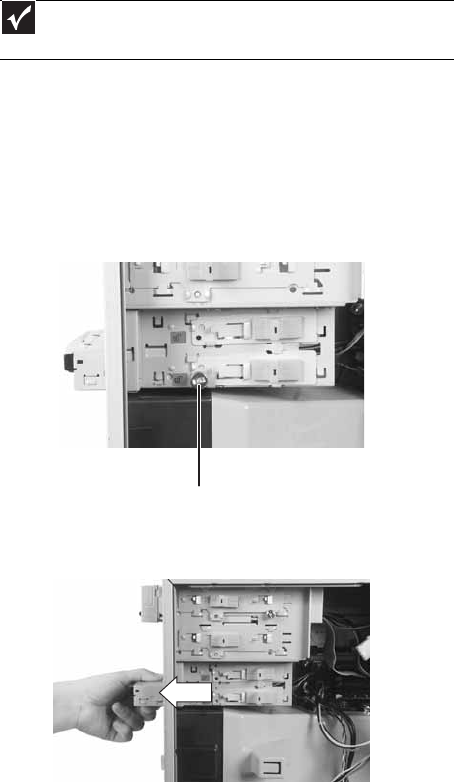
4 Remove the thumbscrew from the diskette drive.
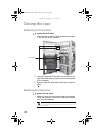
5 Slide the drive release latch back to unlock the drive,
then slide the drive forward and out of the drive bay.
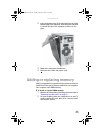
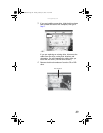
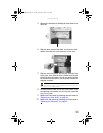
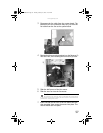
6 Slide the new drive into the drive bay.
7 Slide the drive release latch forward to lock the drive
into place. You do not need to replace the thumbscrew
because it was originally installed for shipping
purposes.
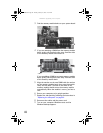
8 Reconnect the drive cables using your notes from
Step 3. If you are installing a new drive, follow the
manufacturer’s instructions.
Important
The color and shape of your replacement drive's front cover may
vary from your original drive.
Thumbscrew
8512066.book Page 51 Tuesday, January 16, 2007 11:02 AM


