System Operation
62 312776F
Purging Sampling Valves and Tubes
Follow this procedure after meter calibration.
1. Press the Standby
key on the Booth Control.
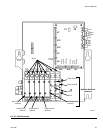
2. See F
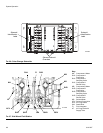
IG. 67. Close both fluid shutoff valves and
sampling valves.
3. Route the sampling tubes into a grounded waste
container.
4. On a single color system, attach a solvent supply
line to Flow Meter A inlet.
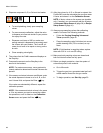
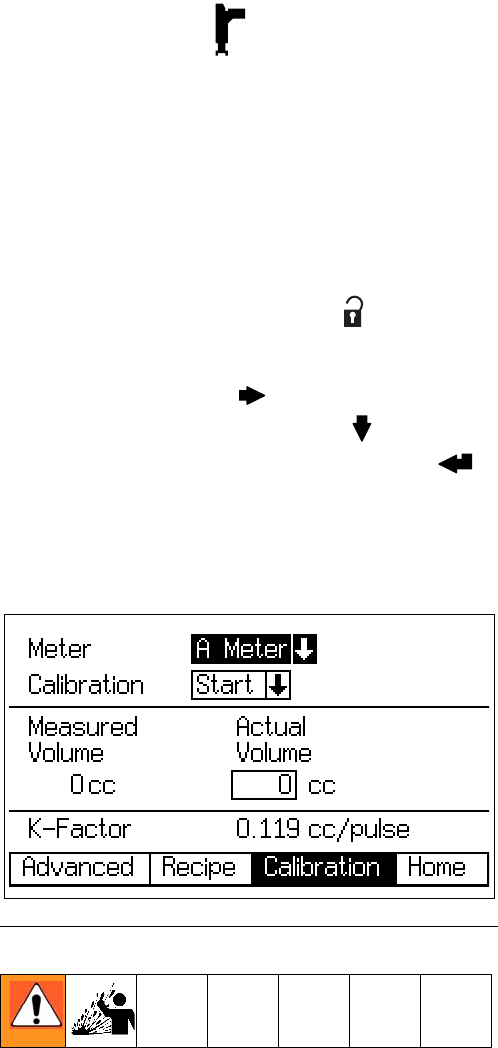
5. On the EasyKey, press the Setup key and
access the Advanced Setup screens.
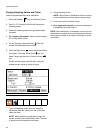
6. Press the Right Arrow key to select the Calibra-
tion screen. Press the Down Arrow
key and
select Purge from the menu. Press the Enter
key
.
Dose A, solvent purge valve (B side), and color
change solvent valves (if used) will open.
7. To avoid splashing, slowly open the sampling
valves and dispense solvent until the valves and
tubes are clean.
NOTE: When performing a calibration purge, the
solvent valve(s) close automatically after 2 minutes
or when Abort is selected on the screen.
8. Close sampling valves.
NOTE: Select Abort on Calibration screen to cancel
current calibration and close dose or purge valves.
9. Fully open both fluid shutoff valves.
10. On a single color system, reconnect component A
fluid supply line to flow meter A.
NOTE: After calibration it is necessary to clean out con-
taminated mix material. Do a manual purge and resume
the recipe just tested, or do Recipe 0 then go on to the
next recipe.
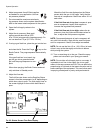
F
IG. 68. Calibration Screen


