


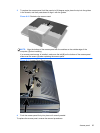
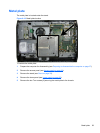
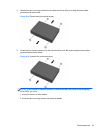

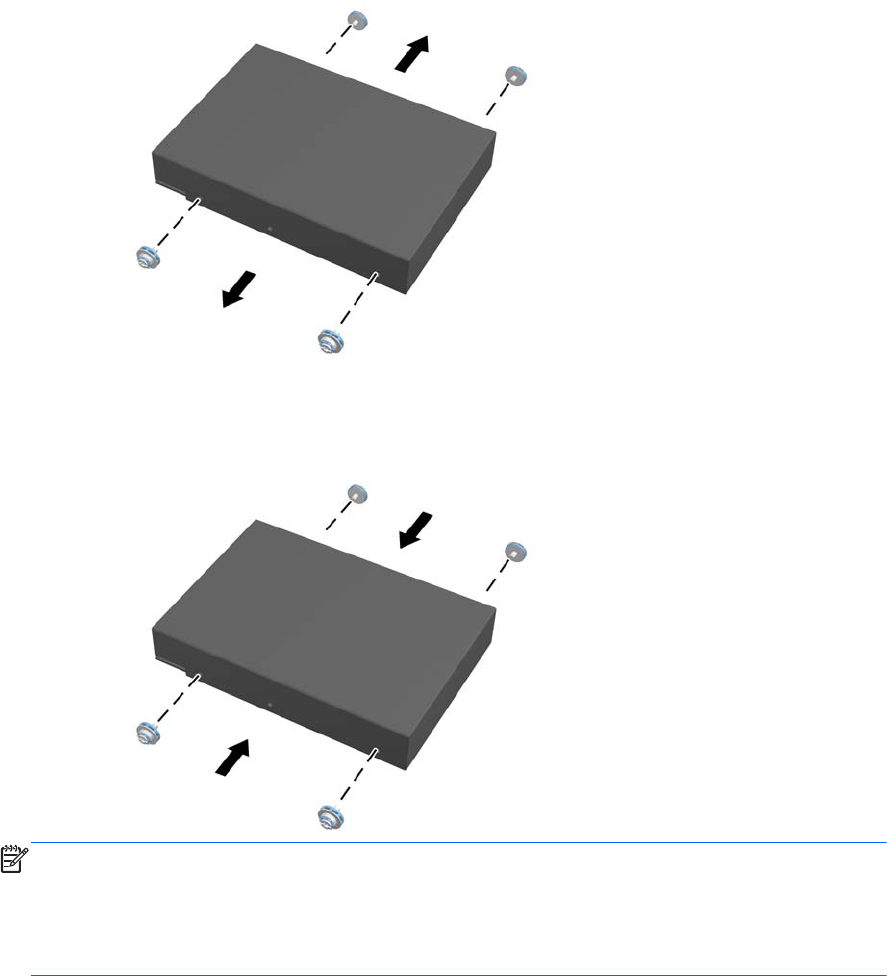
5. Remove the four mounting screws from the hard disc drive. Be sure to keep the blue rubber
grommets with each screw.
Figure 6-24 Removing the mounting screws
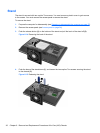
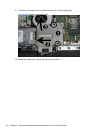
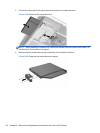
6. Screw the four mounting screws into the new hard disc drive. Be sure to keep the blue rubber
grommets behind each screw.
Figure 6-25 Inserting the mounting screws
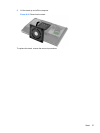
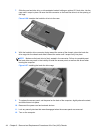
NOTE: If you choose to install an optional 2.5-inch solid state drive (SSD) or self-encrypting
drive (SED), you must
1. mount the drive in a drive adapter
2. screw the four mounting screws into the drive adapter
Replacing drives 43