


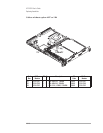
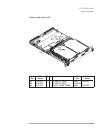
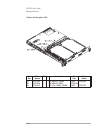
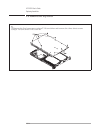


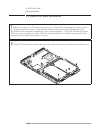
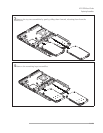
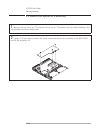

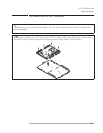
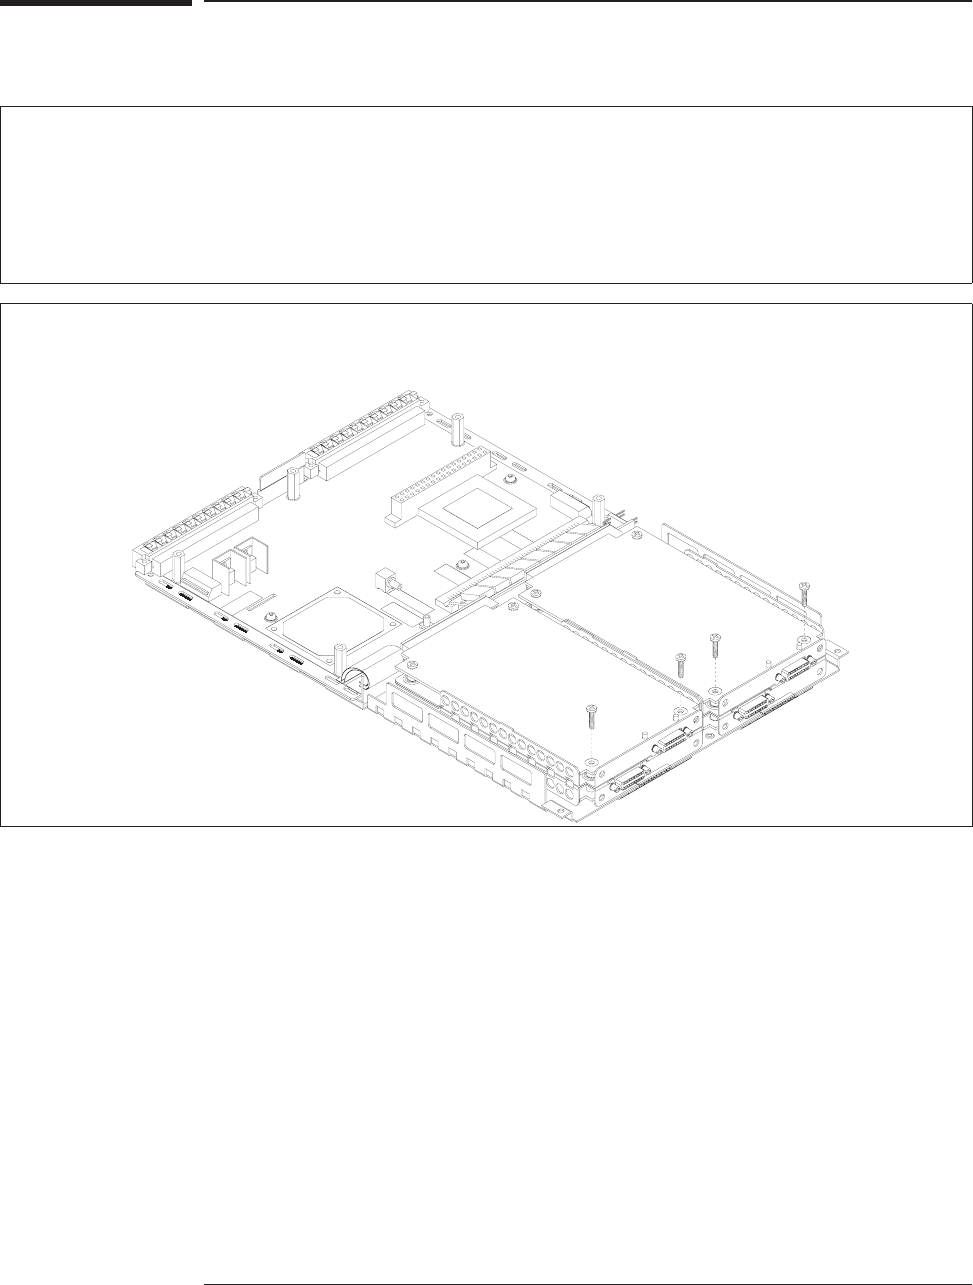
To remove the input assemblies
1Remove top cover, see “To remove the top cover.” Remove the front panel, see steps 1 and 2
in “To remove the front panel.” Note that the following steps are showing illustrations of an
HP E1432A with a standard configuration (four input assemblies). If your HP E1432A has option
1DD (one input assembly) or option 1DE (two input assemblies), the following steps will be the
same except the length and quantity of screws.
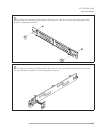
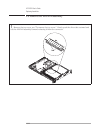
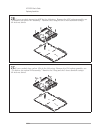
2Using a T-10 torx driver, remove the four screws that attach the assemblies to the bottom cover.
HP E1432A User's Guide
Replacing Assemblies
10-18