


SECTION 3
OPERATING THE PRINTER
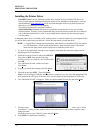
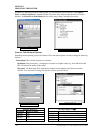
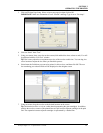
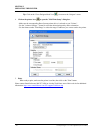
5. Once you locate your data file, click on OPEN. The “Link Data Wizard” will appear and it will
walk you through the steps of linking your data file to FlexMail3.
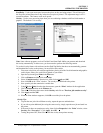
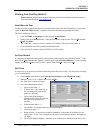
Tip: Selecting zero for “rows to scan” will cause FlexMail3 to scan all rows for data. This may
take some time, but doing so will avoid the loss of fields that may only sporadically contain data.
When selecting “Field Types”; it is suggested that you set your numeric fields (zip code, dpc) as
“text”.
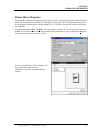
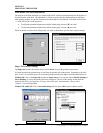
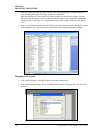
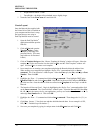
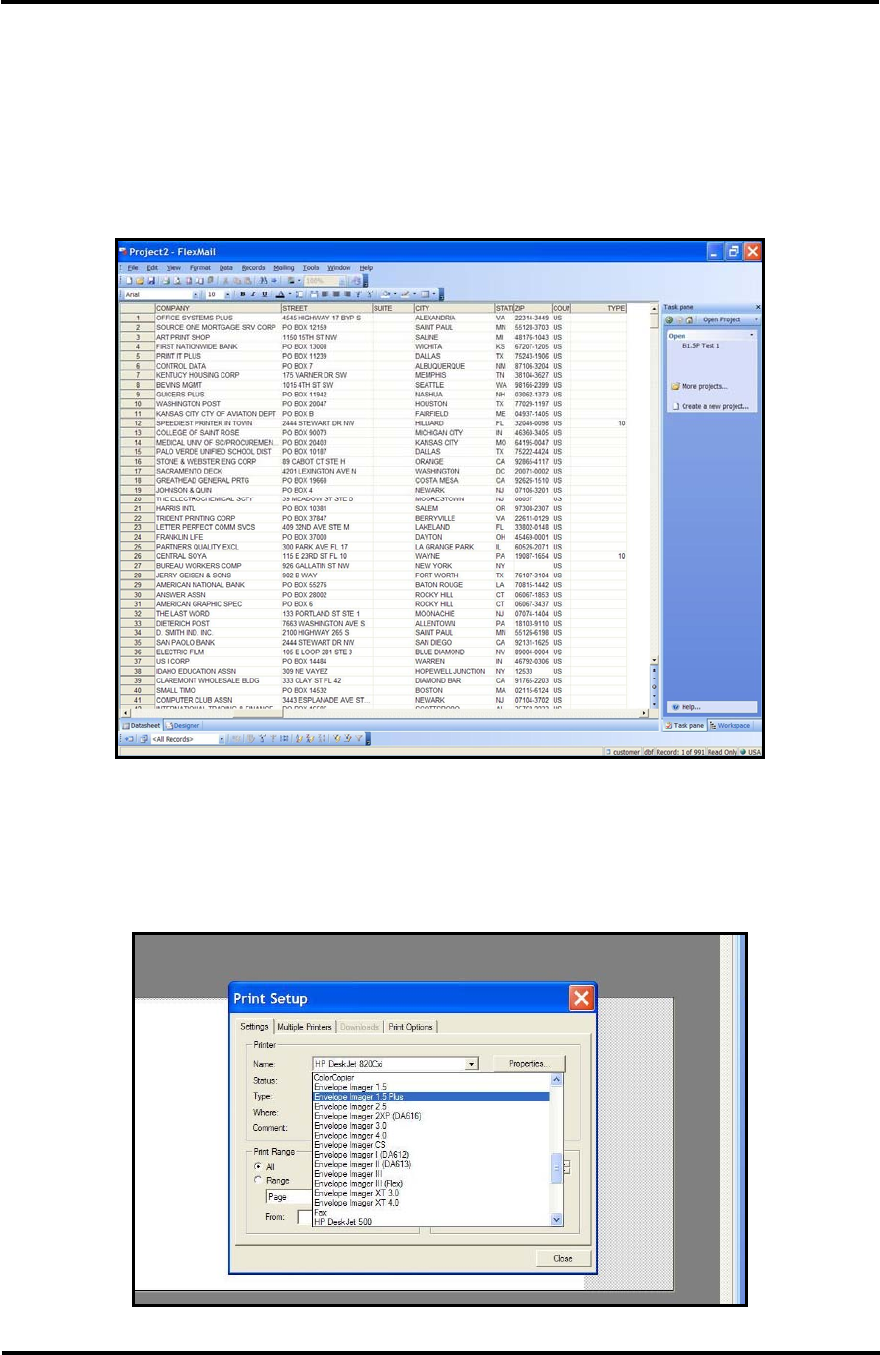
6. Once you are finished with the Link Data Wizard, you will be presented with your data file, shown
in the Datasheet view. Take a moment to verify that all data is present and properly defined.
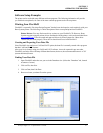
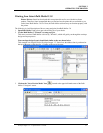
Designing Your Layout
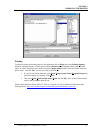
1. Click on the “Designer” view tab (located at the bottom of the screen).
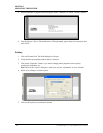
2. Click on File then Print Setup. Select your Rena printer model from the pull down list. Then click
on Close.
Envelope Imager 1.5/1.5 Plus Operations (Rev.6/7/2007)
28