


SECTION 3
OPERATING THE PRINTER
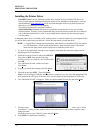
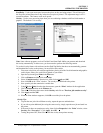
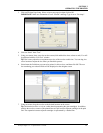
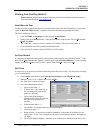
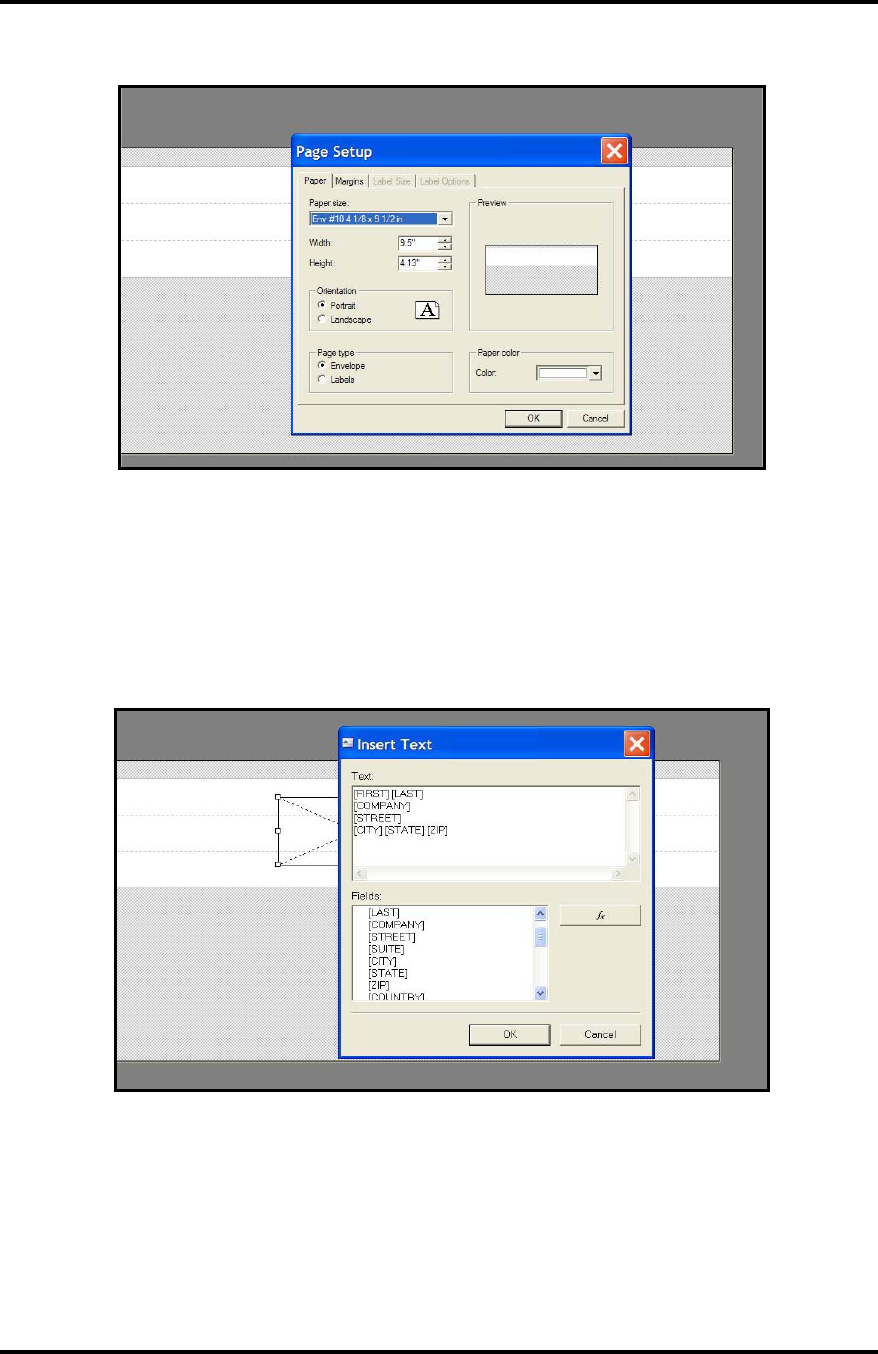
3. Click on File then Page Setup. Select or input your page size then click on OK.
IMPORTANT! Make sure Orientation is set to “Portrait” and Page Type is set to “Envelope”.
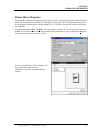
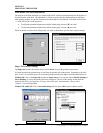
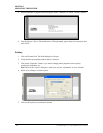
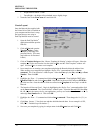
4. Click on “Insert” then “Text”.
5. Using your mouse, draw a text box on the screen (click and hold to draw, release to end). You will
be presented with the “Edit Text” window.
Tip: Don’t worry about the exact placement or size of the text box at this time. You can drag it to
a new location or adjust the size when you finish this process.
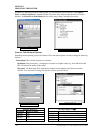
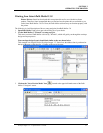
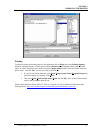
6. Select/insert the fields that you want to be printed, in this text box, and then click OK. The text
box containing your selected fields will be displayed on the designer screen.
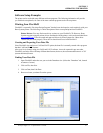
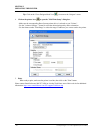
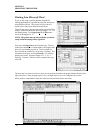
7. Using our mouse, drag the text box to the desired location on the screen.
Tip: Position the text box so it is on a white band (representing the print cartridges). In addition,
position the text box so none of the printed lines are split between adjacent cartridges in the print
unit. The separation between adjacent cartridges is represented by a dashed line.
Envelope Imager 1.5/1.5+ Operations Rev. 6/7/2007
29