


Inserting the print cartridges
Use only the replacement cartridges that have the same cartridge number as the print cartridge that
you are replacing. See
Supported print cartridges on page 19
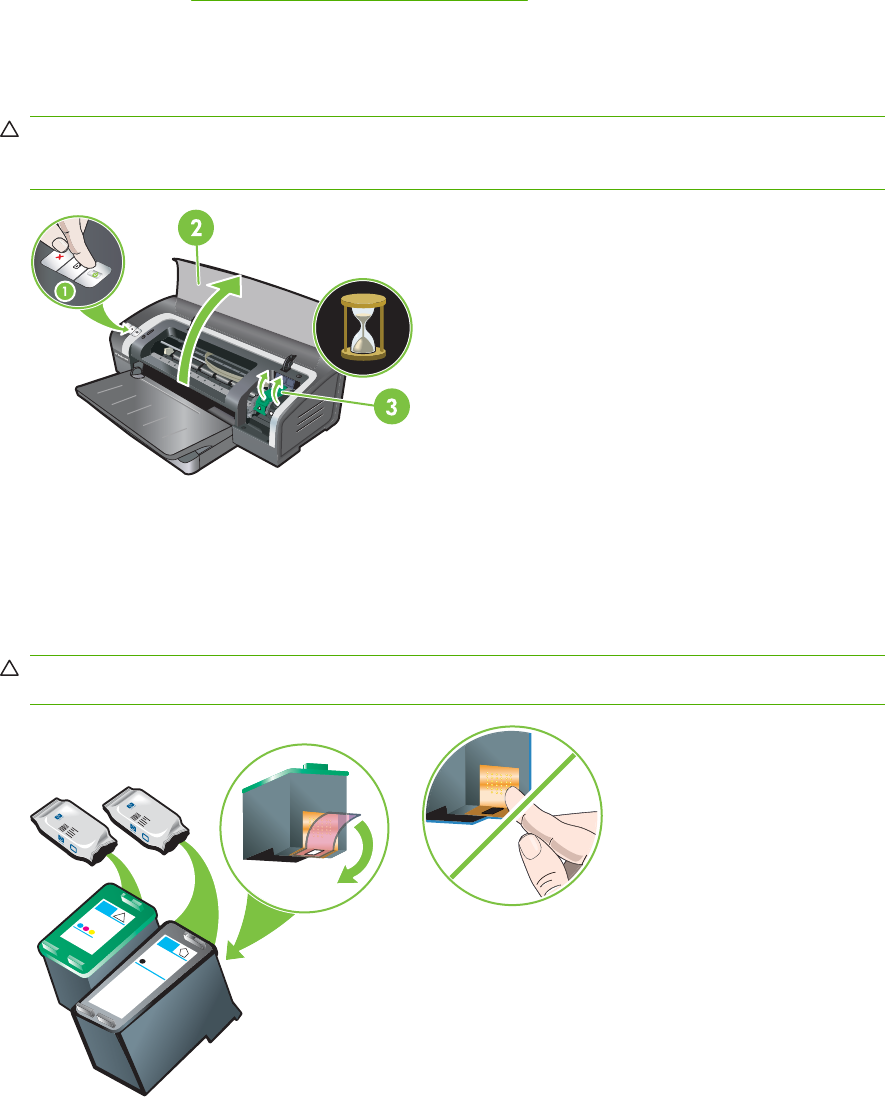
To install or replace a print cartridge
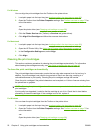
1. Turn on the printer, open the top cover, and lift the print latch.
CAUTION: The print cartridge carriage may be moving into its correct position. Be sure the
print cartridge carriage is parked at the right-hand side of the printer before removing or
installing print cartridges.
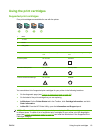
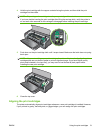
2. If you are replacing a print cartridge, grasp the installed print cartridge and slide it out of its
cradle. To ensure you are placing the new print cartridge into the correct position, verify the
symbols on the latch match the symbols on the new cartridge.
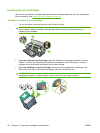
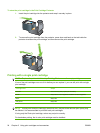
3. If you are installing a new print cartridge, remove the print cartridge from its package, and
then remove the clear nozzle protective tape by pulling on the pink pull-tab.
CAUTION: To prevent clogs, ink failure, and bad electrical connections, do not touch the print
cartridge ink nozzles or copper contacts, and do not remove the copper contacts.
20 Chapter 3 Using print cartridges and accessories ENWW