


E-28
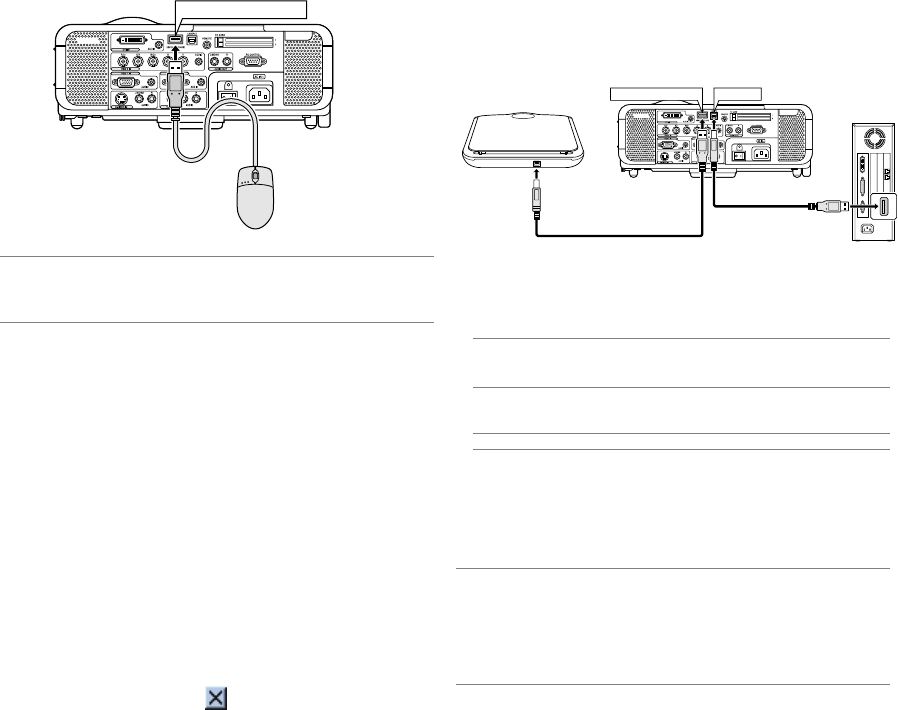
Using a USB Mouse
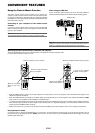
Using a USB mouse gives you a smooth operation. A commercially avail-
able USB mouse is required.
NOTE:
• The MT1065 comes with a USB mouse.
• There may be some brands of USB mouse that the projector does not sup-
port.
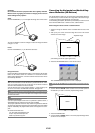
Operate the Menus using the USB mouse
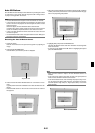
Mouse Cursor
When connecting a USB mouse to the projector, you get a mouse
cursor on the screen.
Unless you use your USB mouse within 10 seconds, the mouse cur-
sor disappears.
Menu Display
Clicking with a mouse button displays the menu.
Clicking ̈ displays the pull-down menu. To close the menu, click
anywhere in the background.
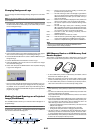
Adjusting and Setting Display
You can select a menu item and click with a mouse button to make
adjustments and setting.
Examples
Click (or press and hold) the mouse button ̇ or ̈ to adjust the bright-
ness. Or click and drag the mouse button on the slide bar horizontally
to adjust it.
To save the adjustments, click
. The display is closed. If you click
anywhere in the background while displaying adjustment and setting
menu or dialog box, you will get the main menu at the clicking point.
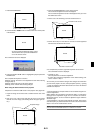
Using the middle button on the mouse
The projector supports the middle button on your mouse. With the middle
button you can use a scroll bar when it is available or click the middle
button to display or hide the Chalkboard toolbar.
USB
(
MOUSE/HUB
)
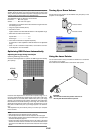
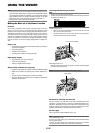
Using the USB HUB Function
When using the projector with a PC via the supplied USB cable, both
the USB port(type A) on the projector can be connected to a USB-sup-
ported scanner or other USB-supported device. (USB Hub Function)
Example: When connecting a PC and a scanner to each USB port re-
spectively
USB
(
PC
)
USB
(
MOUSE/HUB
)
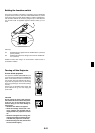
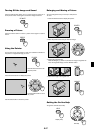
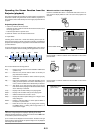
An example of how a scanned image is projected
1. Install the Dynamic Image Utility on your PC.
NOTE: The Dynamic Image Utility is contained on the supplied CD-ROM. See
the supplied NEC Software Utility Installation Guide for the installation proce-
dure.
2. Use your scanner to scan an image.
NOTE: A scanner driver must be installed on your PC before use.
3. Load the scanned image on your PC using the Dynamic Image Util-
ity.
4. Transmit the scanned image from your PC to the projector via the
USB cable and project the image on the screen.
NOTE:
• The USB HUB function is effective only when “Auto” is selected in Operation
Mode Select.
• The PCs using the USB Host Controller may not be available.
• When connecting a USB hub to the USB port (type B) on the projector, be
sure to use a USB hub capable of supplying 500mA per port of downstream
current.