


E-32
NOTE: You can also use the
̇
and
̈
button on the remote control to select
folders or slides.
If you use the
̇
and
̈
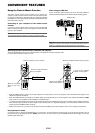
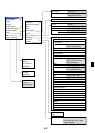
button on the remote control for Viewer operation, press
the PJ button to switch to the Projector mode and the PJ button lights red.
Lit red
Works as the Select button on the
projector.
E
N
T
E
R
C
A
N
C
E
L
SELECT
PJ
Auto Play Mode
If the "Auto Play" option is selected in "Viewer Options" of the menu,
any given slide will start to play automatically.
You can also specify Auto Play Interval between 5 and 300 seconds.
Switching to Slides Directly from Other Input Modes
With this function it is possible to switch directly to a slide when the
picture of a VCR or computer is being projected.
Example: When conducting presentations using a combination of slides
and moving pictures from a VCR, etc., it is possible to switch from a
Viewer slide to the video picture then back to the Viewer slide simply by
using the Viewer button.
NOTE: Even if you switch the current Viewer source to another source, the cur-
rent slide is retained. When you return back to the Viewer, you will get the slide
that has been retained.
The PC card editing operation cannot be performed from the projector.
Do so using the Dynamic Image Utility 2.0 software.
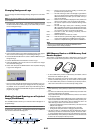
Viewing Digital Images
Digital images can be played with the Viewer if the following conditions
are met:
• If the image can be stored on an MS-DOS format PC card
• If the image can be stored in a format supported by the Viewer. With
the Viewer, images on the card are searched for in directories and
images in JPEG or BMP format are recognized as slides. Searchable
directories are directories within two steps from the root directory,
and searchable images are images within the first 12 files in the di-
rectory. Only file and slide switching are possible.
NOTE: The maximum number of images recognized as slides within one direc-
tory is 128.
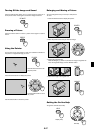
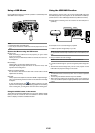
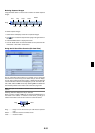
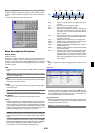
Storing Images Displayed on the Projector on the PC
card (Capture)
The Capture features allows you to capture an image from a source that
is currently being displayed. The image is saved as JPEG in the PC
card. When you select Capture from the menu, you will get a tool bar.
You can capture an image directly using the tool bar when the menu is
not displayed.
NOTE:
* Unless a PC card is inserted into the PC Card slot of the projector, the Capture
feature is not available.
* The "Card Error" display means that the free space of the PC card is insufficient
for saving images. Make more space available on the card by erasing un-
wanted images with your PC. The number of images that can be captured
depends on the size of the PC card.
* Be sure not to turn off the power or remove the PC card while capturing an
image. Doing so could cause a loss of the data in the PC card or damage to the
card itself.
Preparations:
Insert the PC card into the card slot.
Insert the PC card so that the end with the insertion direction arrow
on the top goes in first.
* Press the eject button to eject the card.
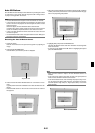
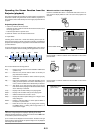
1. Project the image you wish to store on the projector.
2. Select the "Capture" from the Tools menu.
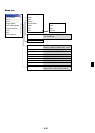
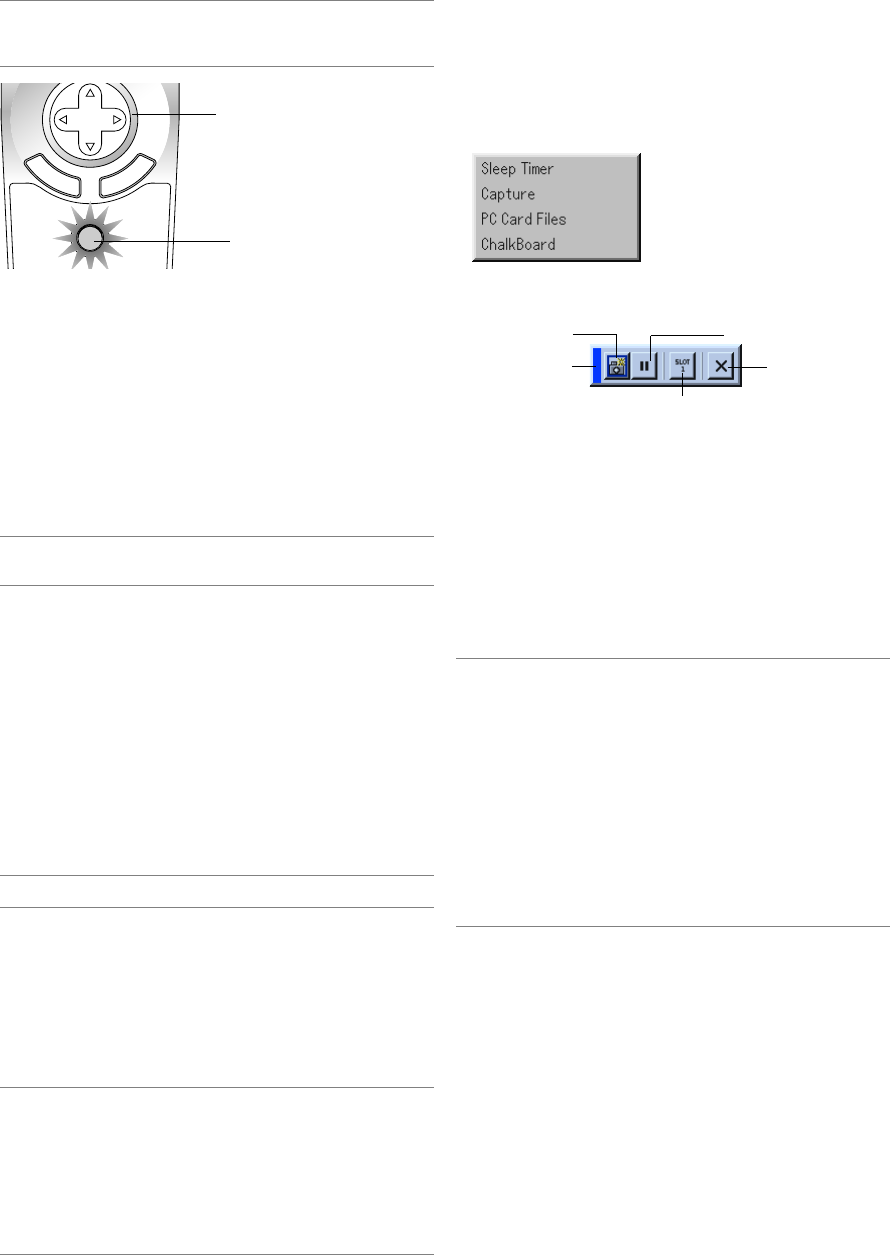
3. A tool bar will appear.
Drag
Freeze
Exit
Capture
Drive
The tool bar includes the following buttons:
Drag ............ Drags to move the tool bar by clicking on the blue part (for
USB mouse operation only).
Capture ....... Captures an image and save it as a JPEG file on a PC
card.
Freeze ......... Freezes and unfreezes images.
Drive............ Switches between PC Card slot 1 and 2.
Exit .............. Exits the Capture function. Another option to exit the Cap-
ture function is to press MENU or CANCEL button on the
remote control or projector cabinet.
NOTE:
You can compress a captured file (JPEG) using the Capture Options in the Setup
dialog. See page E-46.
Captured images with higher resolution than the projector's native resolution
cannot be displayed correctly.
• File size of the captured image varies depending on the resolution of an input
signal.
• An hourglass indicating that an image is being captured appears on the
projector's display. Do not eject the PC card or turn off the projector's power
while this icon is displayed. Doing so will damage the PC card data. If the PC
card data is damaged, use a computer to repair the data.
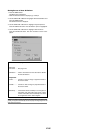
• Up to 12 indexes can be displayed on the list of folders. The folder in the right
bottom is always a folder exclusively for captured images, but is only dis-
played when images have been captured.