


E-47
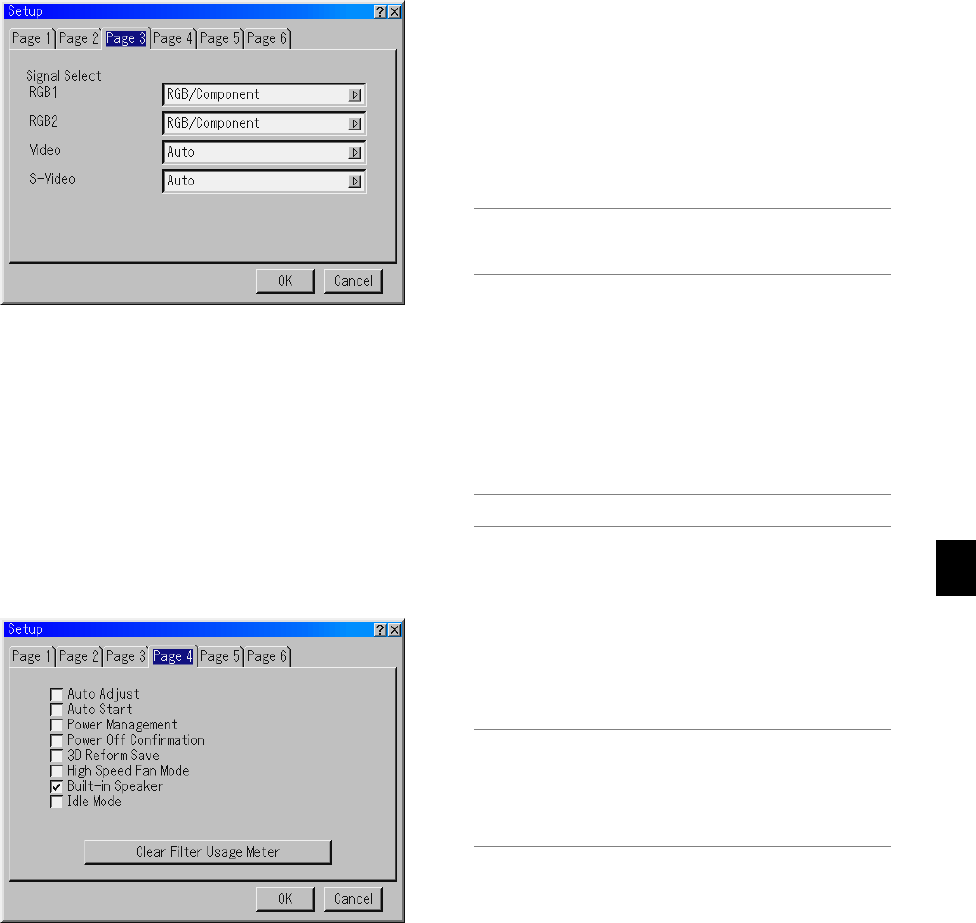
[Page 3]
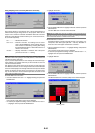
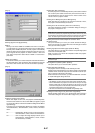
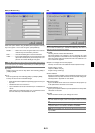
Selecting Signal Format [Signal Select]
RGB1/2:
Allows you to choose "RGB" for an RGB source such as a computer,
or "Component" for a component video source such as a DVD player.
Normally select "RGB/Component" and the projector automatically
detects an either incoming signal. However there may be some com-
ponent signals that the projector is unable to detect. If this is the
case, select "Component". Select "Scart" in RGB 1 or 2 for the Euro-
pean Scart.
VIDEO and S-VIDEO:
This feature enables you to select composite video standards manu-
ally. Normally select "Auto". Select the video standard from the pull-
down menu. This must be done for Video and S-Video separately.
[Page 4]
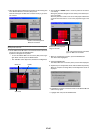
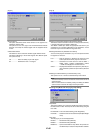
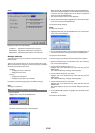
Enabling Auto Adjust [Auto Adjust]:
When "Auto Adjust" is set to "On", the projector automatically deter-
mines the best resolution for the current RGB input signal to project
an image using NEC's Advanced AccuBlend Intelligent Pixel Blend-
ing Technology.
The image can be automatically adjusted for position and stability;
"Horizontal Position", "Vertical Position", "Clock", "Phase", and "Reso-
lution".
On .................. Automatically adjusts image "Horizontal Position",
"Vertical Position", "Clock", "Phase" and "Resolution".
Off .................. User can adjust the image display functions ("Hori-
zontal Position", "Vertical Position", "Clock", "Phase"
and "Resolution") manually.
Enabling Auto Start [Auto Start]:
Tu r ns the projector on automatically when the power cable is inserted
into an active power outlet and the main power switch is turned on.
This eliminates the need to always use the "Power" button on the
remote control or projector cabinet.
Enabling Power Management [Power Management]:
When this option is on and there is no input for five minutes or more,
the projector will automatically turn itself off.
Enabling Power Off Confirmation [Power Off Confirmation]:
This option determines whether a confirmation dialog for turning off
the projector will appear or not.
NOTE: When the confirmation message is displayed, you must be in the Pro-
jector mode to operate your projector using the remote control. If not, press
the PJ button on the remote control to change your projector to the Projector
mode. The button lights to indicate that you are in the Projector mode.
Enabling Horizontal and Vertical Keystone Correction Save
[3D Reform Save]:
This option enables you to save your current 3D Reform settings.
Saving your change once affects all sources. The changes are saved
when you turn off the projector.
Enabling High Speed Fan Mode [High Speed Fan Mode]:
This option allows you to select two modes for fan speed:high-speed
mode and normal speed mode.
When you wish to cool down the temperature inside the projector
quickly, check this box.
NOTE: Enable High Speed Fan mode if you continue to use the projector for
consecutive days.
Selecting Built-in Speakers [Built-in Speaker]:
This option allows you to mute the built-in speakers.
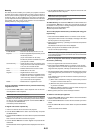
Enabling Idle Mode [Idle Mode]:
The projector has two standby modes: Standby and Idle.
Standby is the mode that allows you to put the projector in the standby
condition which consumes less power than the idle mode. The pro-
jector is preset for Idle mode at the factory.
When this check box is turned on, you allow the RGB OUT connector
to output RGB signal during Idle mode.
NOTE:
* The RGB OUT connector will not output signal during the Standby mode.
*Via the USB interface the projector can be turned on from your PC using
Dynamic Image Utility 2.0 during the Standby or Idle mode. On the LAN
connection the projector can be controlled or monitored from your PC us-
ing Dynamic Image Utility 2.0 only in the Idle mode.
* The HTTP server functions are not available during Standby mode.
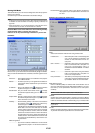
Resetting the Filter Usage Hours [Clear Filter Usage Meter]:
Resets the filter usage back to zero. Pressing this button appears a
confirmation dialog box. To reset the filter usage hours, press "OK".