


E-44
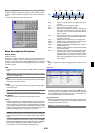
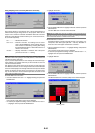
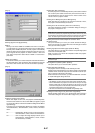
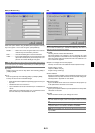
6. Use the SELECT
̆̄̇̈
button to move the yellow box to select a
color density.
Moving the yellow box changes the color density of the selected por-
tion in the palette.
Move the yellow box so that a color on the white paper for Wall Color
Correction becomes close to a color of the projected image on the
wall.
Actual color of the projected
image on the wall
Color of the projected image on the white
paper for Wall Color Correction
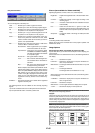
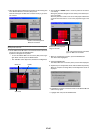
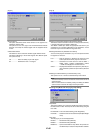
7. When you complete the correction, press the ENTER button.
The "Next" will be highlighted.
8. Press the ENTER button.
The Manual Wall Color Correction (Green) screen will be displayed.
9. Repeat steps 4 to 8. Adjust Red, Green, Blue and White respectively.
When you complete correcting White, the Exit Adjustment screen is
displayed.
10. Highlight the Correction Level bar and then use the SELECT
̇
or
̈
button to finely adjust.
11. Highlight "OK" and press the ENTER button.
NOTE: The size of the above Manual Wall Color Correction screen changes de-
pending on the screen size.
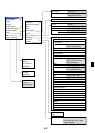
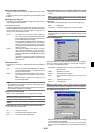
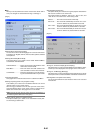
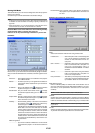
5. Use the SELECT
̇
or
̈
button to move the blue frame to the work-
ing area and then press the ENTER button.
A yellow box will appear in the palette.
*To move the Manual Wall Color Correction (Red) screen, high-
light "Move" and then press the ENTER button.
* The "Slide Bar" button adjusts Hue, Saturation and Brightness.
Blue frame
Yellow box
Palette
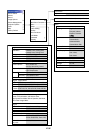
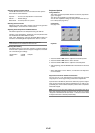
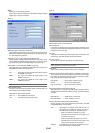
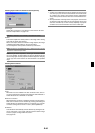
4. Place the white paper for Wall Color Correction over the working area
in the Manual Wall Color Correction (Red) screen.
Paste the white paper for Wall Color Correction loosely or get some-
one to hold it.
Position of the white paper for
Wall Color Correction