


NetMail/3000 Menu Interface
Users Guide
2-40
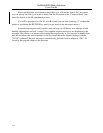
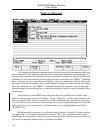
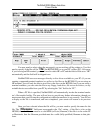
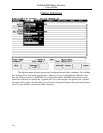
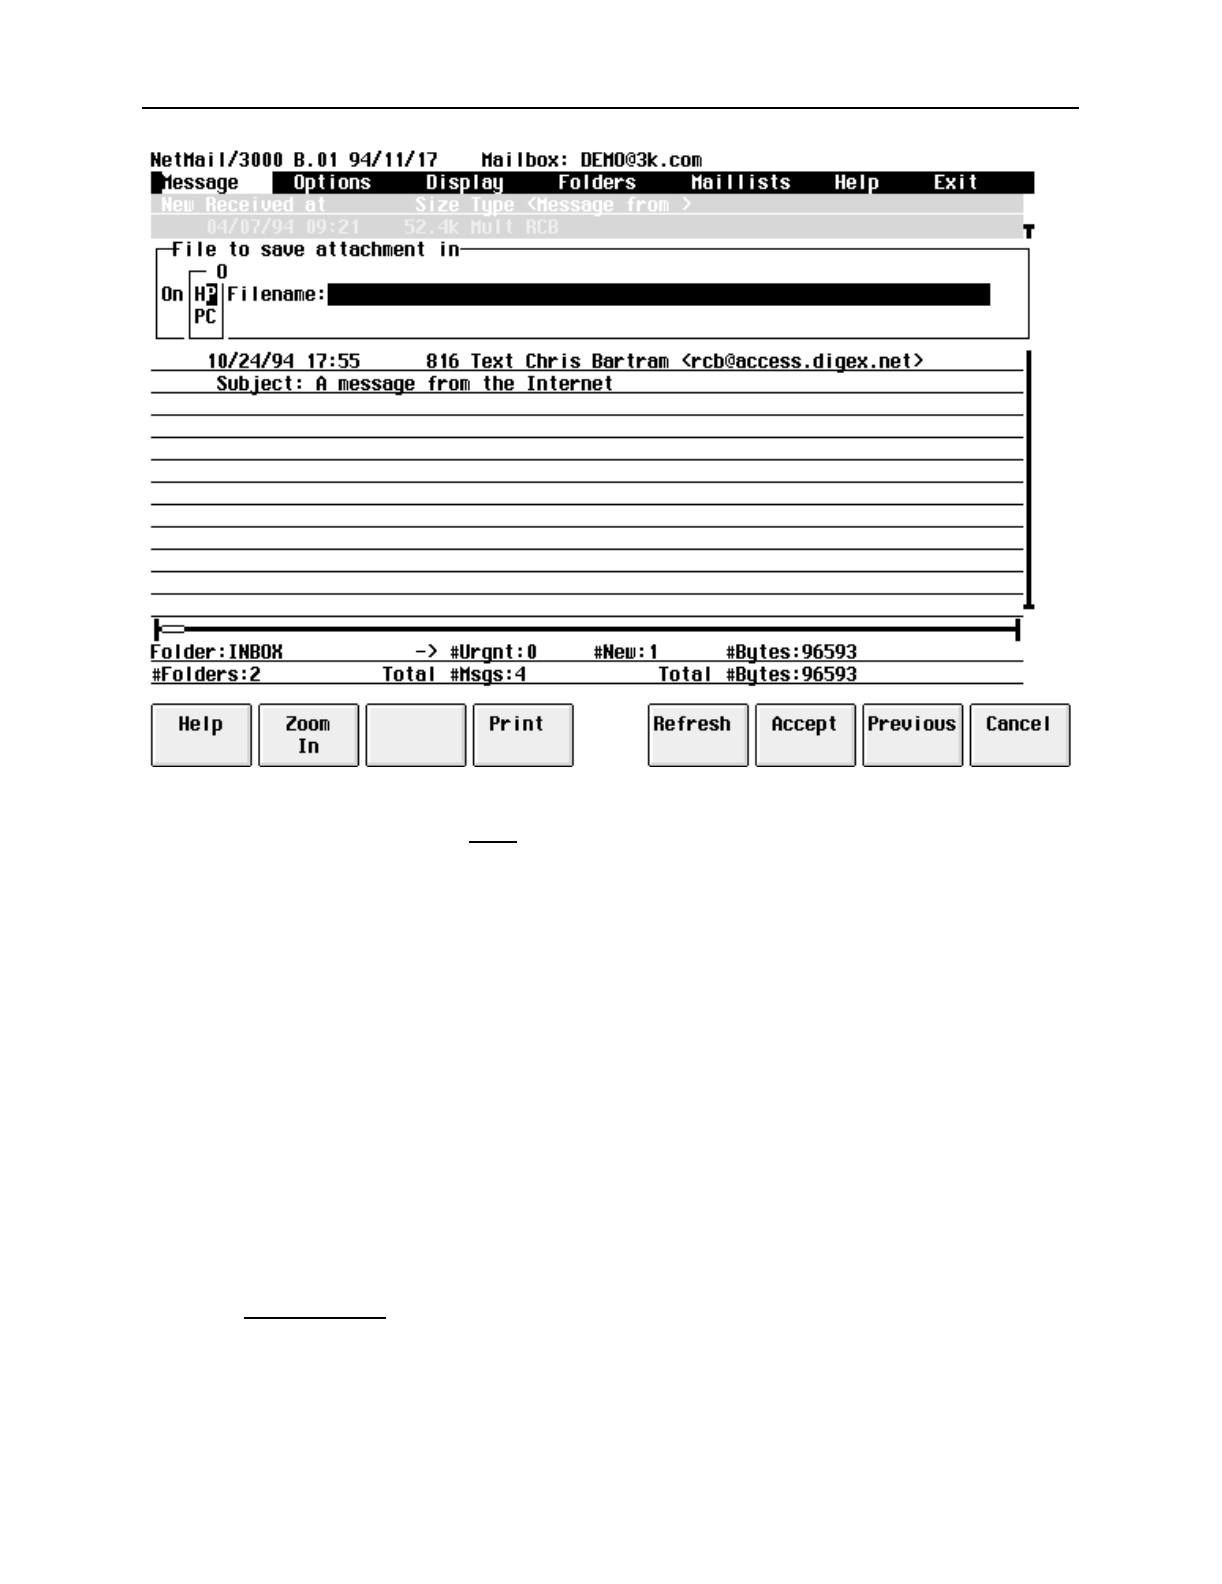
You now need to select where the message(s) you are writing will be written to. You first
need to specify if the file will be “
On
” the HP3000 (HP) or on your PC or Mac (PC). Of course,
if you’re using an HP terminal, you won’t need to select HP or PC and the field will be set to “HP”
automatically and the field will be skipped over.
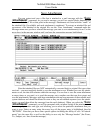
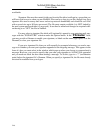
NetMail/3000 can save messages directly to disc drives available to your PC (if you are
running a supported terminal emulator) as well as to disc files on the HP3000. If you are using an
HP terminal, you will only be able to save files to the discs on the HP3000, but if you are using a
terminal emulator, you can write the file to any floppy, hard drive, file server disc drives, or any
writable device accessible from your PC by selecting the “On” field to be “PC”.
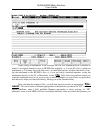
When a PC file is specified, NetMail/3000 will automatically invoke the terminal emula-
tor’s file transfer facility. The user will not have to provide any further information, though you
must ensure that your file transfer configuration (within the emulator) is set correctly. You will see
a display as the file is transferred, and once completed, your screen will return to its previous
state.
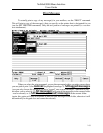
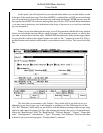
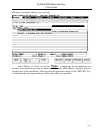
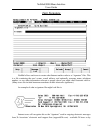
Once you have selected where the file will be, you now need to specify the name for the
file. The “
Filename
” field must correspond to the “On” setting - if the file is to be on the
HP3000, then the filename must be a valid MPE (or Posix) filename; if the file is to be on the PC
or Macintosh, then the filename provided must be a valid (fully qualified) filename to that plat-
form.