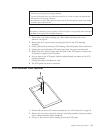
Notes:
v
Protect
the
LCD
panel
from
being
scratched.
v
Lay
the
LCD
panel
down
on
a
flat
clean
surface
over
a
cloth
or
other
soft
material
that
will
protect
it
from
being
scratched.
v
Be
careful
not
to
allow
other
items
to
come
close
to
the
LCD
panel
as
those
items
might
touch
the
panel
and
scratch
it.
Note:
The
number
of
defective
pixels
to
qualify
a
TFT
LCD
panel
to
be
replaced
under
warrant
is
8
or
more
for
all
types
2179
and
6643
computers.
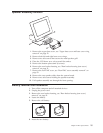
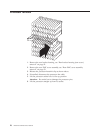
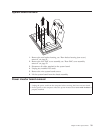
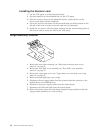
1.
Remove
the
rear
bucket
housing,
see
“Rear
bucket
housing
(rear
cover)
removal”
on
page
21.
2.
Remove
the
four
corner
screws
securing
the
bezel
to
the
LCD
housing
assembly.
3.
Gently
pull
the
bezel
from
the
LCD
housing.
Note
the
plastic
tabs
on
the
bezel.
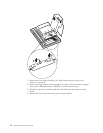
4.
Unplug
the
top
and
bottom
LCD
connectors
from
the
power
inverter
card.
5.
Remove
the
four
corner
screws
from
the
front
of
the
LCD
panel
to
remove
the
LCD
panel
to
remove
the
LCD
panel.
6.
As
you
remove
the
LCD
panel,
feed
the
cables
through
the
holes
on
the
LCD
housing
assembly.
7.
Unplug
the
cable
to
the
Receiver
card.
8.
The
LCD
panel
can
now
be
removed.
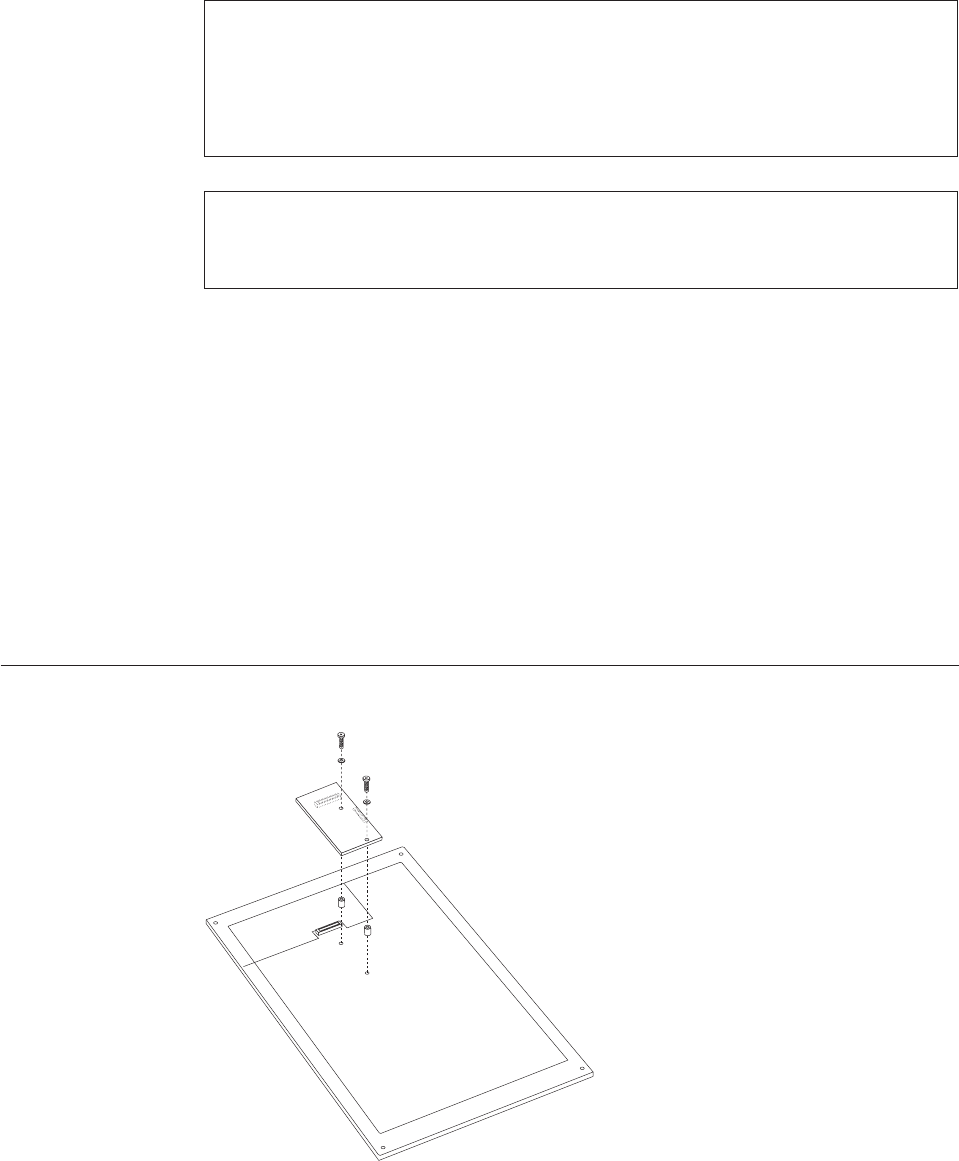
LCD
Receiver
card
removal
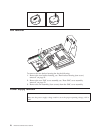
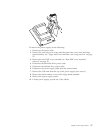
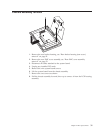
1.
Perform
the
previous
LCD
removal
procedure,
see
“LCD
removal”
on
page
32.
2.
Remove
the
two
screws
from
the
receiver
card
being
careful
to
keep
the
plastic
screw
washers
and
the
plastic
stand-offs.
3.
Lift
up
on
the
receiver
card
to
unplug
it
from
the
LCD
panel.
Chapter
4.
FRU
replacements
33


