


16
Video Adjustments
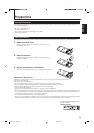
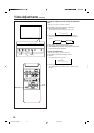
For video adjustments, use menus.
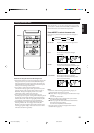
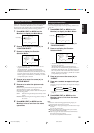
You can use the buttons either on the remote control or on
Monitor for menu operations.
• Refer also to “Menu Classifications” on pages 33 and 35.
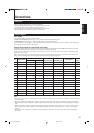
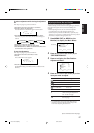
Adjusting the Picture Quality
Picture quality can be set for each input mode.
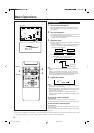
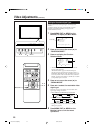
1
Press MENU/EXIT (or MENU on the
Monitor) to display the Main Menu.
2
Press 5/∞ to move the cursor (3) to
“PICTURE ADJ.”
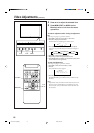
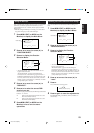
3
Press 3 to display the Picture
Adjustment Menu.
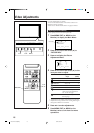
4
Press 5/∞ to move the cursor (3) to the
item you want to adjust.
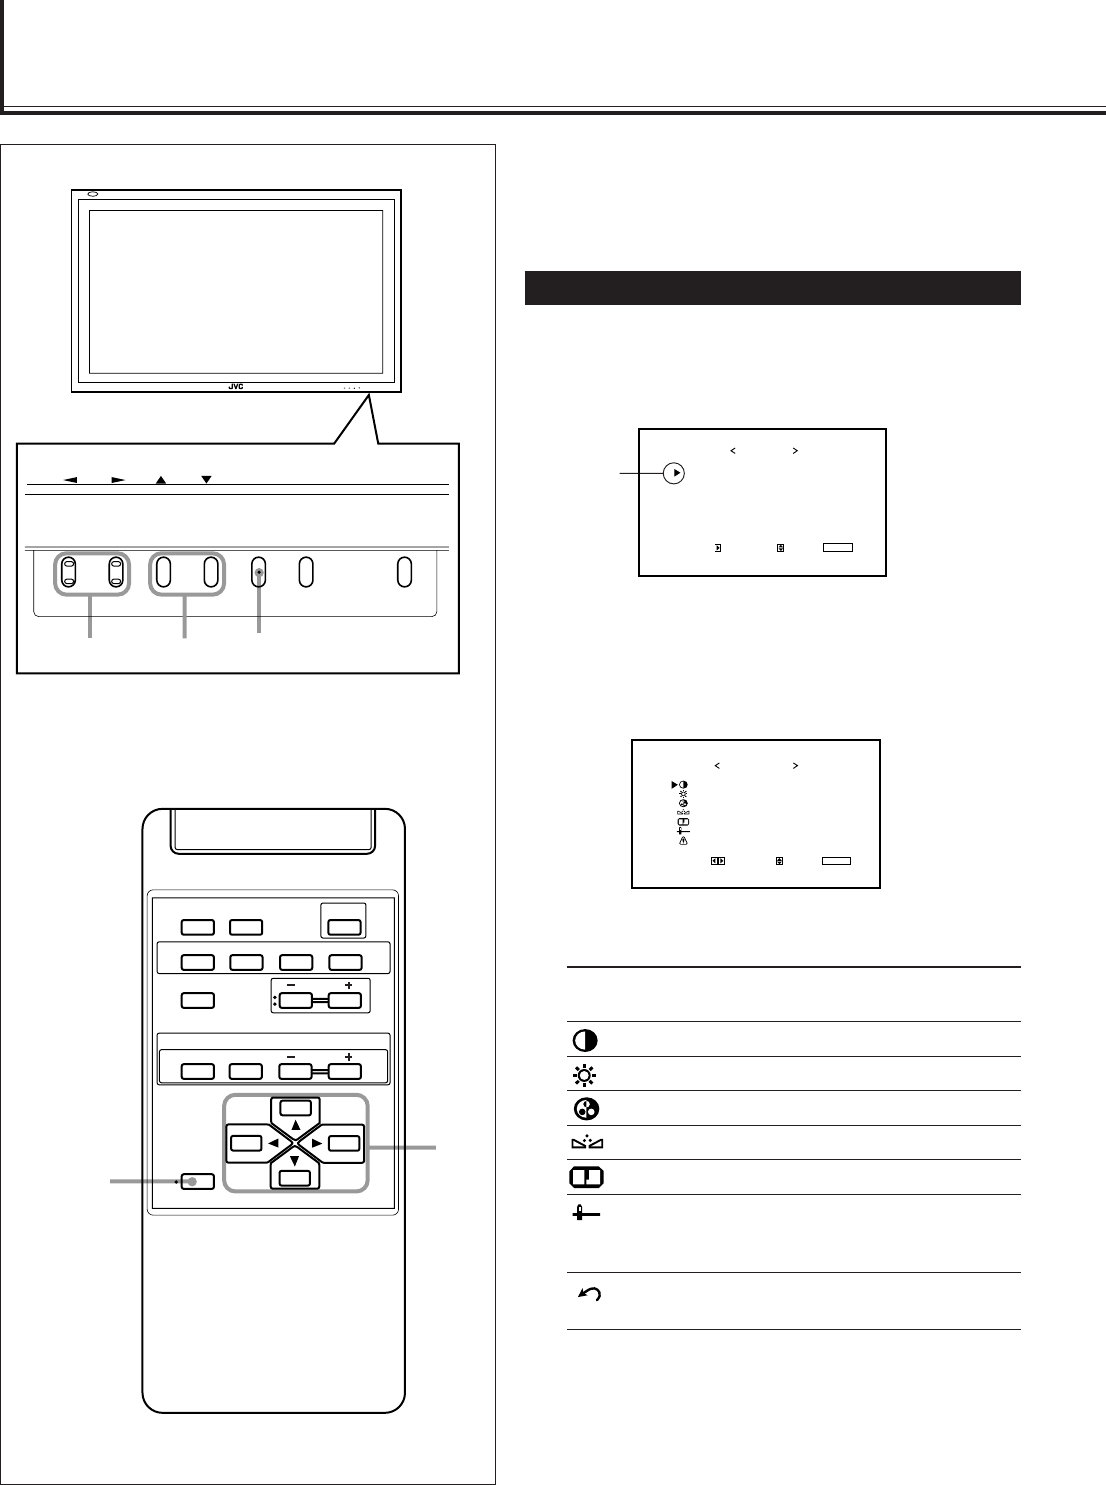
Item Adjustment Standard
range (Reset)
CONTRAST –20 to +20 +10
BRIGHT (brightness) –20 to +20 0
CHROMA* –20 to +20 0
PHASE** –20 to +20 0
SHARPNESS –20 to +20 0
sub menu See “To make an adjustment
while viewing the adjustment
bar” on the next page.
reset See “To reset the adjustments” on
the next page.
* Adjustment is not possible when RGB input is selected.
**Adjustment is only possible when viewing NTSC signal
through the VIDEO A or B terminal.
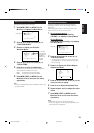
5
Press 2/3 to make adjustments.
6
Press MENU/EXIT (or MENU on the
Monitor) twice to exit from the menu
operations.
CONTRAST
BRIGHT
CHROMA
PHASE
SHARPNESS
sub menu
reset
ADJUST:
PICTURE ADJ.
SELECT:
EXIT:
MENU
VIDEO A
: +01
:
: –02
:
:
00
00
00
Cursor (3)
PICTURE ADJ.
SIZE/POSITION ADJ.
FUNCTION SELECT
STATUS DISPLAY
ENTER:
MAIN MENU
SELECT:
EXIT:
MENU
MENU/EXIT
2 / 3
5 /
5
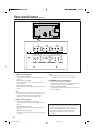
DISPLAY ASPECT POWER
RGB
COMPO.
VIDEO B
VOLUME
MULTIPLE
MODE ID SET
MONITOR ADJUSTMENT
VIDEO A
MUTING
MENU/EXIT
RM-C575 REMOTE CONTROL UNIT
ID
MENU INPUT POWER
MENU INPUT POWER
MENU
2 / 3
5
5 /
14-23.GD-V4210PZW[EN]/f 00.9.29, 5:55 PM16