


Chapter 3
Kodak ESP 5 Printer User Guide 15
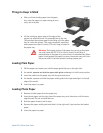
Things to Keep in Mind
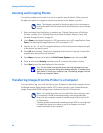
• After you finish loading paper into the paper
tray, eave the paper tray open during all print,
copy, and scan jobs.
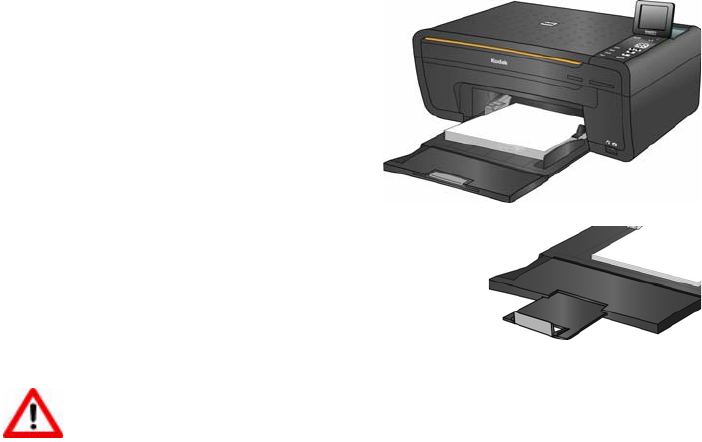
• Lift the small gray paper stop (at the edge of the
output tray extender) until it is perpendicular to the tray.
This prevents the printed paper from sliding off of the paper
tray as it exits the printer. This step is especially important
when paper more than 11 inches (279 mm) long is loaded in
the paper tray.
Loading Plain Paper
1 Pull the paper tray toward you until the paper guide flips up on the right side.
2 As needed,
squeeze and slide the paper-width guide on the tray to its left-most position.
3 Insert the media into the paper tray with the print side down.
4 As needed, squeeze and slide the paper-width guide to the right and align it to the left
edge of the media.
5 Leave the paper tray open.
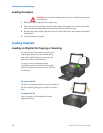
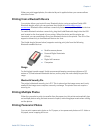
Loading Photo Paper
1 Remove all other paper from the paper tray.
2 Insert photo paper into the right side of the paper tray print-side down, with the short
edge forward. Do not overload the tray.
3 Slide the paper forward until it stops.
4 Squeeze the paper-width guide and slide it to the right until it just touches the loaded
paper.
5 Leave the paper tray open.
Warning: The hinged section of the paper tray serves as the paper
tray door when the ESP 5 All-in-One is closed. Avoid lifting it
perpendicular to the paper tray, even when it is extended out. When
paper is held against the paper tray door, the printer may pull it into
the printer after it has been printed, causing a paper jam.